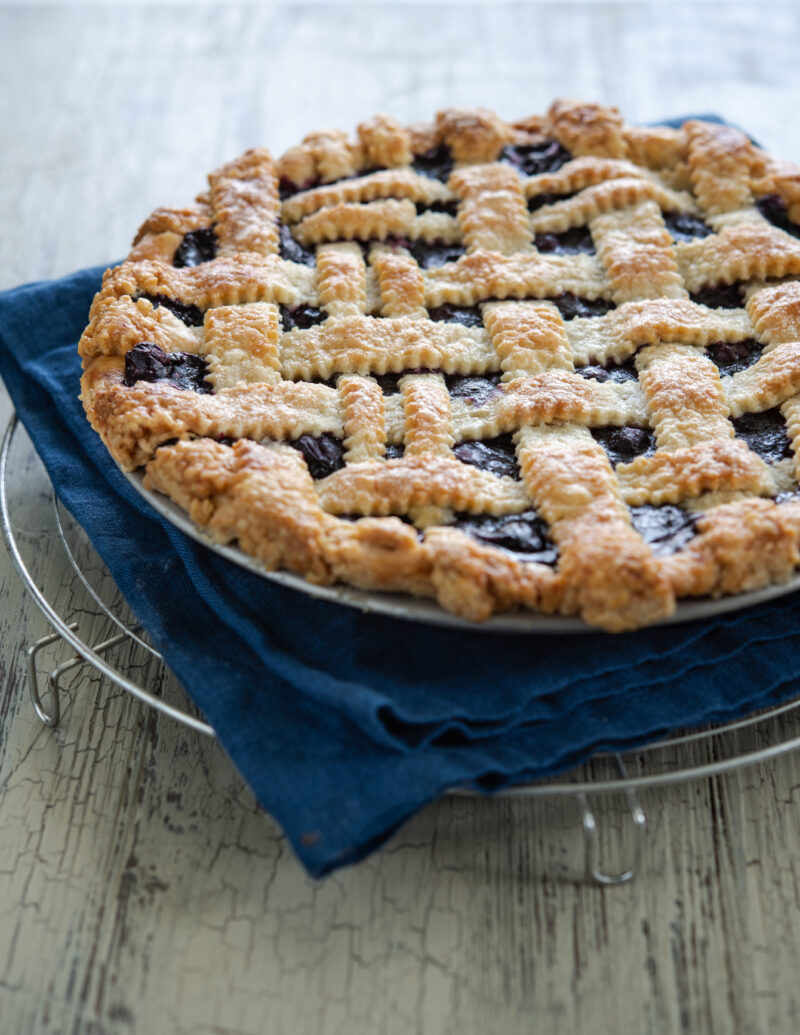
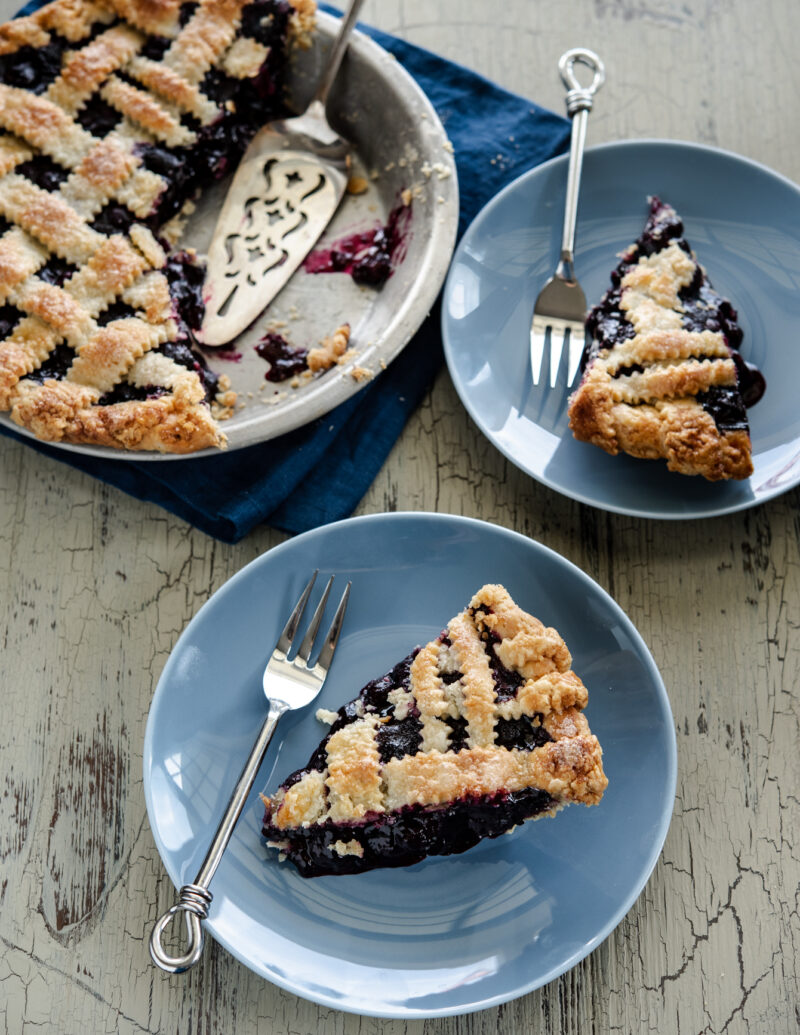
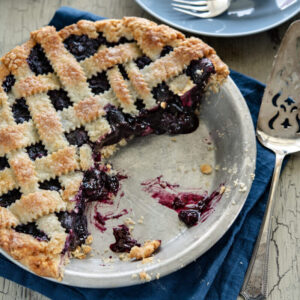
Maple Blueberry Pie
Get ready to create the best-ever blueberry pie with maple syrup. Maple-infused blueberry filling makes this maple blueberry pie irresistibly perfect. Precooking the pie filling and the buttery, flaky pie crust make all the difference. My pie baking tips will help you make your best-ever blueberry pie.
I can’t let summer pass by without making my favorite summer fruit pie – Maple Blueberry Pie. You don’t taste the intensity of maple syrup in the pie, but it enhances the taste of blueberries.
Plus, I adore this buttery, flaky pie crust recipe. Put them together, and this is the very best blueberry pie I’ve tasted so far.
Blueberry Pie Made with Maple Syrup
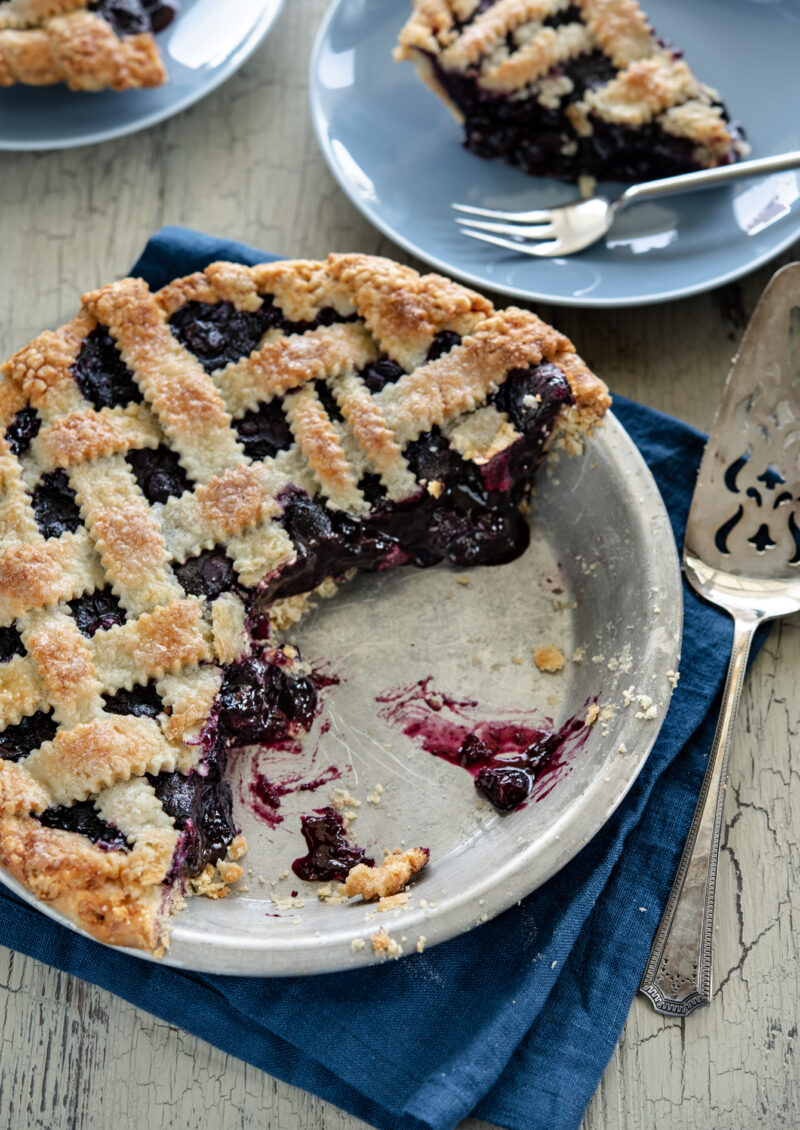
The blueberry pie filling is sweetened with a mixture of maple syrup and sugar. The natural sweetness and caramel notes of maple syrup beautifully enhance the taste of the blueberries, elevating its overall flavor profile. It imparts a rich and indulgent sweetness that perfectly balances the tartness of the blueberries.
The blueberry pie filling is precooked with thickeners before being added to the pie shell, ensuring a perfect consistency once it is baked. This prevents any surprises of a runny fruit syrup flooding your pie.
Maple Blueberry Pie Ingredients
Light and Flaky Pie Crust
- Lard (preferably leaf lard)
- Butter
- All-purpose flour
- Egg
- Vinegar
- Water
Blueberry Pie Filling
- Blueberries: Fresh or frozen
- Maple syrup
- Sugar
- Cornstarch and Tapioca Starch: Both starches are great thickening agents for fruit pies. Cornstarch tends to stand up well for long cooking times, while tapioca starch works best when added at the end of cooking. I found that tapioca starch also yields a more glossy look while cornstarch makes a matte surface. A little bit of both will be ideal for any berry pies.
- Lemon juice
- Cinnamon
How to Make Maple Blueberry Pie
When it comes to juicy fruits, such as berries, you can manage the liquidity of the filling by precooking it. Nobody wants a puddle of liquid on the bottom of the pan after the pie is baked, or a soggy crust!
As much as I don’t like liquid-y pie filling, I don’t want my filling to be too pasty or gluey either.
Using two different types of starch will help you get the right consistency and texture. A little bit of luster is a bonus and that’s a good thing!
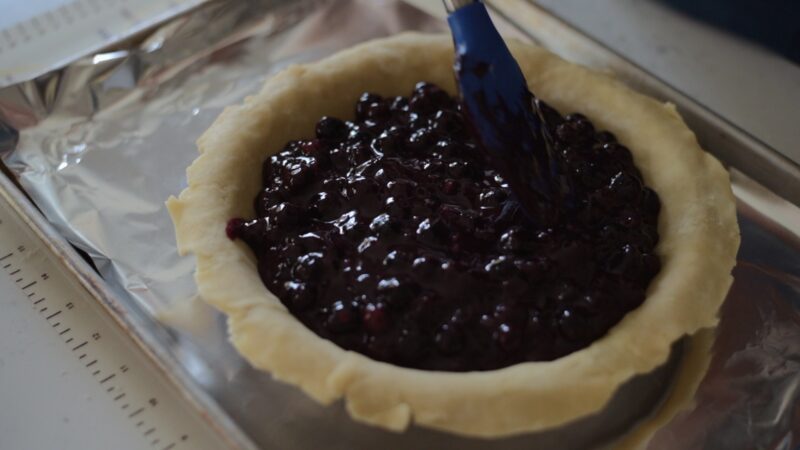
Step 1. Make blueberry pie filling

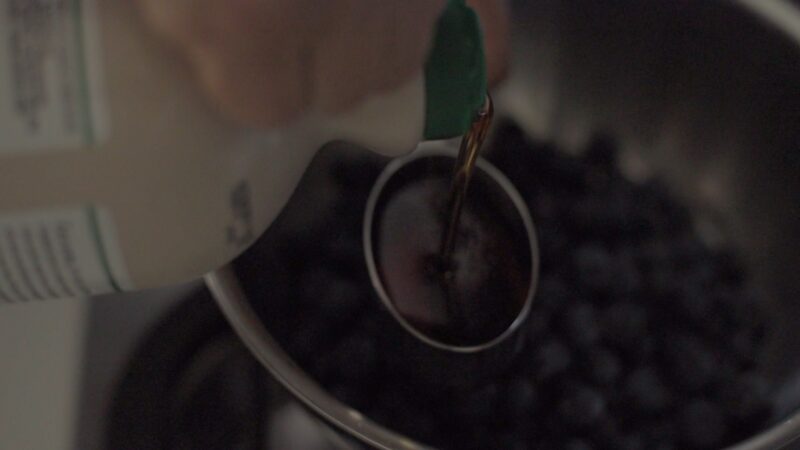
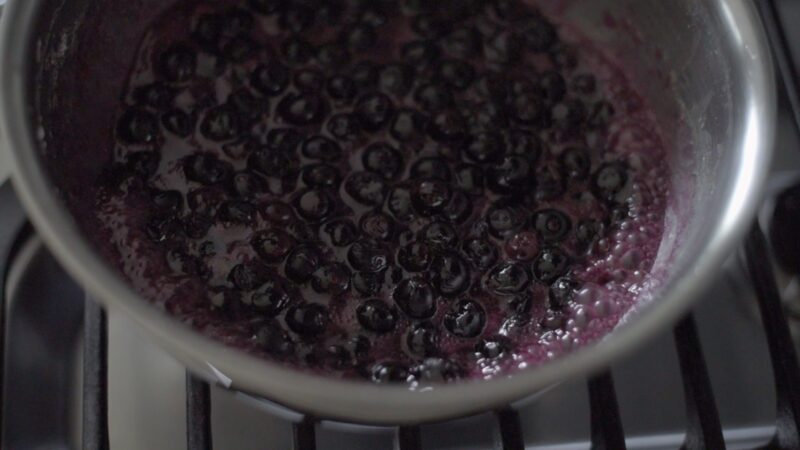
- Put half of the blueberries in a pot.
- Add maple syrup (the amount depends on the sweetness of your blueberries)
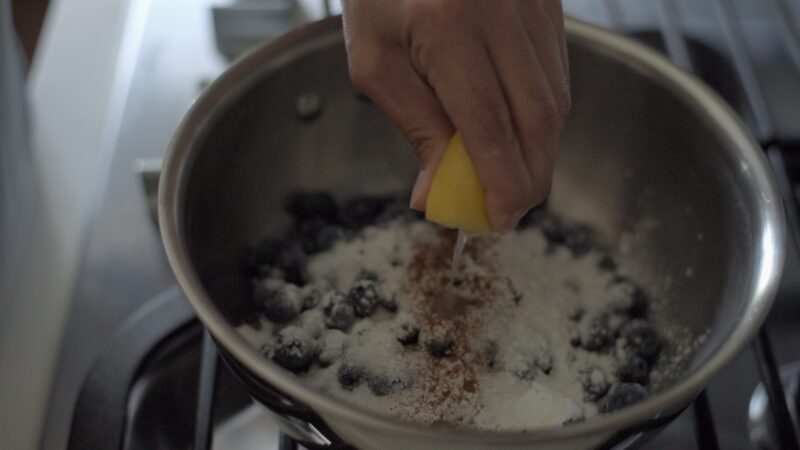
- Add sugar, cornstarch, cinnamon, and lemon juice; toss well
- Bring to a gentle boil and simmer for 8-10 minutes until the filling thickens and reduces slightly, stirring occasionally.
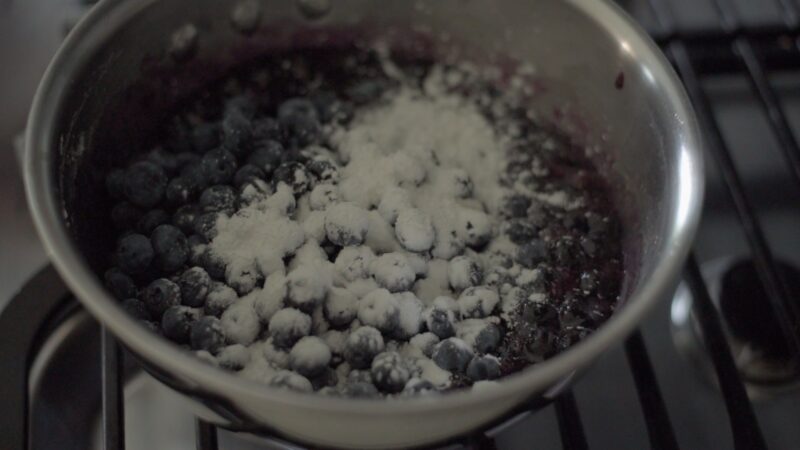
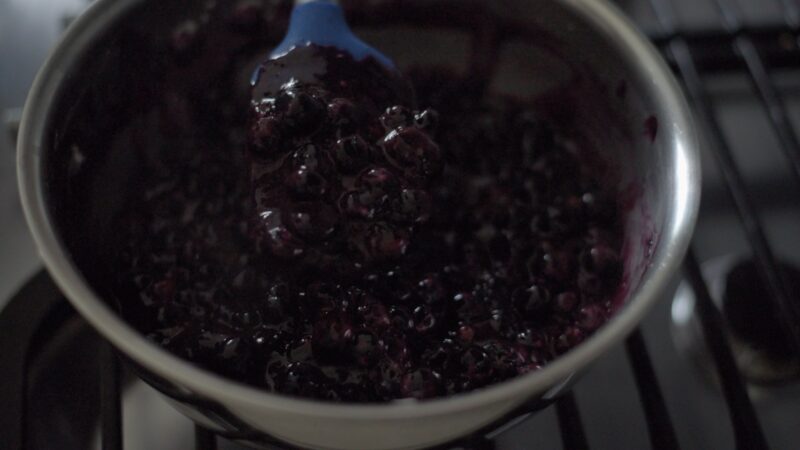
- Add the remaining blueberries and tapioca starch and toss. Remove the pan from heat.
- Let the filling cool for 15 minutes before adding to the pie shell.
If you are using frozen blueberries: you don’t need to thaw them out. You might need a slightly longer simmering time, though, to let the liquid evaporate.
Step 2. Roll out pie dough and add filling
Make sure your pie dough is well chilled. I used a standard 9-inch pie pan for this recipe.
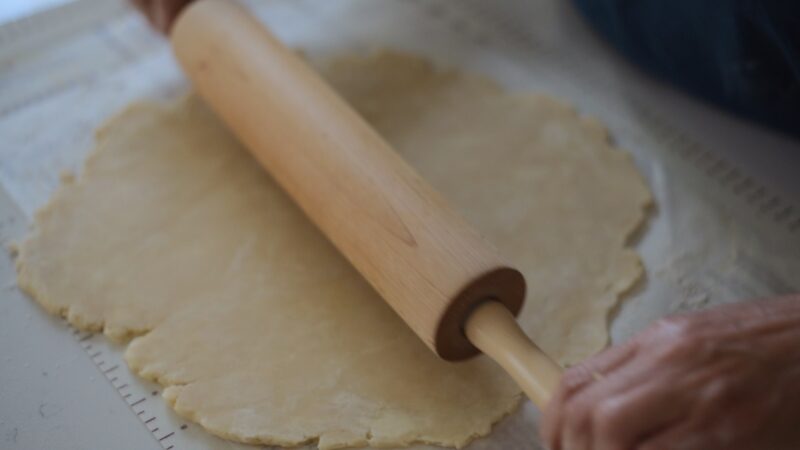
- For the bottom crust, roll out pie dough to about 12-inch circle and place in a 9-inch pie pan. Trim off any loose dough 1/2-inch below the rim of pan.
- Put the filling inside and keep it in the fridge while you are rolling out the top crust.
Step 3. Create lattice work for the top crust
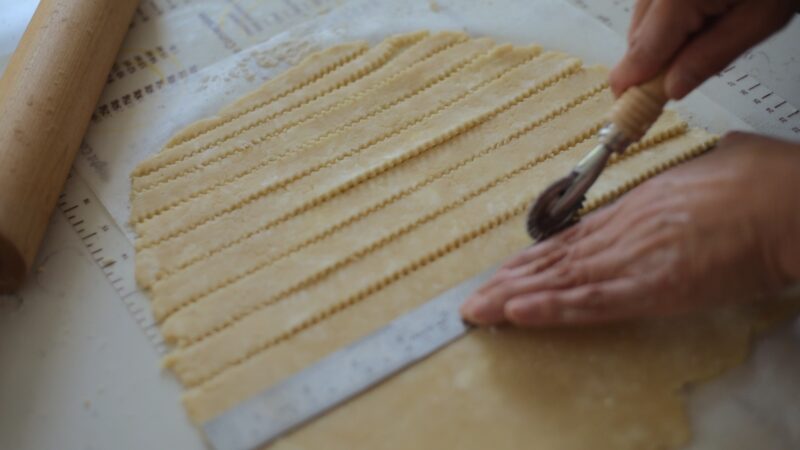
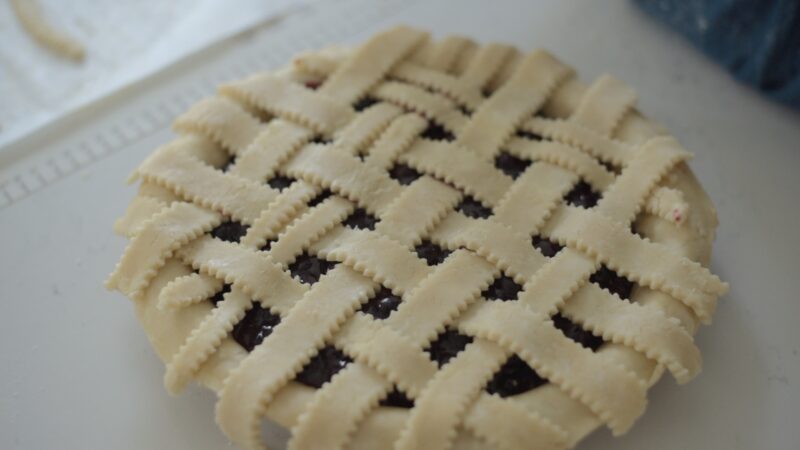

- Roll out the second pie dough for top crust, cut into strips with the desired thickness.
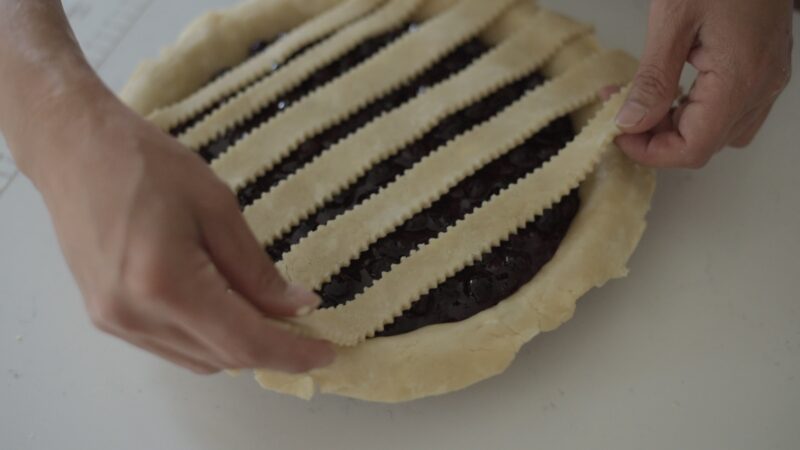
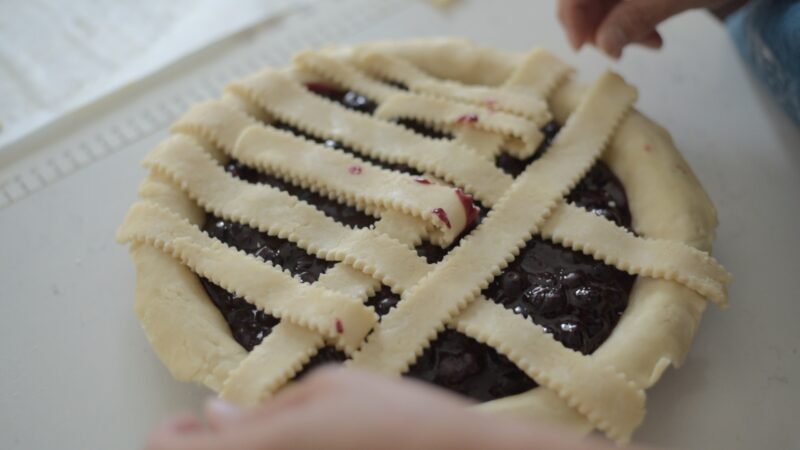
- Lay the strips over the pie filling and create the lattice work.
- Pinch the edges to seal and crimp if desired.
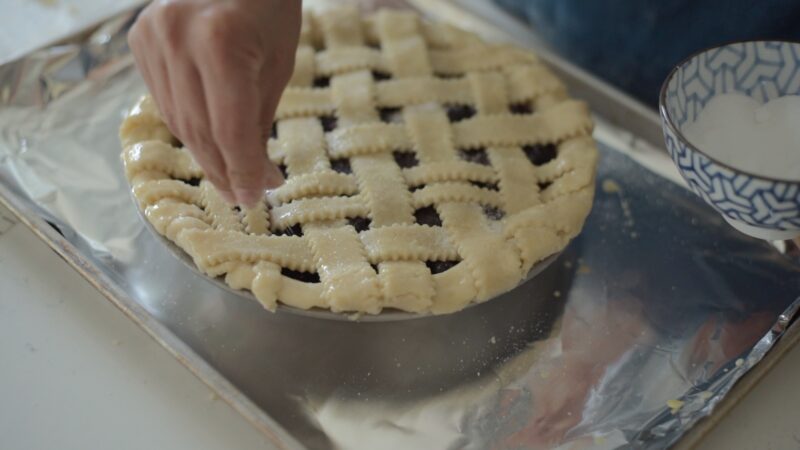
- Brush the egg wash over the lattice crust and edges. Sprinkle with sugar on the crust.
- Bake until crust is golden and blueberry juice is bubbling at the edges.
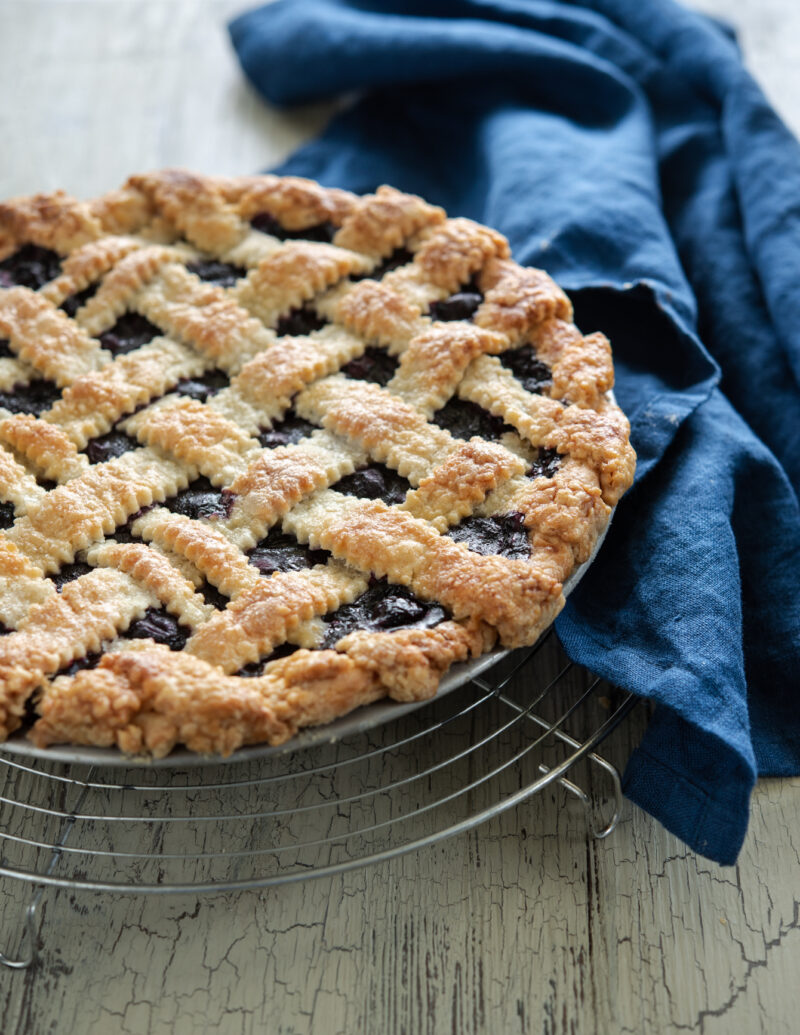
Why Lattice Top Crust is Better for Blueberry Pie?
Pies made with very juicy fruits, such as berries and peaches, have a tendency to yield lots of fruit juices while baking. In order to allow the liquid to evaporate and steam to escape easily, a lattice top crust works better than covering your pie with a sheet of crust. More openings on the top means a better release of steam.
Helpful Pie Baking Tips
- Lower your oven shelf to the bottom 1/3 or 1/4 position: Pies need a long baking time. And the higher the oven shelf is, the more browning occurs. If you bake the pie on the lower shelf, it prevents the top crust from browning too much.
- Place a large baking pan (lined with foil) underneath the pie pan to catch overflowing juice dropping – easy clean-up!
- Bake at high temperature first: Bake at 425˚F for 25 minutes, then lower the temperature to 375˚F and continue baking. (If using a convection oven, reduce the heat in both cases by 25 degrees.)
- If you have a baking stone or baking steel, put it on the lowest rack of your oven, but not touching your baking pan directly. The heat from the baking stone (steel) will rise and cooks the bottom crust quickly, making it nice and crisp. Big difference!
Pie Making Tools
- silicon baking matt
- parchment paper
- rolling pin
- 9-inch pie pan (standard size)
- pastry cutter wheel
More Pie Recipes
If you love pies as much as I do, some of these pie recipes are my favorite to share.
Maple Blueberry Pie
Recipe Video
Ingredients
- homemade pie crust , my recipe makes both top and bottm crusts
- egg wash
- 1 tbsp sugar
Maple Blueberry Pie Filling
- 5 cup (740 g) fresh or frozen blueberries, divided
- 1/3 cup (80 ml) maple syrup
- 1/4-1/3 cup (50-70 g) sugar
- 2 tbsp cornstarch
- 1/8 tsp cinnamon
- 1 tbsp lemon juice
- 2 tbsp tapioca starch
Instructions
For the maple blueberry pie filling
- Put half of the blueberries in a pot. Add maple syrup (the amount depends on the sweetness of your blueberries), sugar, cornstarch, cinnamon, and lemon juice; toss well. Bring to a gentle boil and simmer for 8-10 minutes until the filling thickens and reduces slightly, stirring occasionally.
- Add the remaining blueberries and tapioca starch and toss. Remove the pan from heat. Let the filling cool for 15 minutes before adding to the pie shell.
Roll out pie dough and arrange lattice
- For the bottom crust, roll out pie dough to about 12-inch circle and place in a 9-inch pie pan. Trim off any loose dough 1/2-inch below the rim of pan.
- Put the filling inside and keep it in the fridge while you are rolling out the top crust.
- Roll out the second pie dough for top crust, cut into strips with the desired width. Lay the strips over the pie filling and create the lattice work.
- Brush the egg wash over the lattice crust and edges. Sprinkle with sugar on the crust. Bake at 425˚F for 25 minutes, then lower the temperature to 375˚F and continue baking for 25-35 minutes until the crust is golden and blueberry juice is bubbling at the edges. (If using a convection oven, reduce the heat in both cases by 25 degrees) Please see my pie baking tips below.
Notes
Helpful pie baking tips
- Lower your oven shelf to the bottom 1/3 or 1/4 position: Pies need a long baking time. And the higher the oven shelf is, the more browning occurs. If you bake the pie on the lower shelf, it prevents the top crust from browning too much.
- Place a large baking pan (lined with foil) underneath the pie pan to catch overflowing juice dropping – easy clean-up!
- Bake at high temperature first: Bake at 425˚F for 25 minutes, then lower the temperature to 375˚F and continue baking. (If using a convection oven, reduce the heat in both cases by 25 degrees.)
- If you have a baking stone or baking steel, put it on the lowest rack of your oven, but not touching your baking pan directly. The heat from the baking stone (steel) will rise and cooks the bottom crust quickly, making it nice and crisp.

Fantastic recipe. I’ve made both blueberry & peach versions. Question: I shared this recipe with a newbie baker, and she asked what egg wash meant. I’ve searched the recipe, but I’m not seeing how you make your egg wash. Do you just mix one egg, or do you add an egg and some water, or just the yolk and some water? Thanks for a great recipe.
Egg wash usually means mix 1 whole egg with 2-3 teaspoon of water with fork. You can also use egg yolk with water too. If I don’t want to waste an egg, I often use milk instead, but egg wash gives better golden brown shiny finish. Glad that you enjoy this pie and thank you for sharing this recipe with your friend.
I’m getting ready to make this pie, what I love about your recipe is you don’t leave anything to chance by including everything (both maple & sugar, both cornstarch & tapioca) although I’ll use Equal instead of sugar. Nevertheless, I’d like to blind bake my crust for 15 minutes 425°, how should I adjust the remaining cooking time? I was thinking cut the initial 425° bake to 15 minutes, then 350° for the rest. Any ideas? I can’t leave the bottom to chance cause it’s for Thanksgiving. Thanks!!
Hi Cindy
I wouldn’t recommend blind baking the crust for this recipe, as it requires a top crust. Blind baking might cause the crust edges on the rim to break when you try to tuck the top crust underneath. If you’re preparing this pie in advance for Thanksgiving, it’s a good idea to make the filling ahead of time and store it separately. You can also prepare the bottom crust in the pie dish beforehand (try brushing it with beaten egg white for better results). On Thanksgiving Day, simply pour the filling into the pie dish and create a lattice with the remaining top crust. Do follow my pie baking tips. I hope you enjoy the pie – it’s delicious in every way!
This maple blueberry pie looks fantastic Holly! Love how you’ve sweetened it with maple syrup, myf avourite!
Love blueberries! And pie, too. 🙂 So you know where I’m going with this — what a terrific looking recipe! Thanks so much.
I wish I could have a slice now 🙂 The pastry made with lard tastes fantastic.