

Flaky Lard and Butter Pie Crust (Foolproof Recipe)
Make the best lard and butter pie crust with this foolproof recipe! Using high-quality leaf lard, cold butter, and an egg-vinegar mix, this homemade pie crust is tender, flaky, and buttery—perfect for any pie. It’s a must-try for pie lovers!
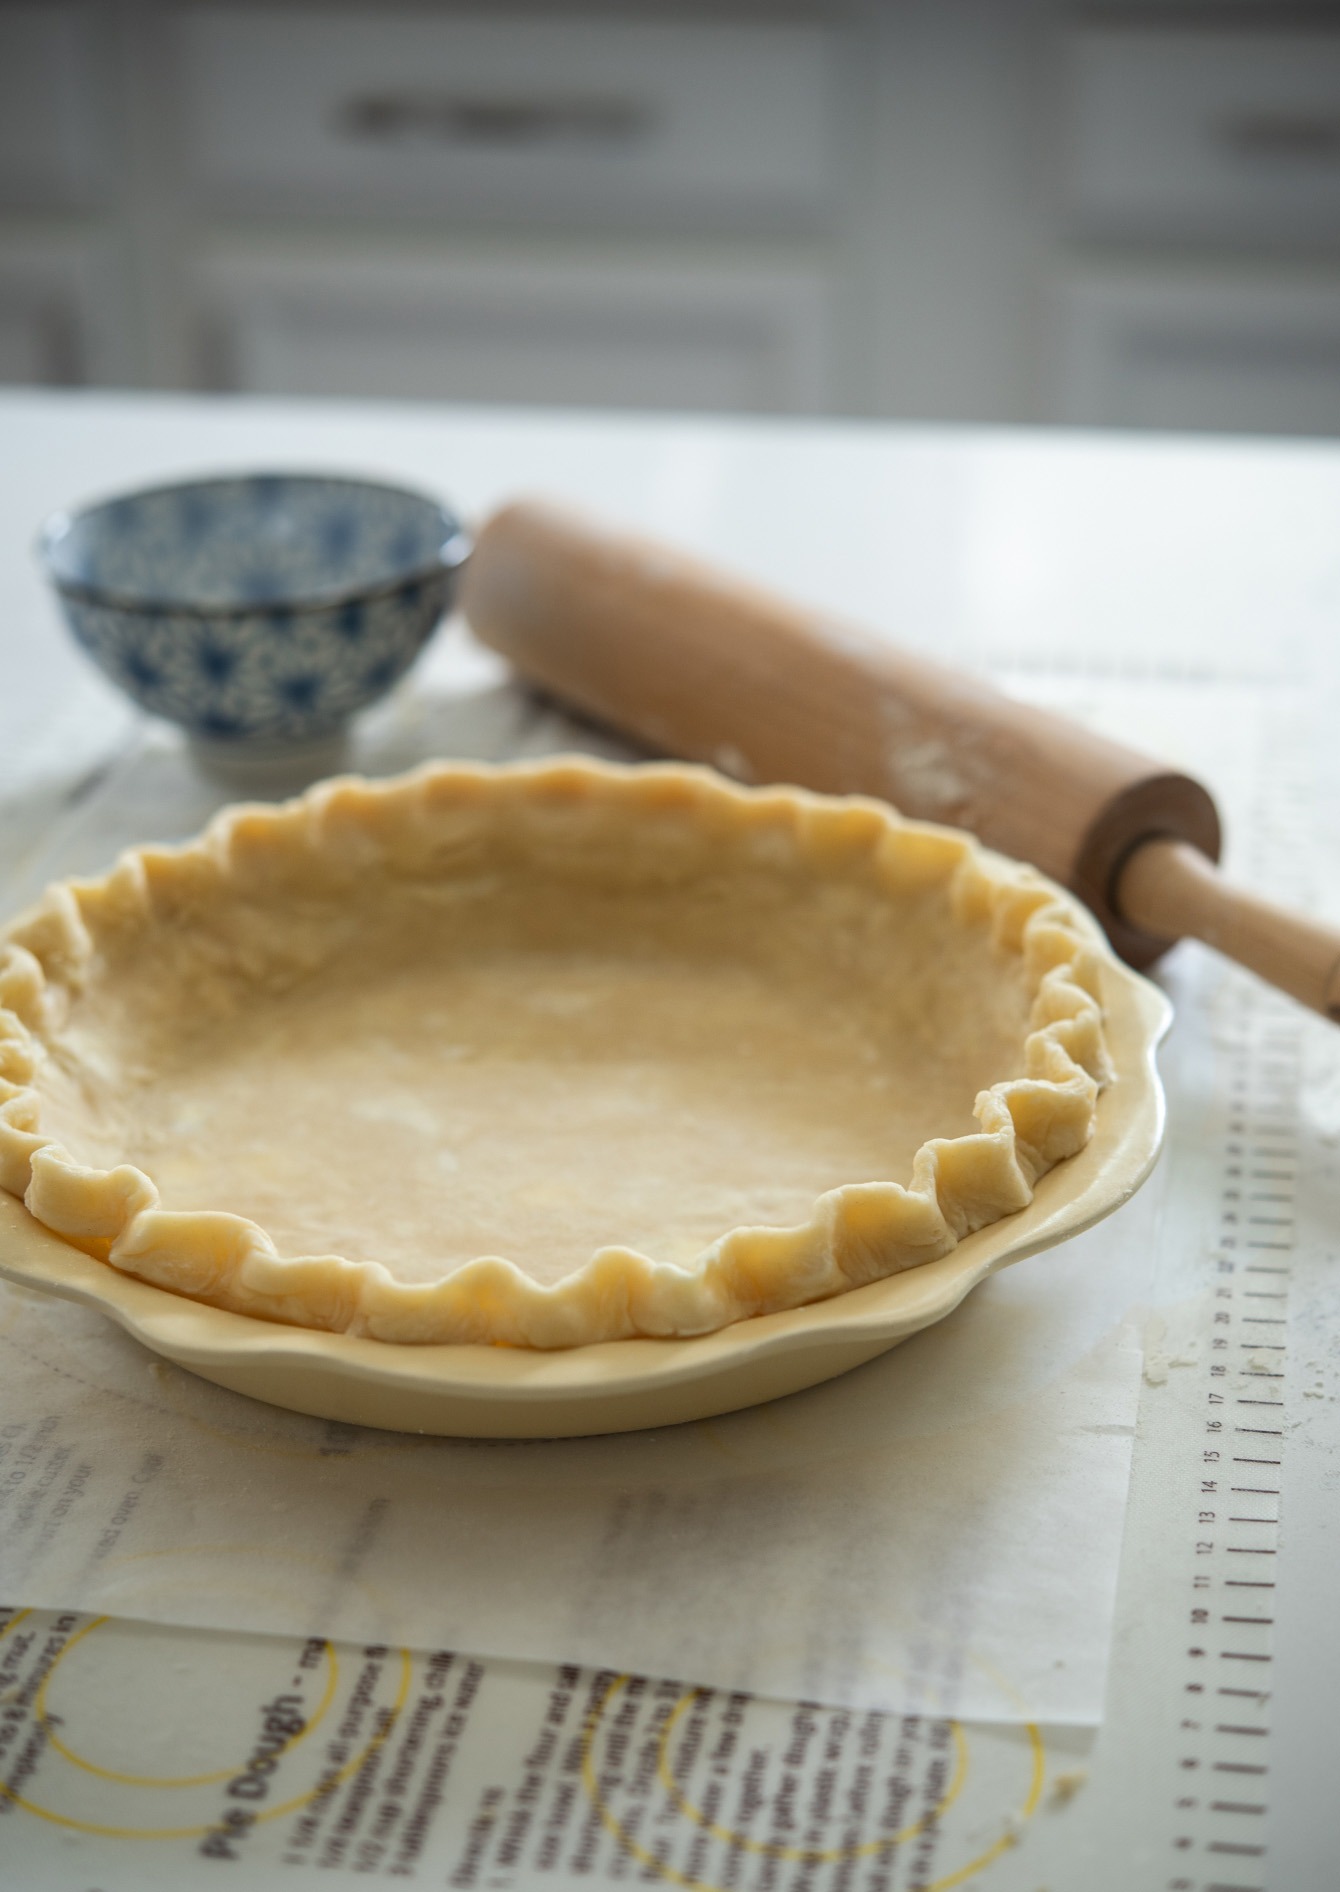
A truly great pie starts with the perfect pie crust. For me, that means dough that rolls out easily, holds its shape in the oven, and tastes as good as the filling it carries.
After years of testing every type of pie crust—butter, shortening, even oil—I landed on this lard and butter version as my forever recipe. Leaf lard creates unmatched flakiness, butter adds rich flavor, and together they bake into a crust sturdy enough for juicy fillings yet tender enough to melt in your mouth.
I use this crust recipe for all my pies every Thanksgiving, and my family love it year after year. Once you taste it, you’ll see why I never go back to an all-butter or butter-shortening crust.
What is Leaf Lard (and Why It Matters)
Leaf lard is the highest-quality pork fat, taken from around the pig’s kidneys. Unlike regular lard, it has a neutral flavor and a silky texture that makes pastries extra tender and flaky. That’s why bakers prize it for pies.
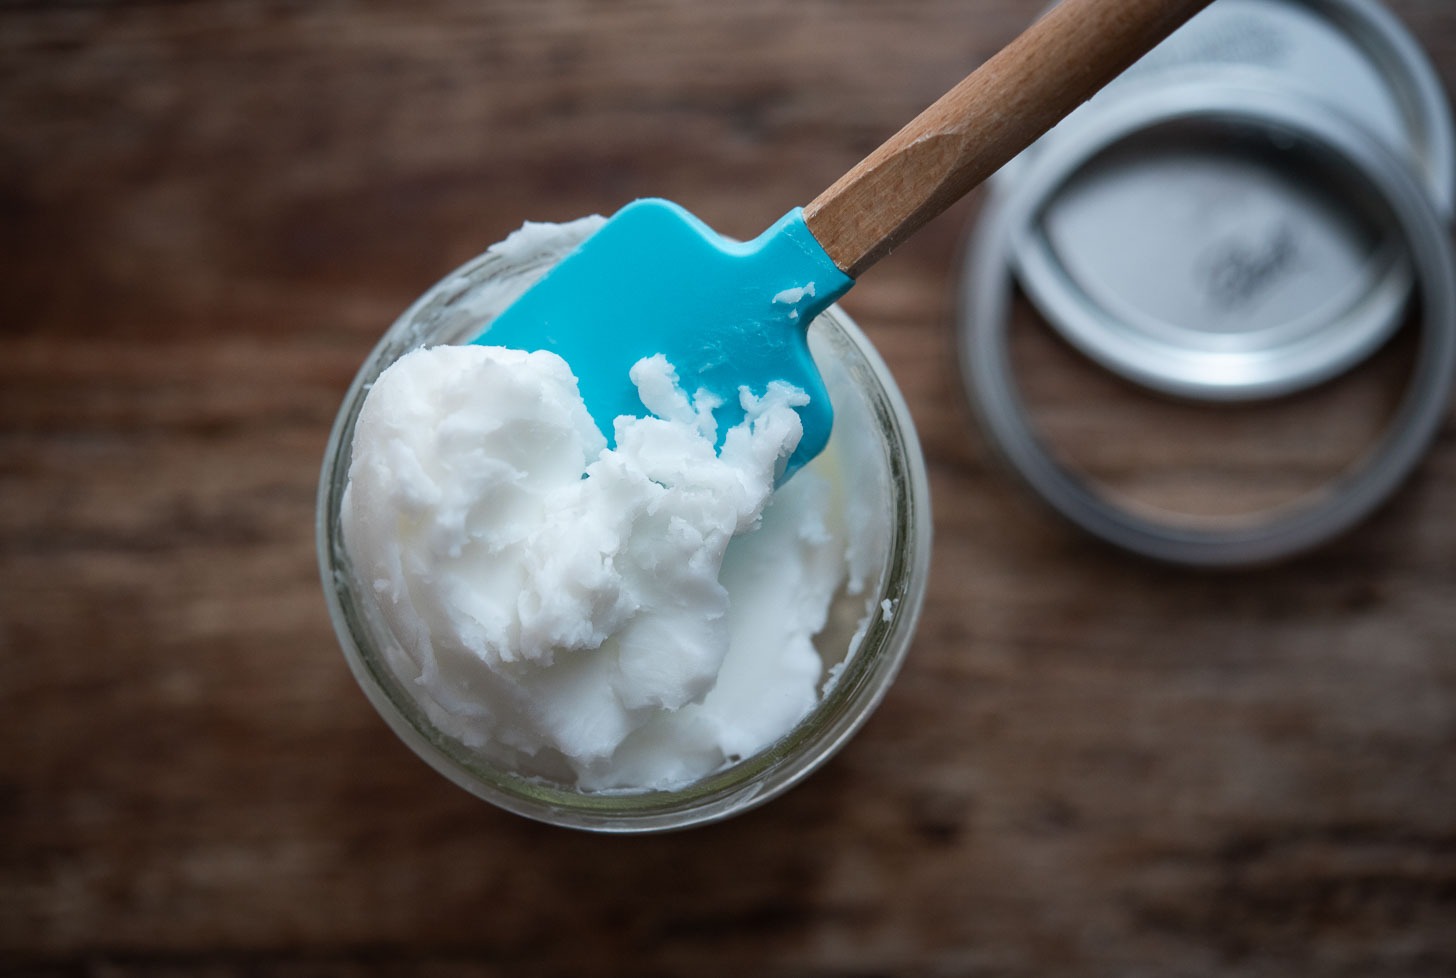
I didn’t fully understand the difference until I tested side by side: my all-butter crust tasted good, but the leaf lard version baked up lighter and held its shape better. For juicy pies like blueberry or peach, that’s a game-changer.
You can usually find bottled leaf lard at butcher shops or farmers markets, and some specialty stores online. I often buy mine from Fannie & Flo, and it stores well in the freezer so you’re always ready to bake.
Ingredients That Make This Crust Foolproof
Over the years, I’ve tweaked this recipe through dozens of pie trials, and these ingredients—and the way they work together—make the difference between a good crust and a truly flaky one.
- All-purpose flour + a touch of cornstarch: The cornstarch isn’t traditional, but I use it to lighten the texture. It’s my trick for keeping the crust tender without sacrificing structure.
- Leaf lard + butter: Lard creates visible flaky layers, while butter adds flavor. I tested butter-only crusts that tasted good but fell flat on flakiness, and shortening crusts that were flaky but bland. This half-and-half balance is the winner.
- Egg + vinegar: This is the old-school baker’s secret I learned from an old pie cookbook. The egg makes the dough easier to handle, and vinegar keeps gluten from toughening the crust. Without them, the dough can shrink or crack more easily.
- Ice water: The temperature matters just as much as the water itself. Ice cold water keeps the fat from melting into the flour too soon, which is the difference between a dense crust and one that puffs into layers.
Step-by-Step Visual Guide: Lard & Butter Pie Crust
I’ve included detailed photos here so you can see what each stage of the dough should look like. The recipe card below has all the exact measurements, but these visuals (and my notes from years of testing) will help you get it right the first time.
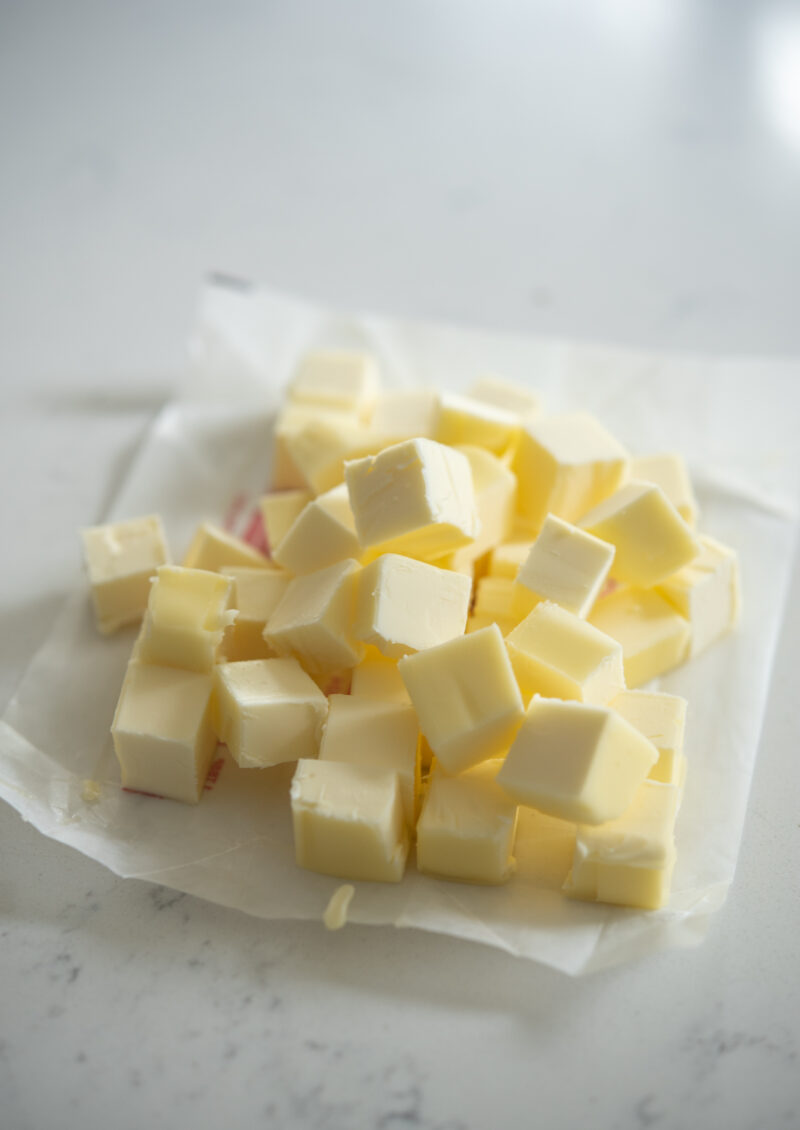
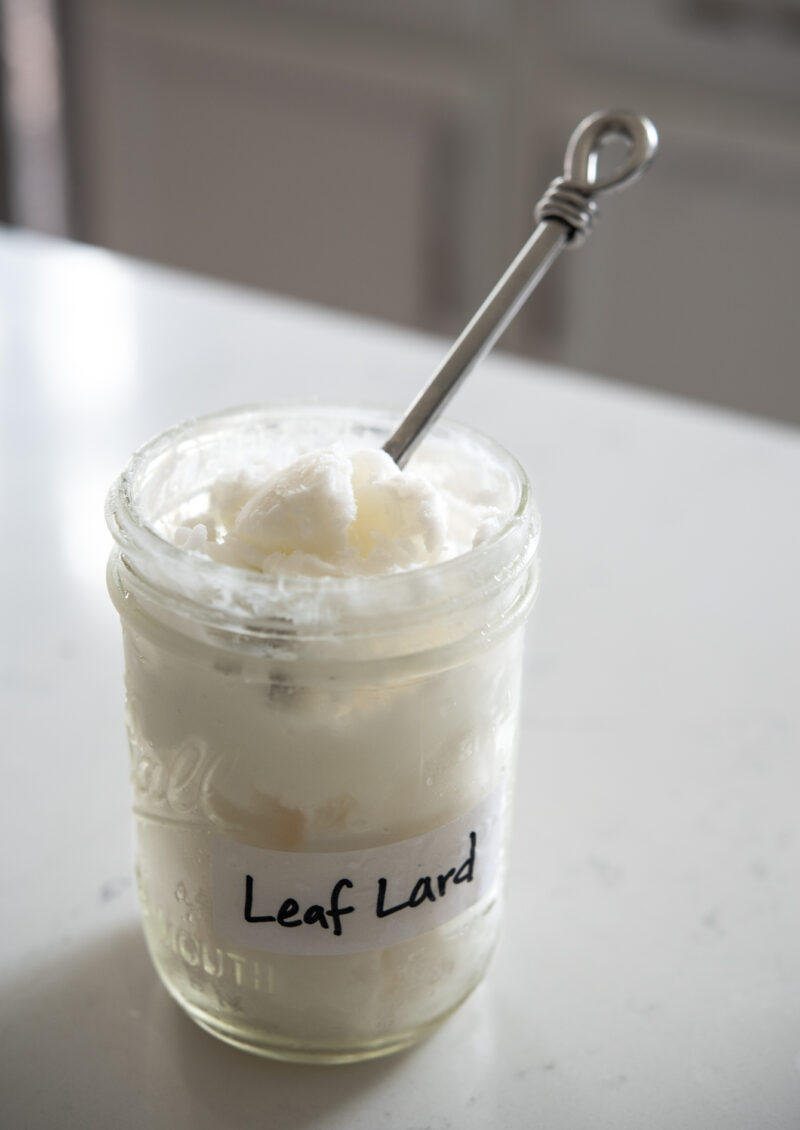
Cold fat is non-negotiable. I cut the butter into cubes and keep them in the freezer for 10 minutes while I scoop out the leaf lard. If the fats soften, the crust won’t flake properly.
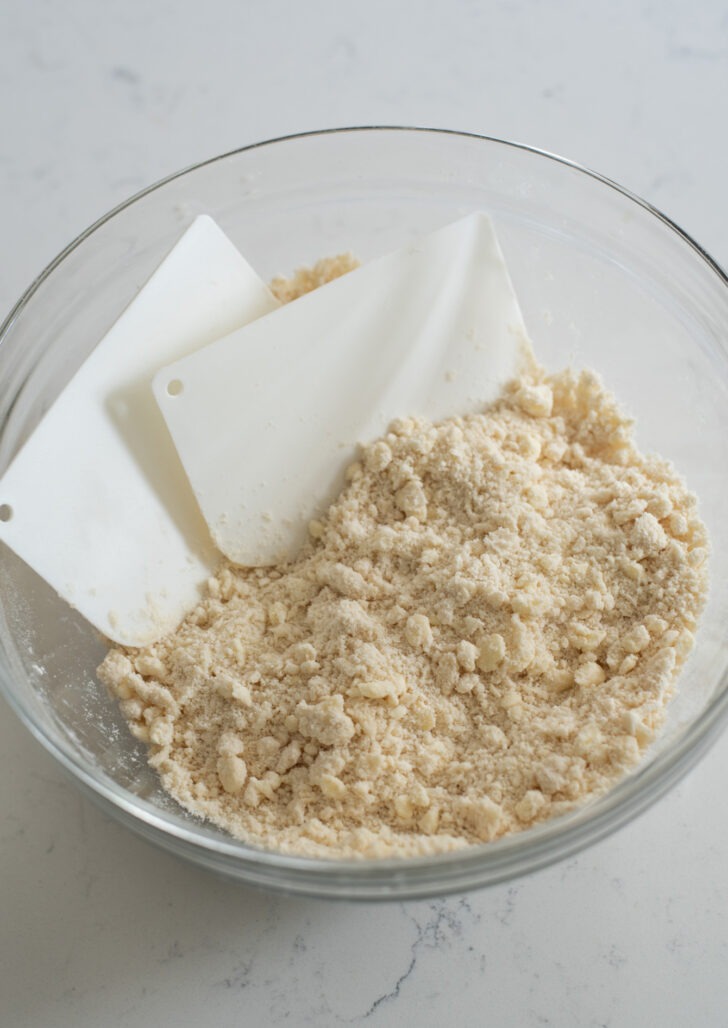
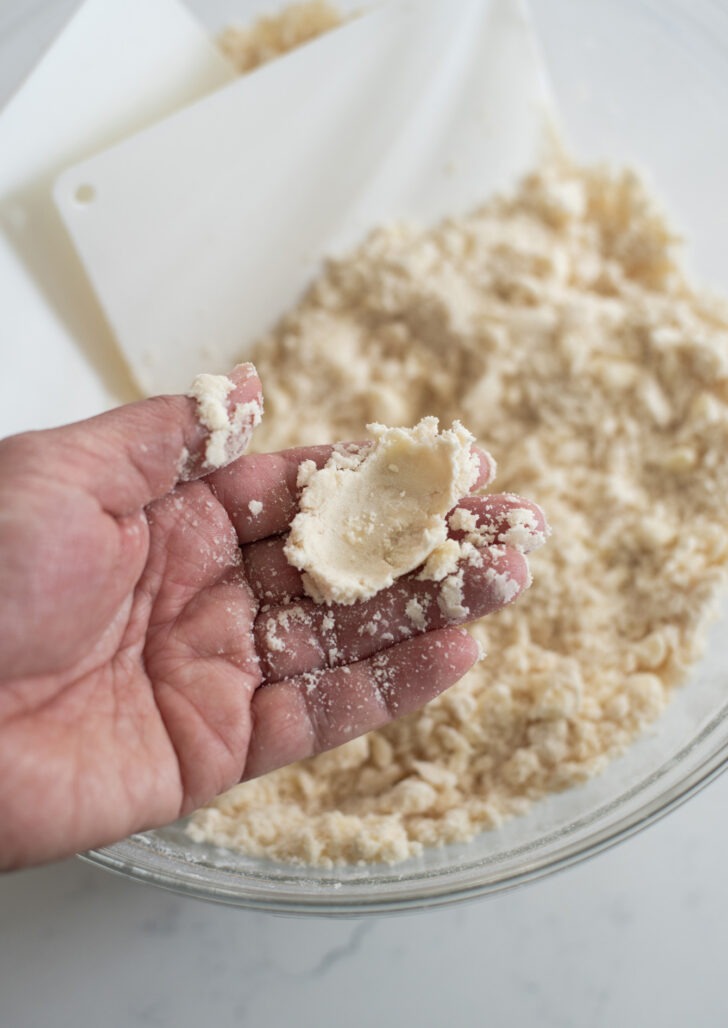
Cut in the fat. The flour should coat the butter and lard, leaving pea-sized chunks. If you blend until it looks like sand, you’ve gone too far. Those visible fat pieces are what puff into layers in the oven.
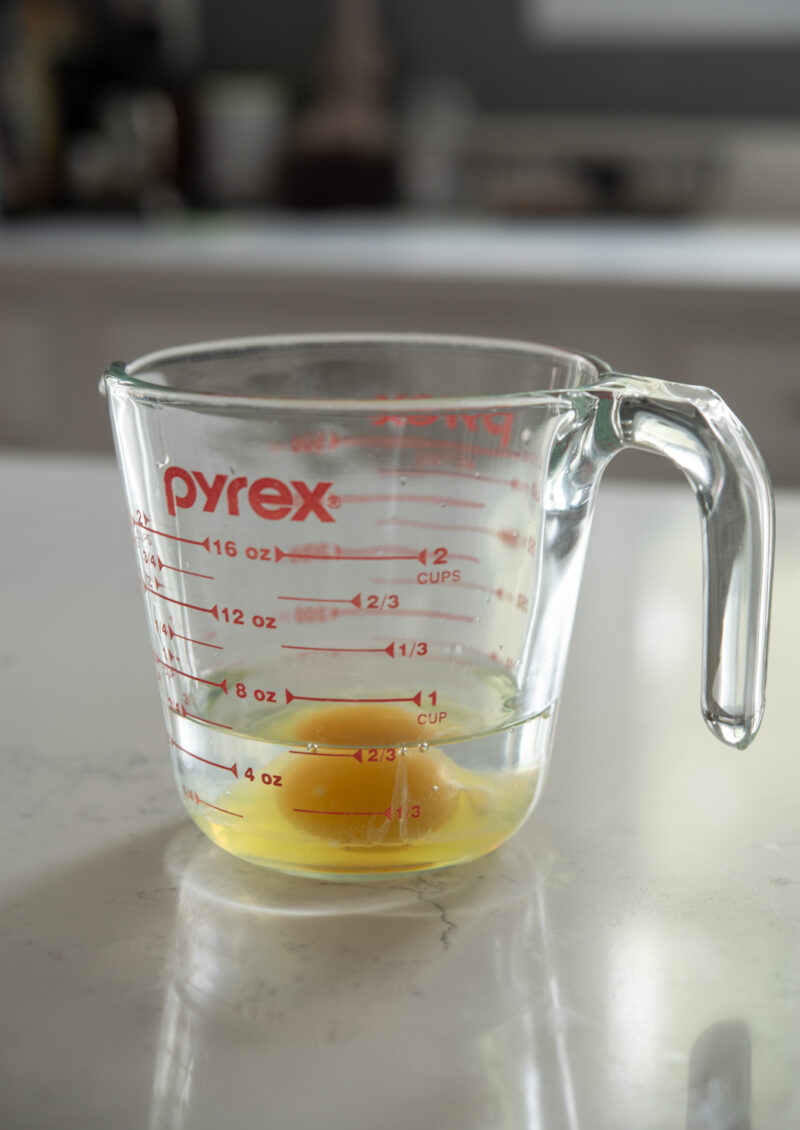
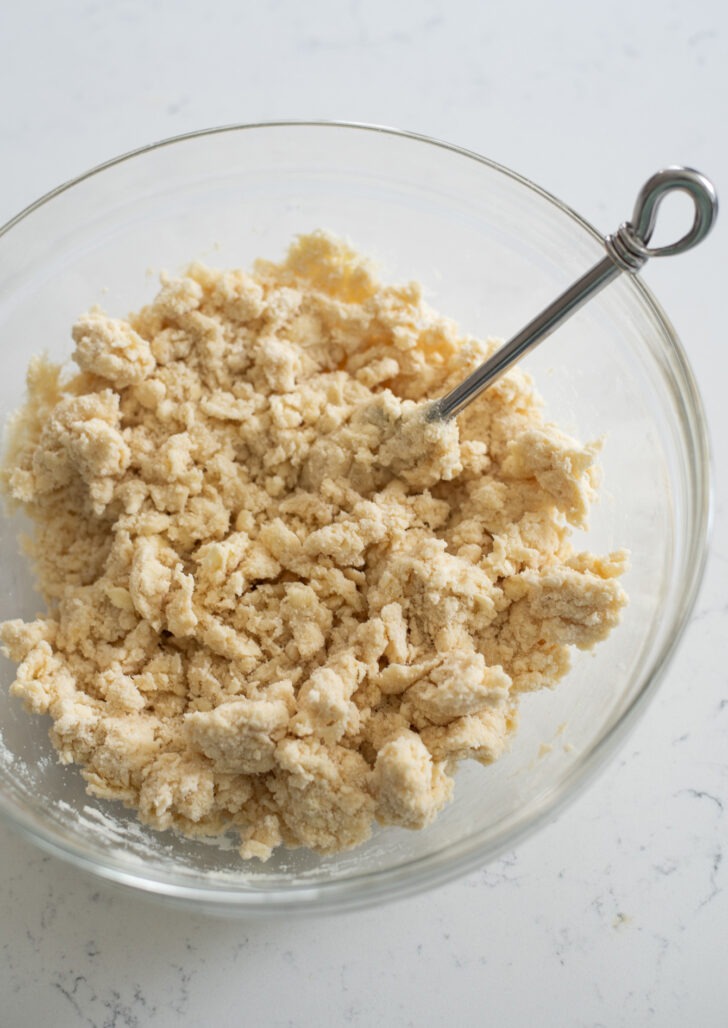
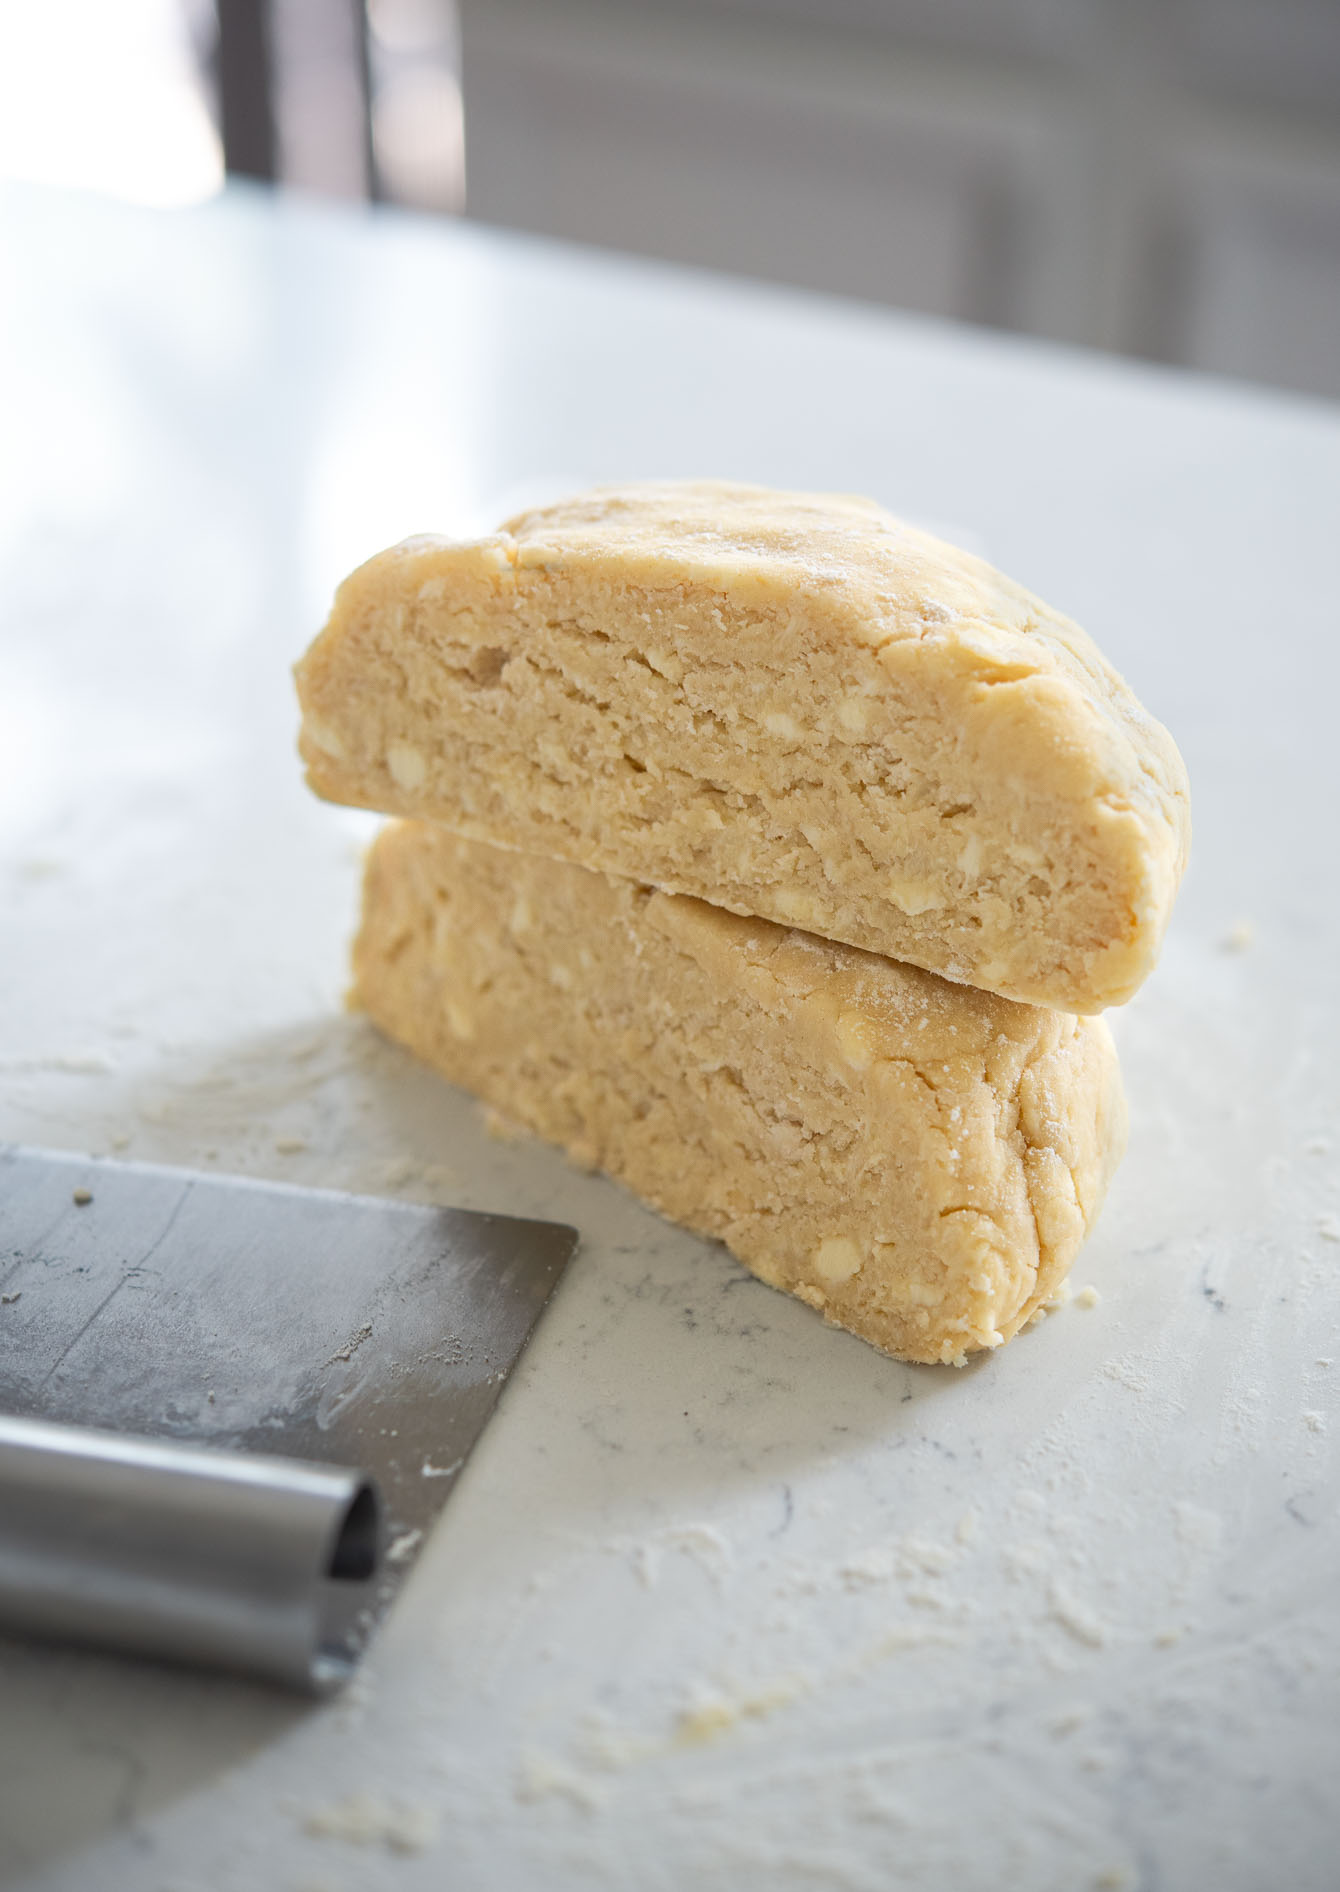
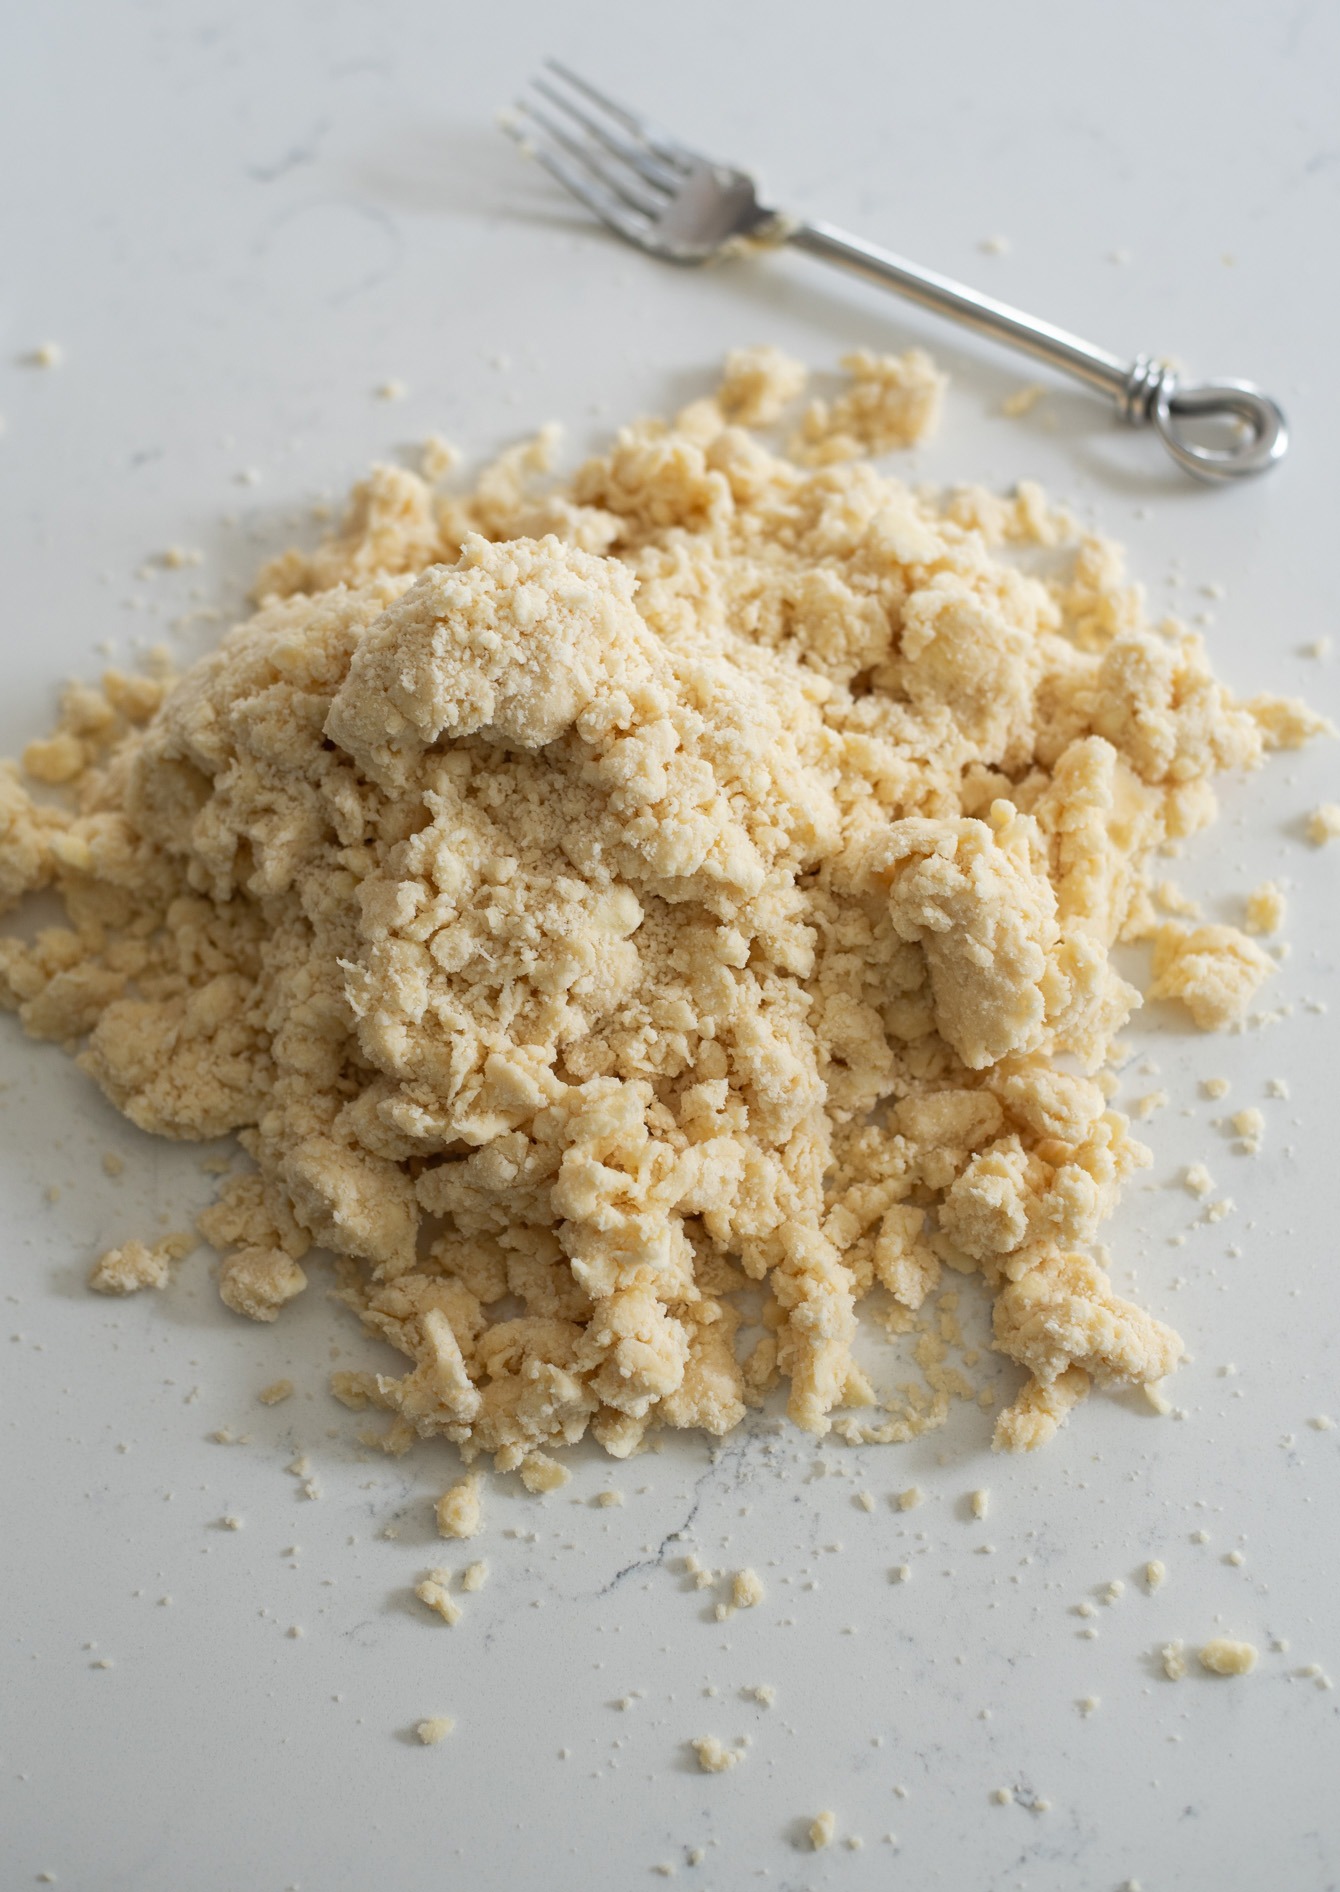
Add the egg-vinegar mix gradually—start with half, then drizzle more only where the flour looks dry. The dough should just hold together when pinched, not sticky and not crumbly. This is where many bakers over-hydrate, so go lighter than you think.
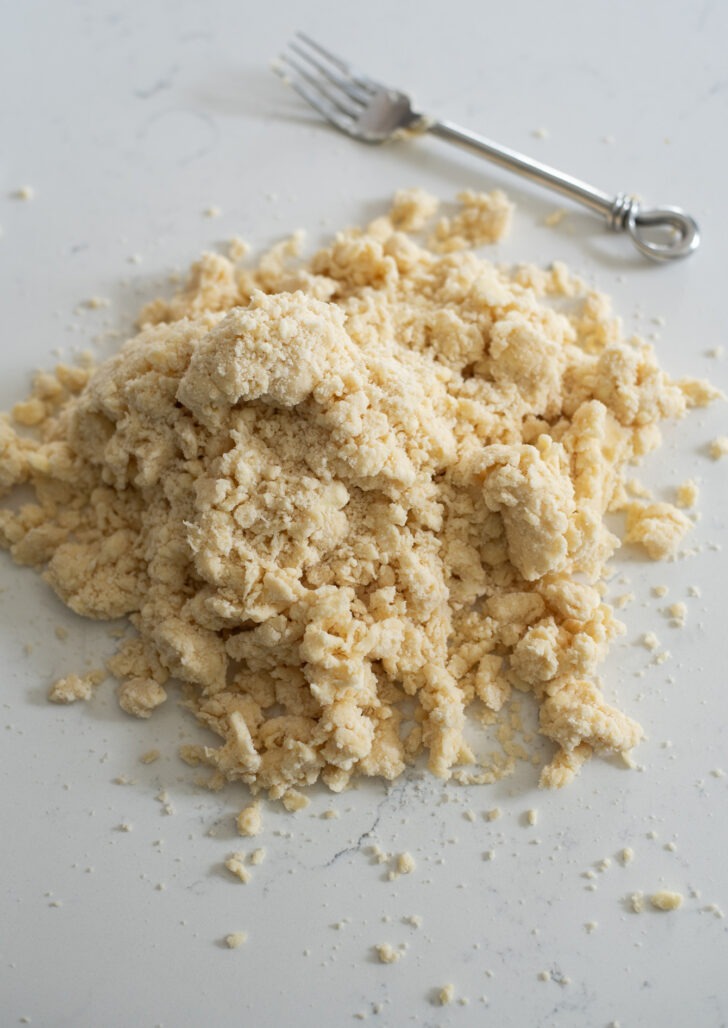
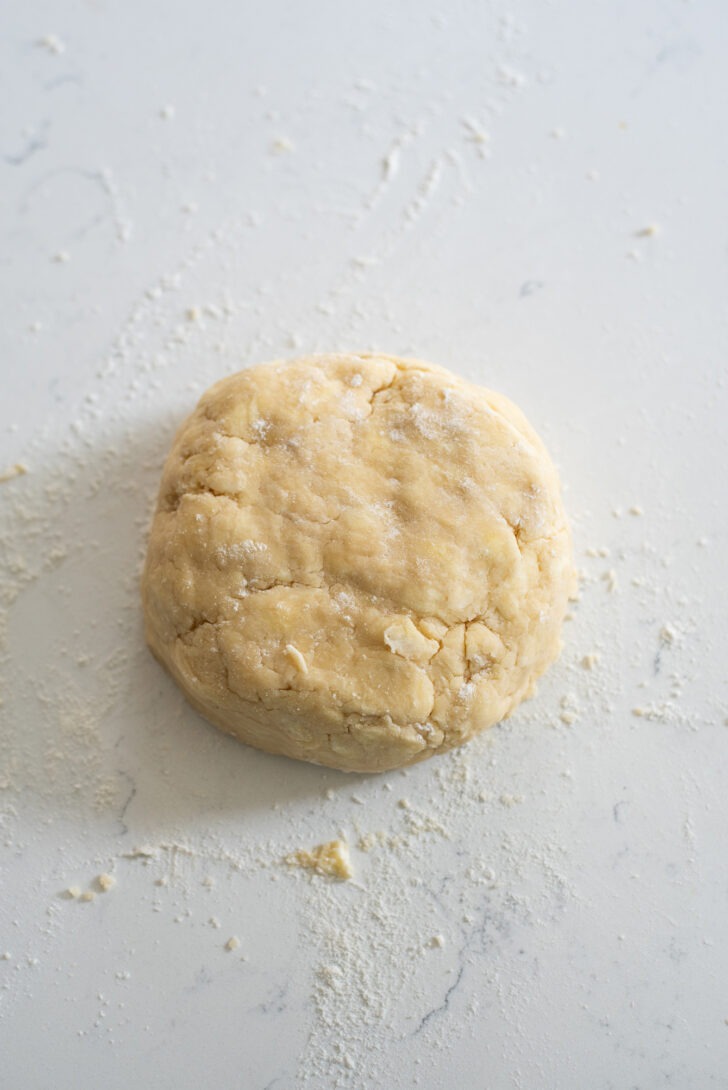
Gather, shape, and press the dough together gently—never knead.
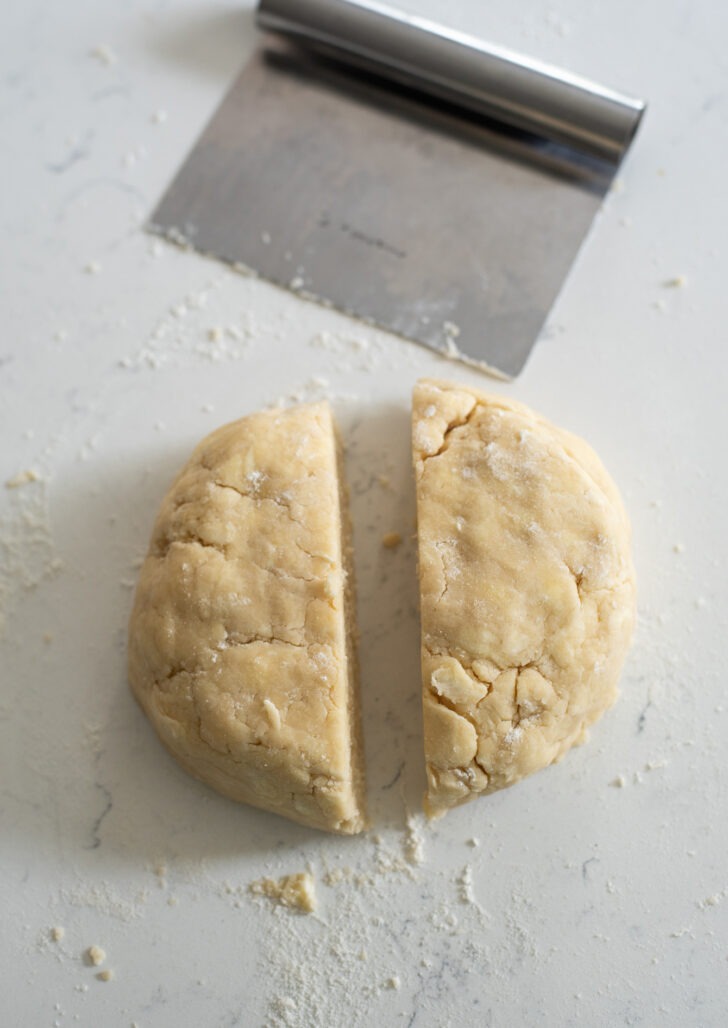
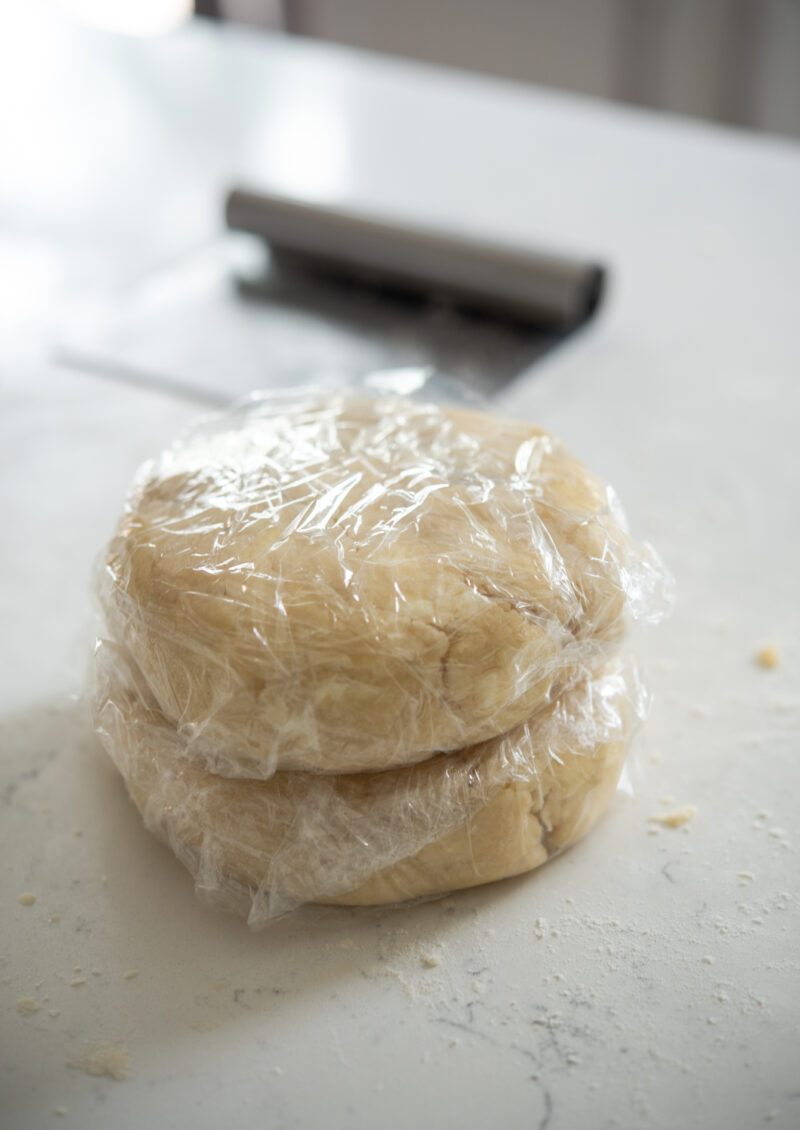
I divide it into two disks and chill them for at least an hour. Resting relaxes the gluten and keeps the crust tender.
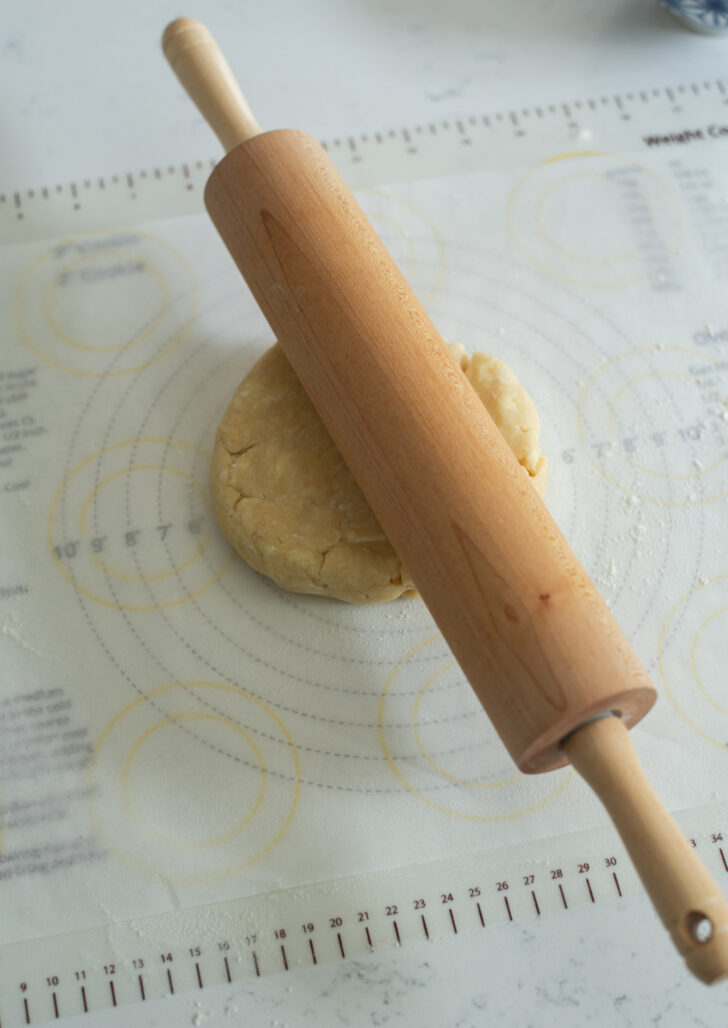
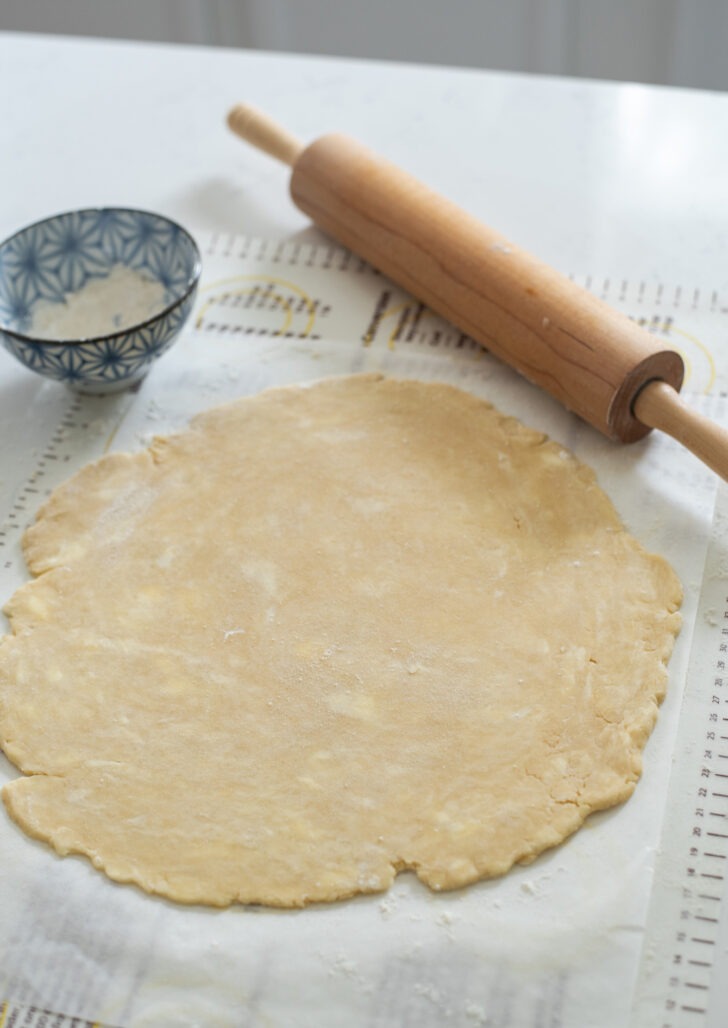
I give the dough a couple of firm taps with my rolling pin to loosen it up. Roll from the center outward, turning the dough often to prevent sticking. Aim for about 13 inches across for a standard 9 pie pan.
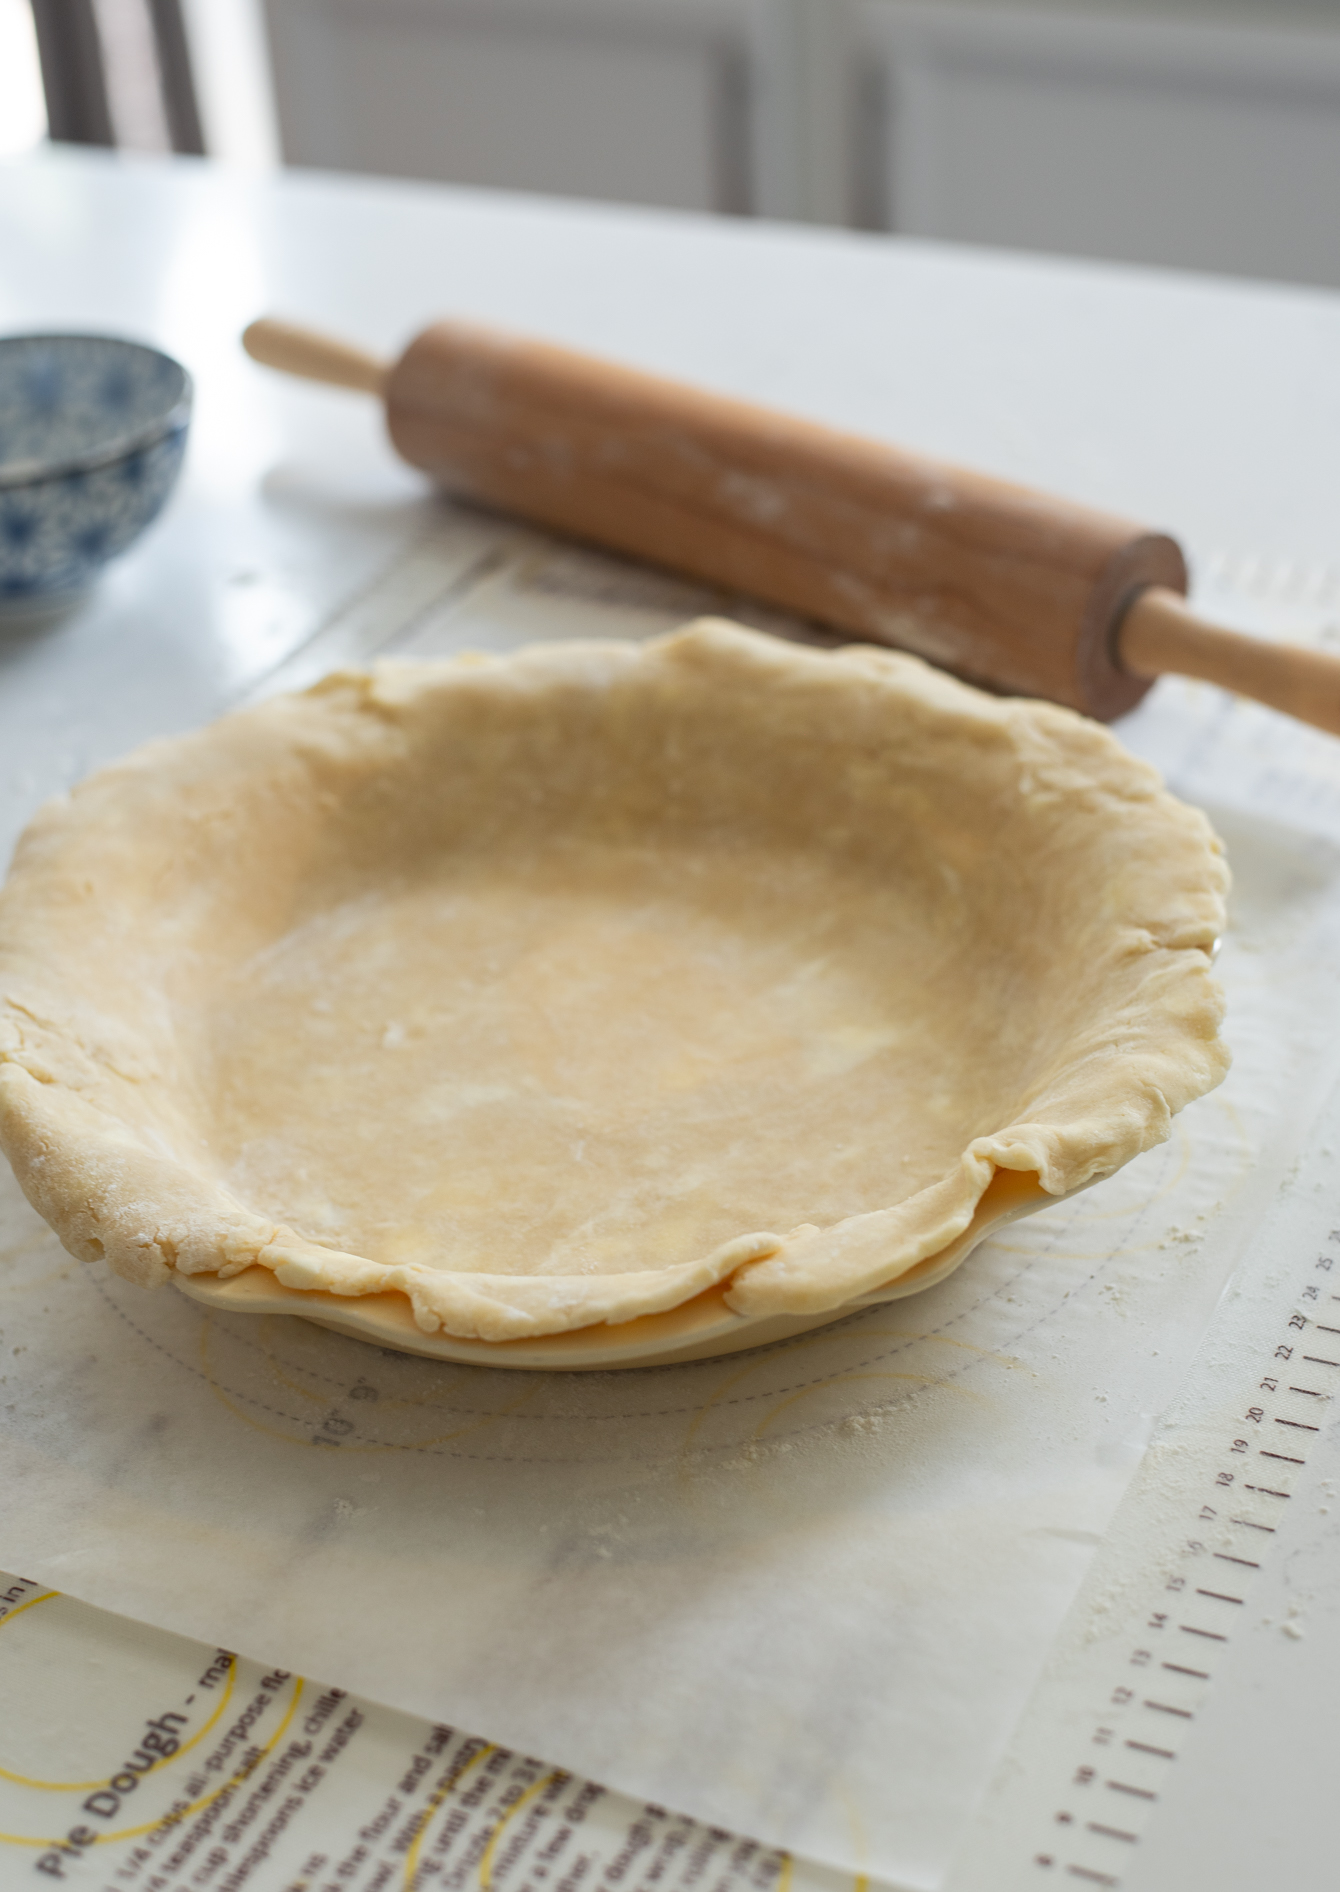
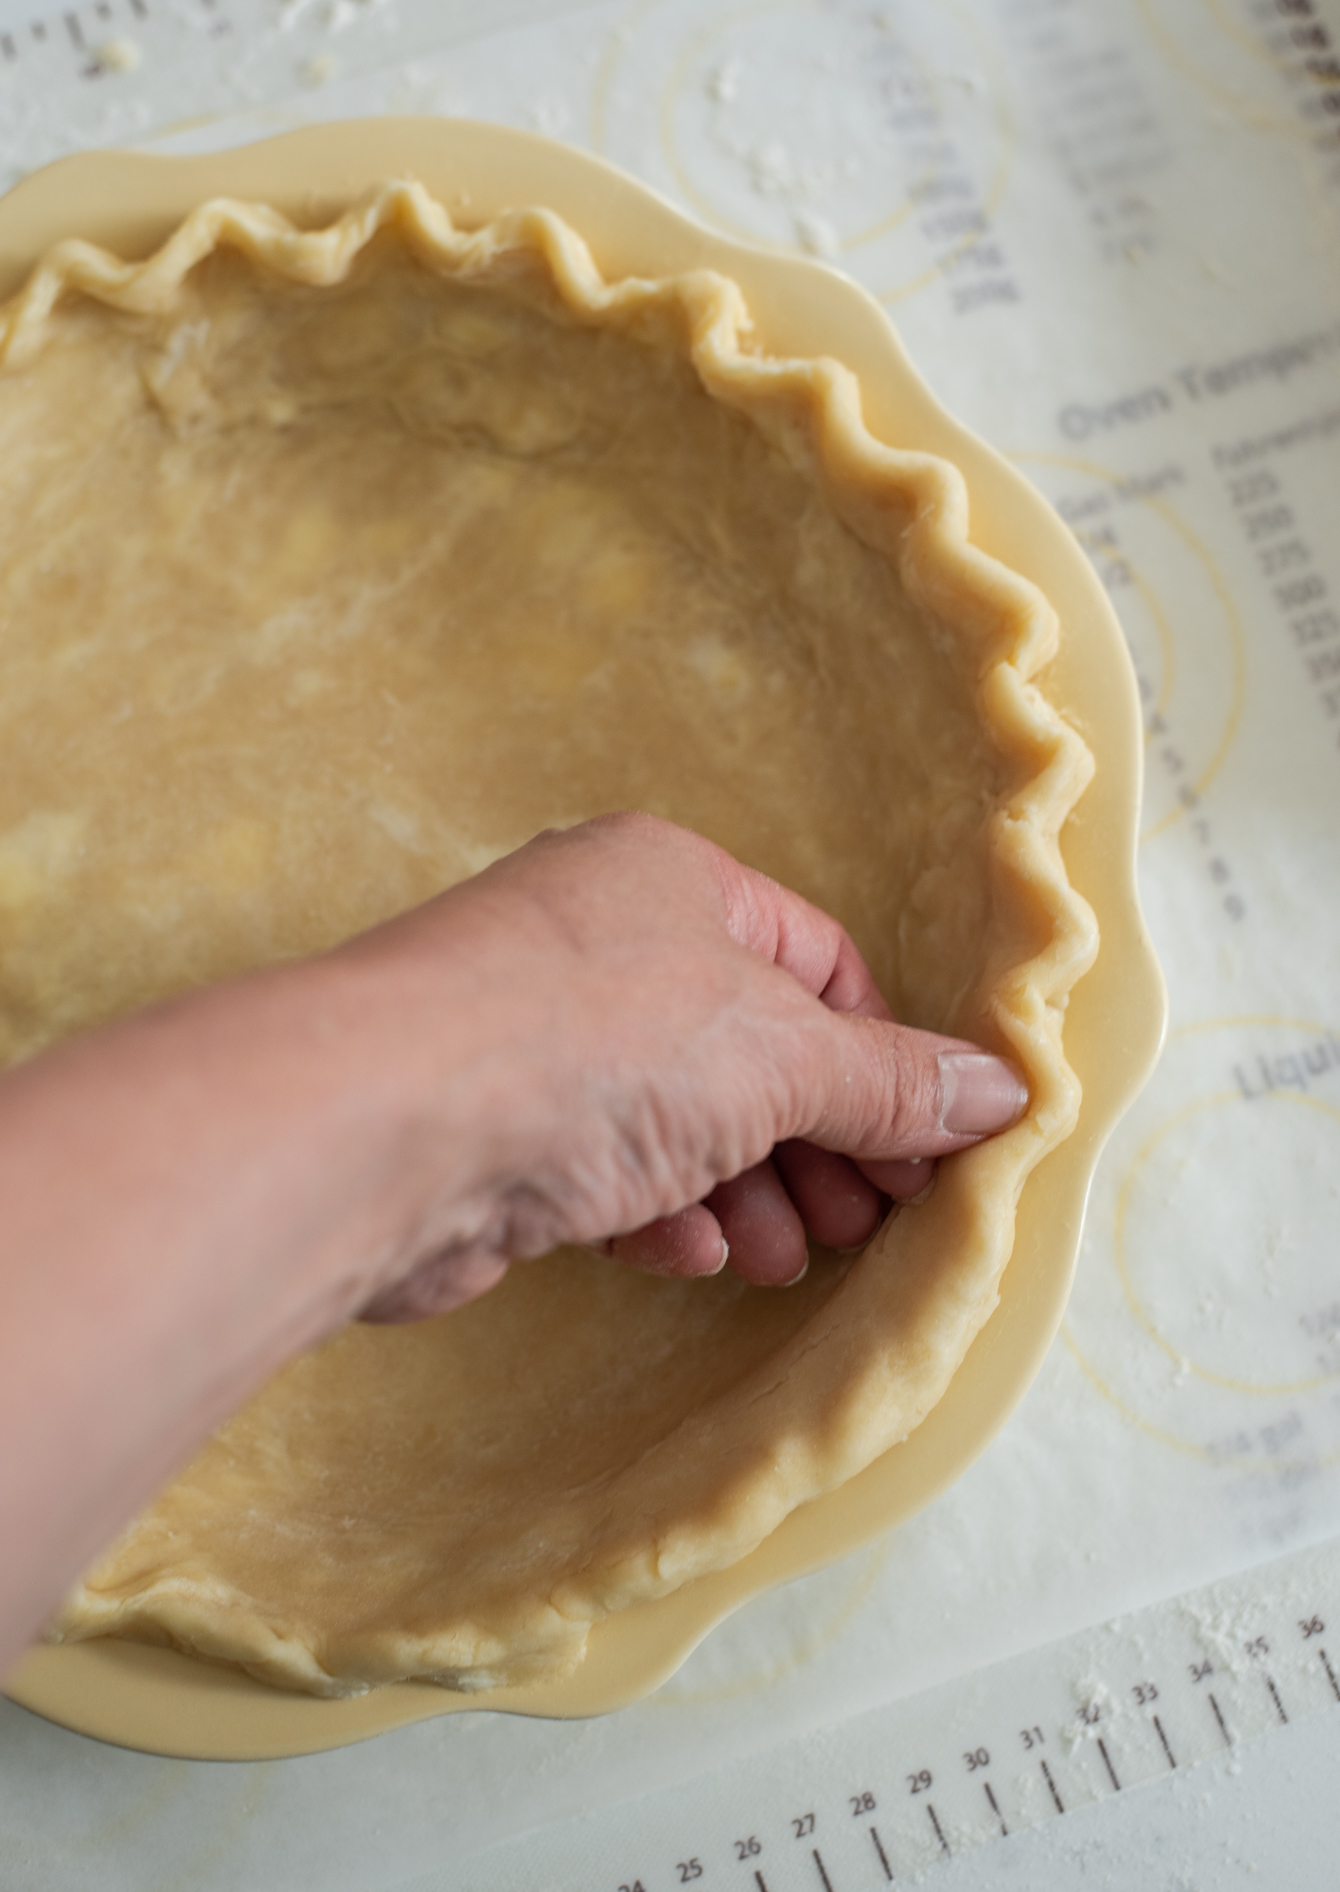
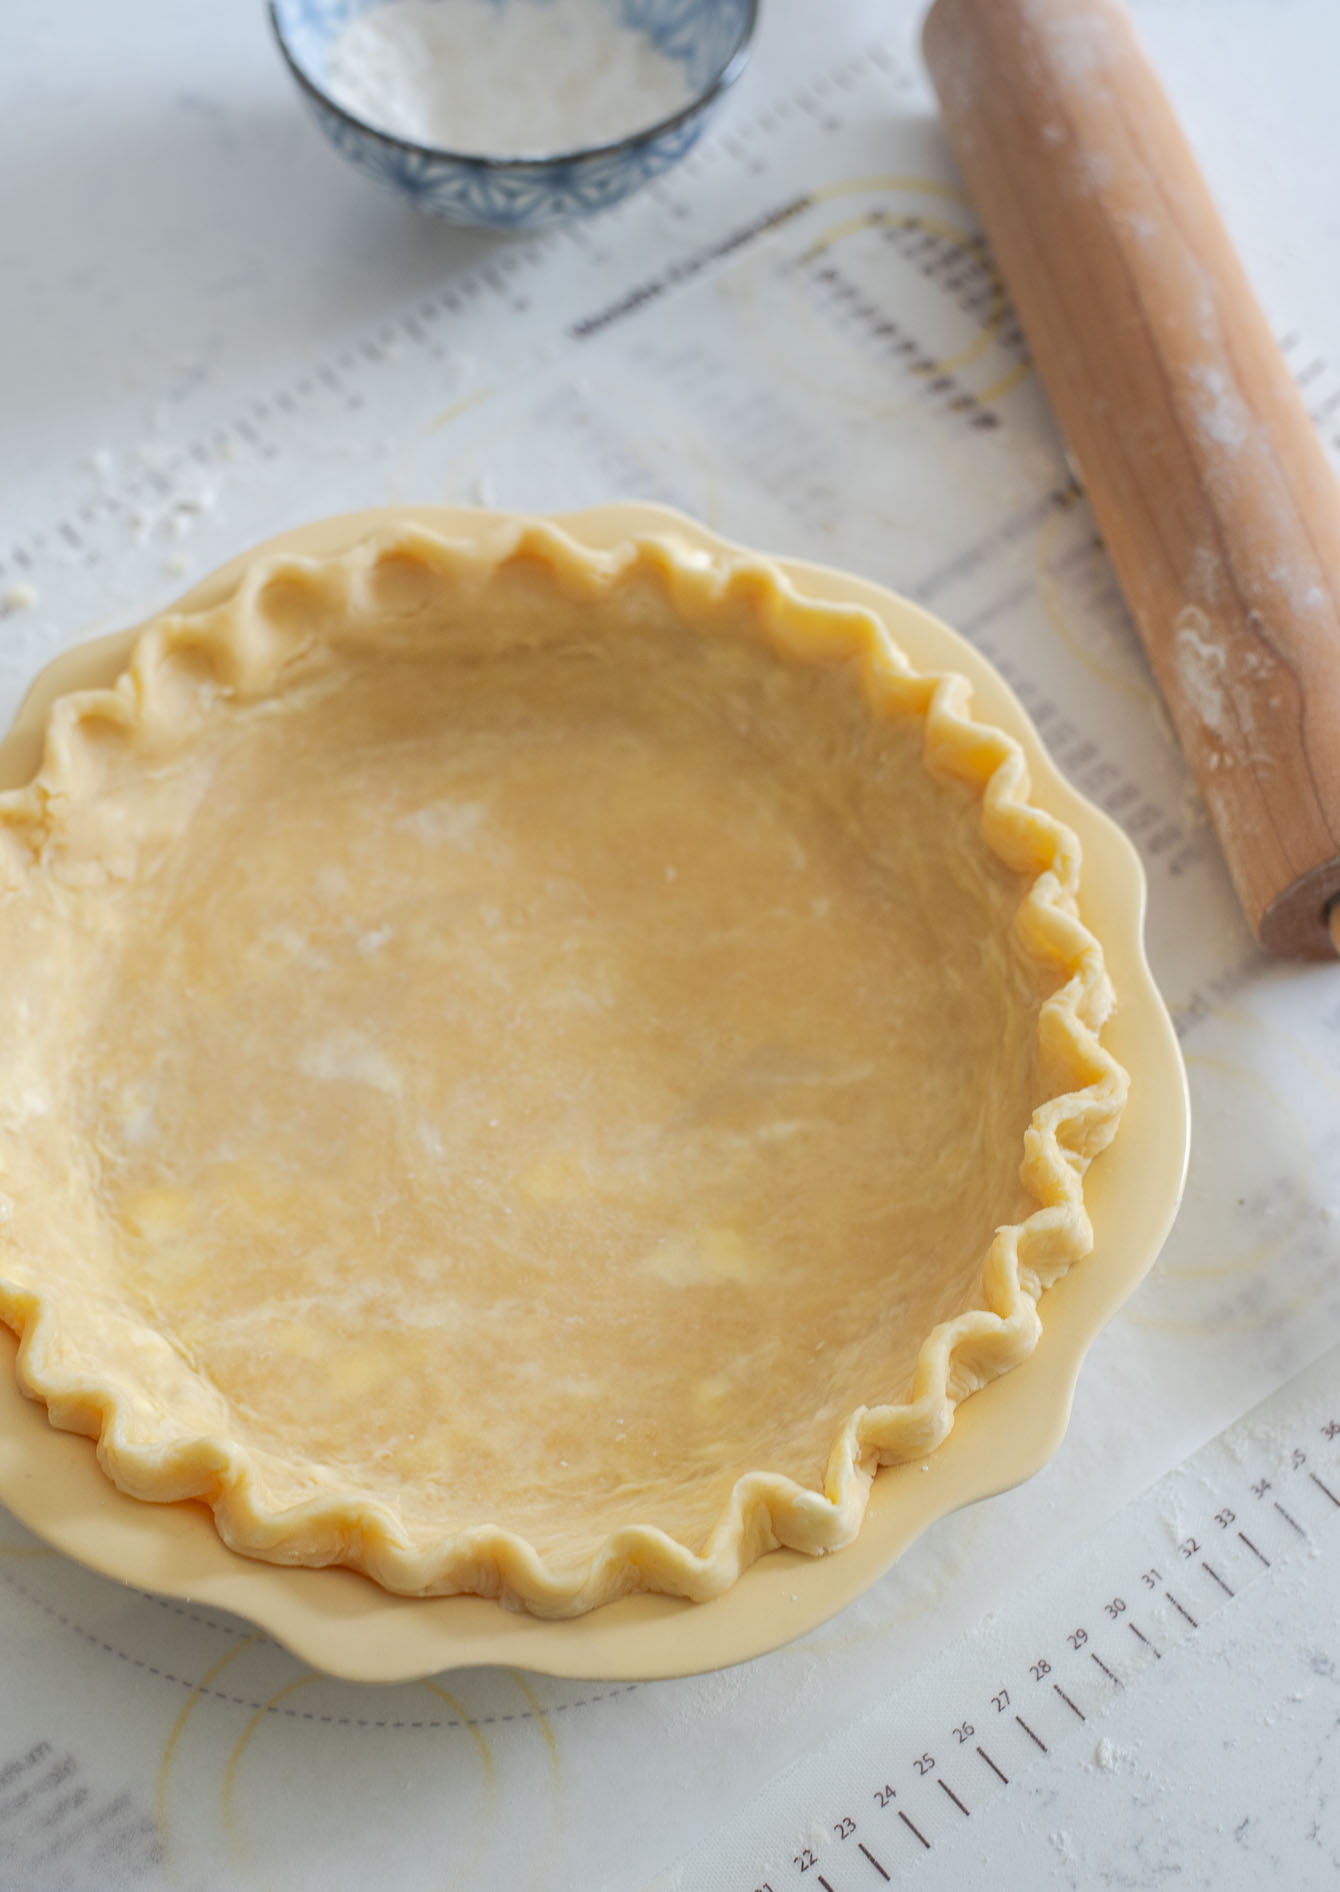
Tuck the excess dough under itself, then pinch between thumb and forefinger for a neat V pattern. A well-fluted edge isn’t just pretty—it helps the crust hold shape during baking.
Prefer to use a food processor? Check the recipe notes below for a quicker method.
Watch Recipe Tutorial Video (Full Version)
How to Par-Bake (Blind Bake) This Crust
Some pies (like custard or cream pies) need a crust that’s fully baked before you add the filling. That’s when par-baking, or blind baking, comes in.
To do it, line the chilled crust with foil or parchment, fill with pie weights (I often use dried beans I keep just for this), and bake at 375°F for about 10–12 minutes. Remove the weights and let the crust cool before adding your filling.
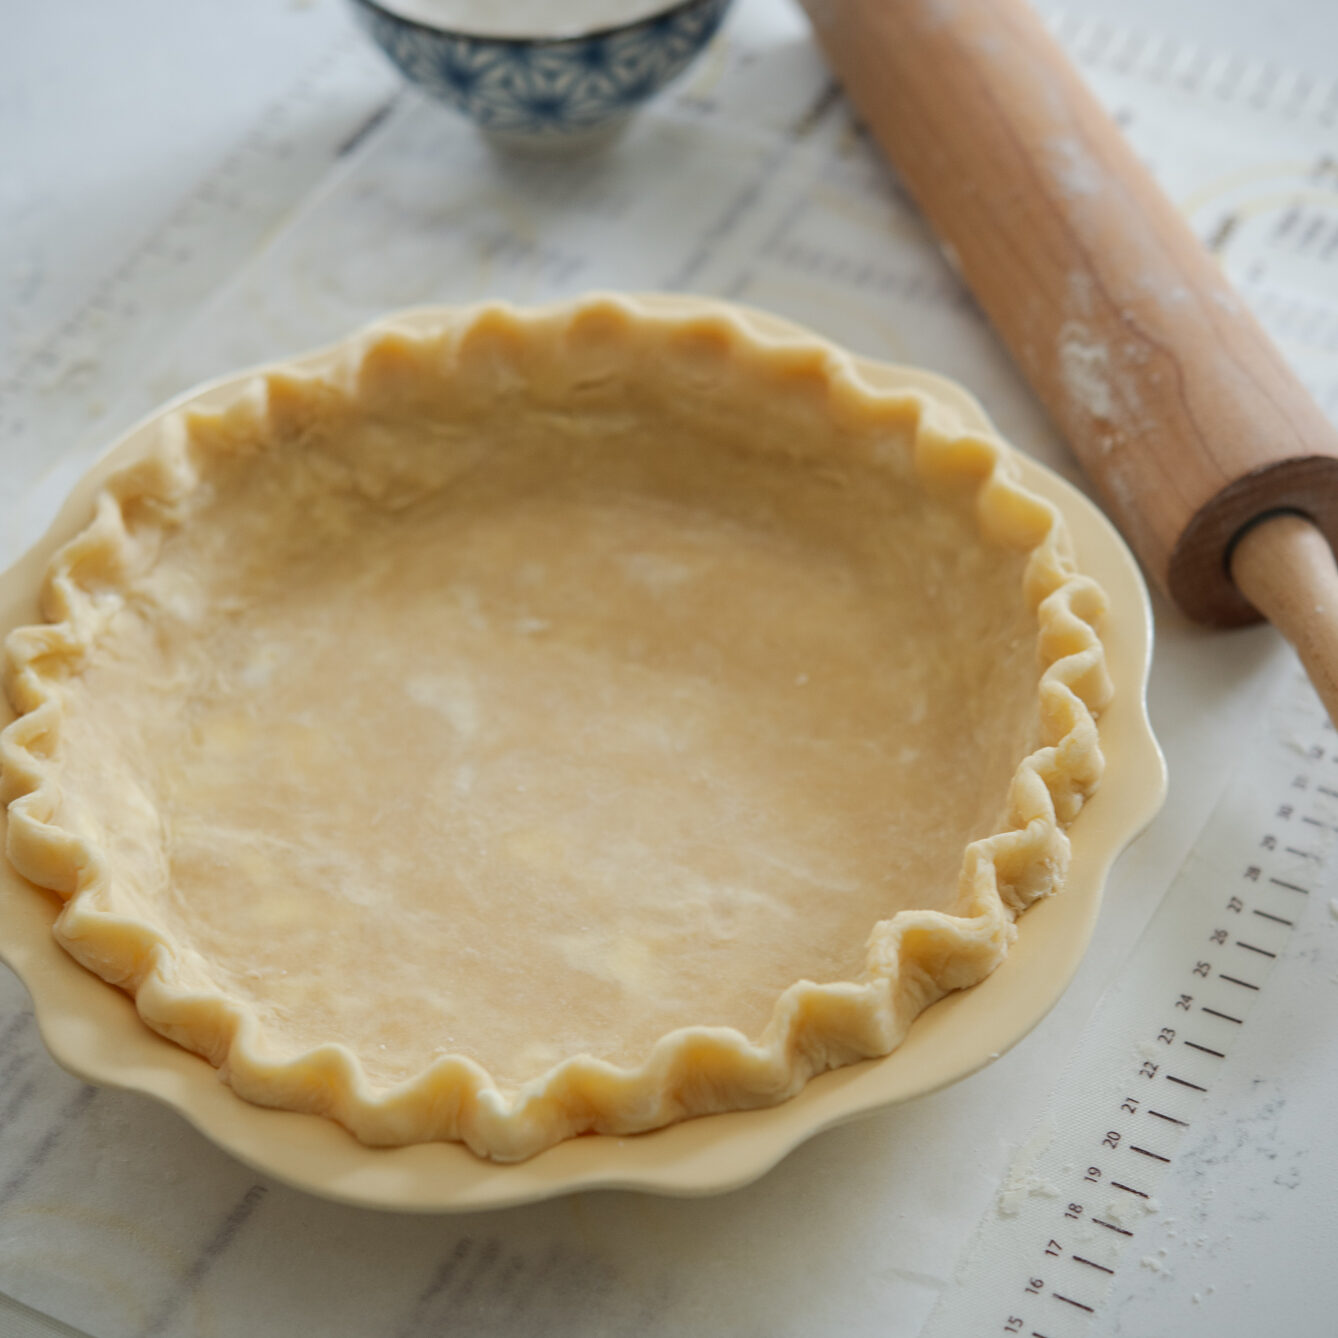
Tip from my kitchen: with this lard-butter crust, I like to chill the dough again after fluting the edges, then blind bake—this helps the fluted shape hold beautifully in the oven.
Make-Ahead Pie Dough: Storage & Freezing Guide
Pie dough is one of the best things to make ahead—once it’s ready, you’re halfway to a homemade pie. Here’s how I store it so the texture stays flaky:
- For unbaked dough: Wrap each disk tightly in plastic, then slide them into a freezer bag. Dough keeps in the fridge for up to 1 week or the freezer for 3 months. Thaw overnight in the fridge before rolling.
- For shaped pie crusts: You can roll out the dough, fit it in the pan, and freeze the whole thing (pan and all). I do this around the holidays so I can just pull out a crust, fill, and bake. If baking from frozen, give it a few extra minutes.
- Pro tip: always label your dough with the date—I’ve pulled mystery dough from my freezer too many times to skip this step now.
Pies Made with This Crust
Here are a couple of examples of pies made with our lard and butter pie crust—all-American deep dish apple pie and maple blueberry pie.
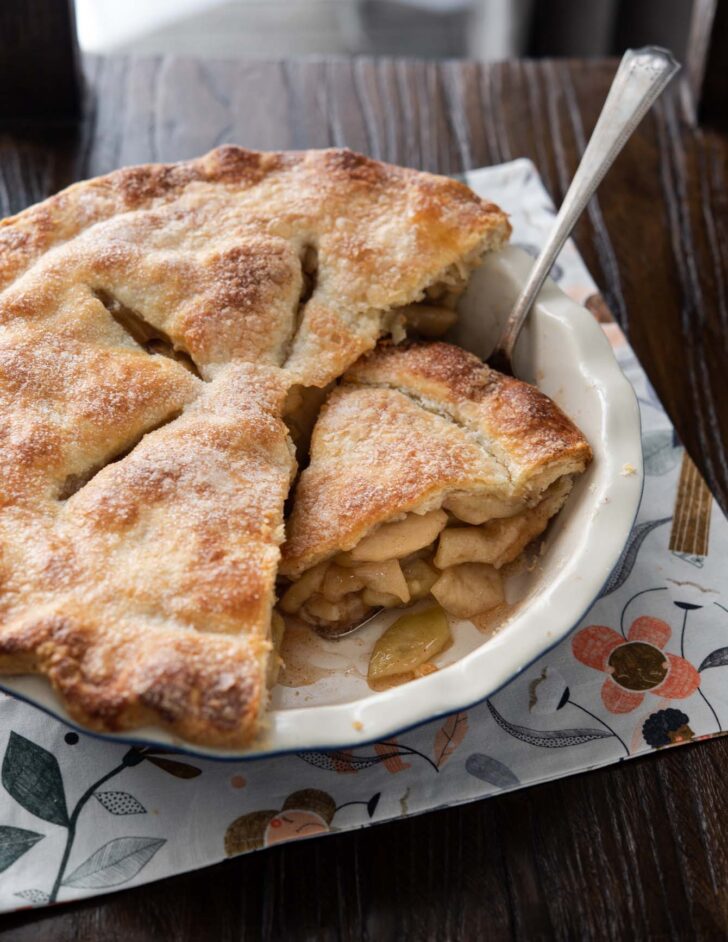
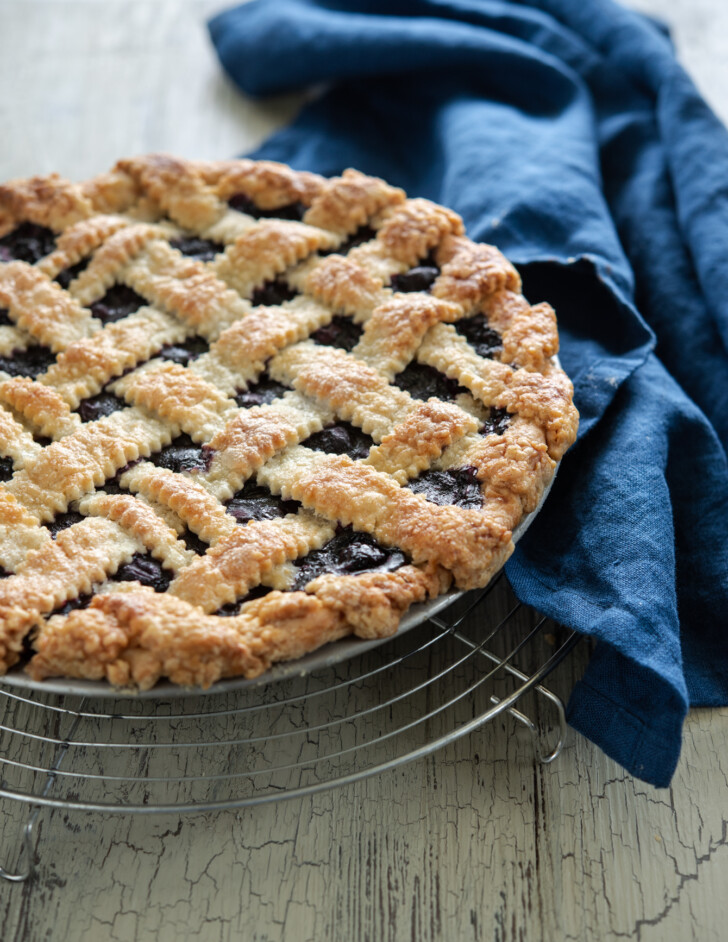
As you can see, this crust bakes up beautifully golden, light, and flaky, enhancing both the appearance and flavor of any pie. I hope you can give one of these fabulous pies a try. It won’t disappoint you.
Love this recipe? Rate it and share your experience in the comments below! On Instagram? Tag me to showcase your creation. For more delicious recipes, subscribe to our newsletter!
Flaky Lard and Butter Pie Crust (Foolproof Recipe)
Recipe Video
Ingredients
- 3 cup (370 g) all-purpose flour
- 1 tbsp (7.5 g) cornstarch
- 1 tsp (5 g) salt
- 10 tbsp (128 g) leaf lard , or lard, chilled
- 8 tbsp (113 g) butter, chilled and cut into small cubes
- 1 large egg
- 1 tbsp (15 ml) white vinegar
- ice cold water
Equipment
Instructions
- Mix Dry Ingredients: Whisk together flour, cornstarch, salt in a large mixing bow. Add the leaf lard by the tablespoonful and butter cubes.
- Cut in the Fat: Add the leaf lard by the tablespoonful and butter cubes. Cut the fats into the flour using pastry blender or scrapers until coarse crumbs form. The mixture should hold shape when lightly pressed.
- Make Egg-Vinegar Mixture: Crack an egg in a glass measuring cup (2 cup, about 480 ml, size), and add vinegar. Pour cold water to measure the liquid to reach 2/3 cup (158 ml) amount. Beat the mixture well.
- Add Liquid to Dry Mixture: Drizzle about 1/2 cup (120 ml) of liquid around the crumb mixture and stir gently with a fork. Add more liquid only to dry spots until the dough is moistened (not sticky). Some crumbs are okay.
- Gather and Chill Dough: When the dough mixture is moistened without being too sticky or dry, dump it on a lightly floured surface. Gather up the dough. Divide the dough in half. (If I am making a double crust pie, I usually make the bottom crust dough to be slightly larger than the top crust portion) Shape into disks, wrap in plastic, and chill for at least 1 hour.
- Roll Out the Dough: If the chilled dough feels too firm, give it a few firm taps with the rolling pin to loosen. Lightly flour your work surface and rolling pin. Roll the dough from the center outward, turning it a quarter turn after each roll to keep it even. Aim for a 13-inch (33 cm) circle. Slide your fingers under the dough occasionally to prevent sticking, dusting with a touch more flour only if needed.
- Flute the Edges: Transfer the pastry to fit into a pan, gently nudging it down the sides of the pan. Lift up the overhanging dough and fold it under. Create the flute by using your thumb and forefinger to make a V pattern. Cover with plastic and refrigerate until ready to use.
Notes
- Keep everything cold—freeze butter cubes for 10 minutes before using.
- Add liquid gradually; a slightly dry dough bakes flakier than an over-hydrated one.
- Always chill the shaped crust before baking; it helps the edges hold their shape.
- Use a glass pie pan if possible—you can see the bottom browning for perfect doneness.
I used half for chicken pot pie and half for an apple crumb pie, soooo good and flaky! This is my new go-to pie crust recipe for sure.
Perfect! Thank you so much 🙂
Beautiful Results 🙂 from a page that is beautifully done.
I’m so happy you had beautiful results! And I really appreciate your kind words about the site. Enjoy your pie!
I am a Chef with over 40 years in the industry…never could bake or master pie crust until now. This is my go to…flakey, buttery, rich and satisfying. Thank you!
Thank you so much! Coming from a chef with 40 years of experience, that means a lot. I’m thrilled this crust finally did the trick for you!
Hands down THE best pie crust I’ve ever made! It was hot in my kitchen, not ideal for pie crust making and I still had amazing results. Tender and totally flaky which all butter crust just can’t do. Oh, and I’n not a baker, it’s been years since I’ve made a homemade pie crust, the directions are great. Strawberry rhubarb and raspberry turnovers. No soggy bottoms.
Thank you so much! I’m thrilled it turned out so well for you, especially in a warm kitchen. Strawberry rhubarb and raspberry turnovers sound absolutely delicious. Thanks for sharing your success.