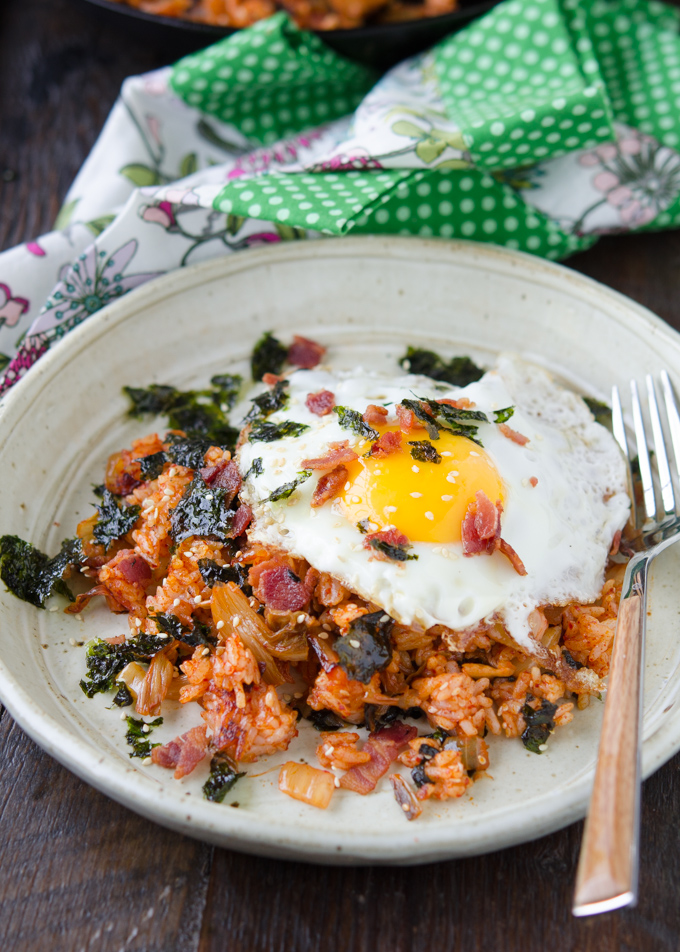
Kimchi Fried Rice with Bacon (Kimchi Bokkeumbap)
This quick kimchi fried rice with crispy bacon is the kind of weeknight meal you can make in 25 minutes with leftover rice and ripe kimchi. It’s smoky, tangy, and deeply comforting — the simple Korean skillet dish I reach for when I want real flavor fast.
Kimchi fried rice (김치볶음밥, kimchi bokkeumbap) has been part of my life for as long as I’ve had a fridge. As a native Korean home cook, there’s always a jar of well-fermented kimchi hiding in the back—perfect for turning into kimchi bokkeumbap.
I’ve been making kimchi bokkeumbap since I was a teenager, tossing leftover rice with whatever I could find and somehow always ending up with something comforting. Teenager-me probably thought it was blind confidence, but grown-up me knows it was the kimchi doing all the work.
Get new recipes via email:
When I need a quick, cozy Korean meal, this is still the first thing I cook. Everyone has their own way of making kimchi fried rice, but my version stays simple, bold, and reliably satisfying.
And the twist I love most? I add bacon. It brings smoky richness, deeper flavor, and a little crisp texture that makes the whole dish irresistible.
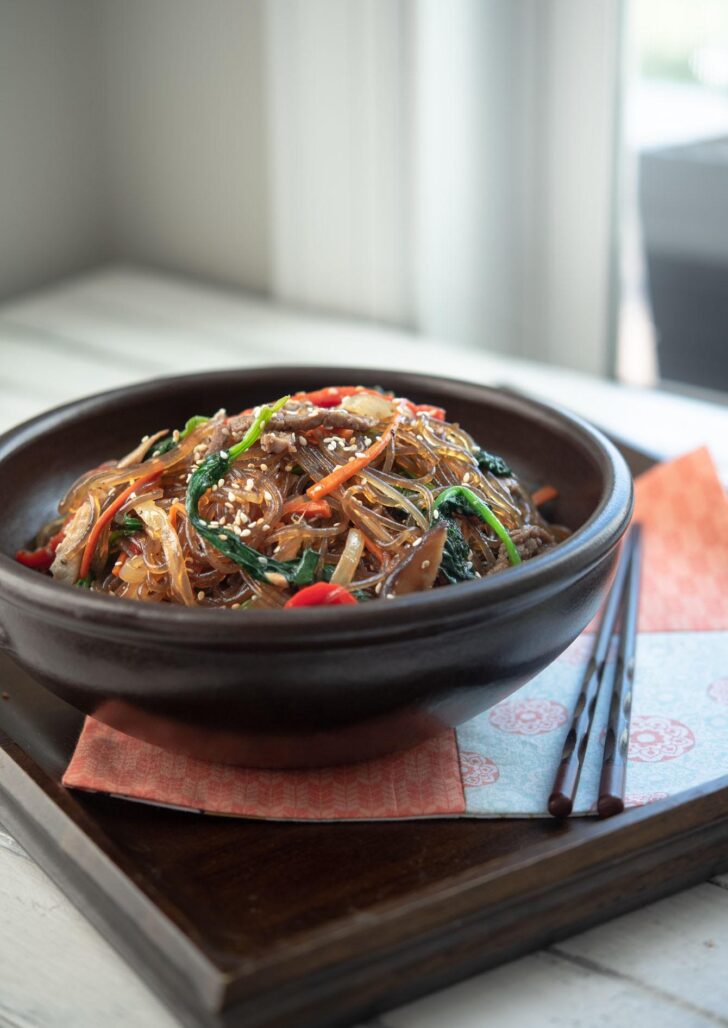
And if you’re in a rice mood (I usually am), you can browse my Korean rice dishes collection for more easy favorites. They’re the recipes I rely on when I want something quick but genuinely Korean in flavor.
How Bacon Levels Up Classic Korean Kimchi Fried Rice
Bacon isn’t traditional, but it does something magical in kimchi bokkeumbap. As it cooks, the fat renders and coats the rice, adding deeper flavor and those tiny crispy bits that make each bite more satisfying.
I actually started adding bacon back in my college days, mostly because it was what I had, but it stuck because the flavor was just better. The smoky richness balances the tangy, well-fermented kimchi in a way no other protein does.
Even now, it’s the version I make when I want something quick, cozy, and reliably delicious. If you don’t eat bacon, you can still make a great kimchi fried rice. Sautéed mushrooms or pan-fried tofu soak up the kimchi flavor beautifully.
And if you love that rich, cooked-down kimchi flavor, you’ll probably enjoy my kimchi jjim (braised kimchi with pork ribs) just as much. If you have extra aged kimchi, it’s also great for kimchi jjigae, another classic comfort dish.
How to Make Kimchi Fried Rice with Bacon
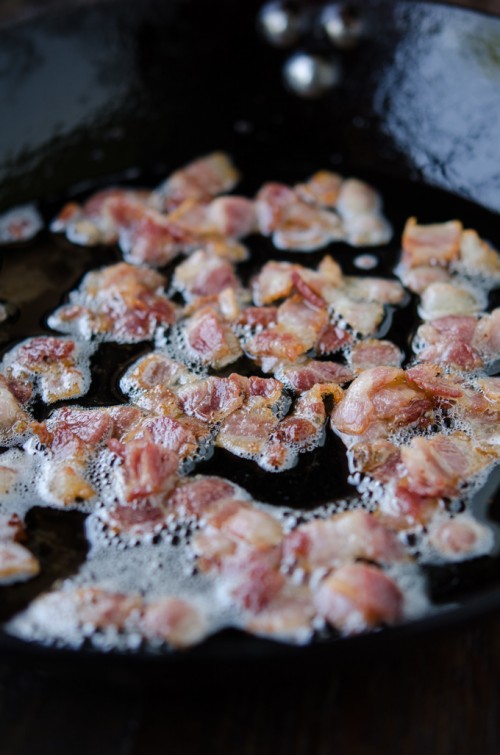
Crisp the Bacon for Flavor (and Fat). Cook the bacon until nicely crisp. The goal isn’t just crispy pieces — the rendered fat is liquid gold. It becomes the base flavor that carries the onion, kimchi, and rice. I always keep about a tablespoon or two in the pan and save the rest for another dish. (Bacon fat in Korean cooking isn’t traditional, but it works beautifully here.)
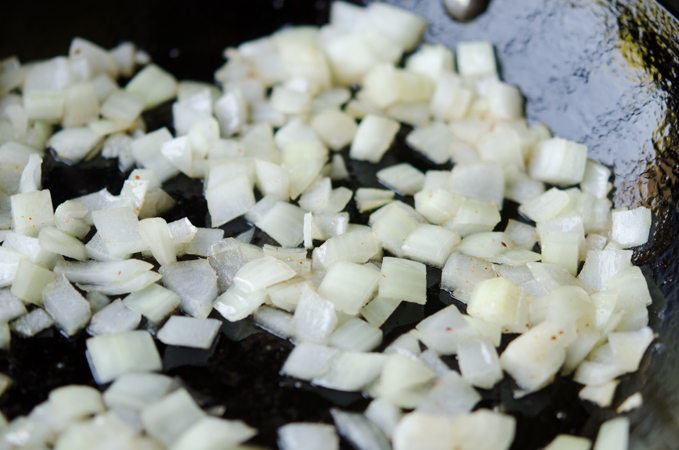
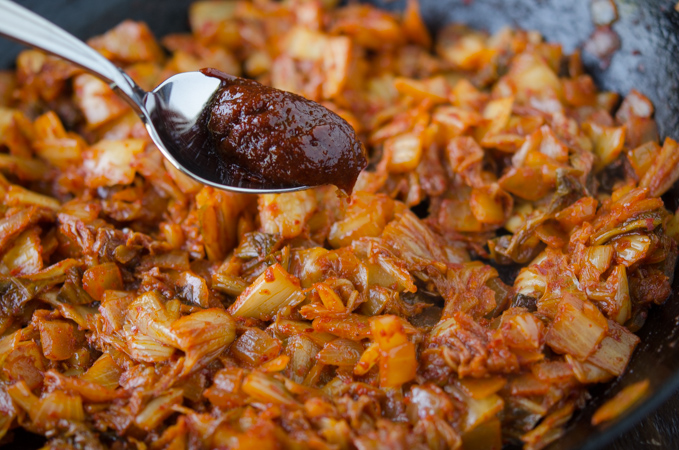
Sauté Onion and Kimchi. Soften the onion in the bacon fat until sweet, then add well-fermented kimchi. Cooking the kimchi first is what gives the dish its deeper, rounder flavor. A small spoon of gochujang and a splash of kimchi brine brighten the color and seasoning.
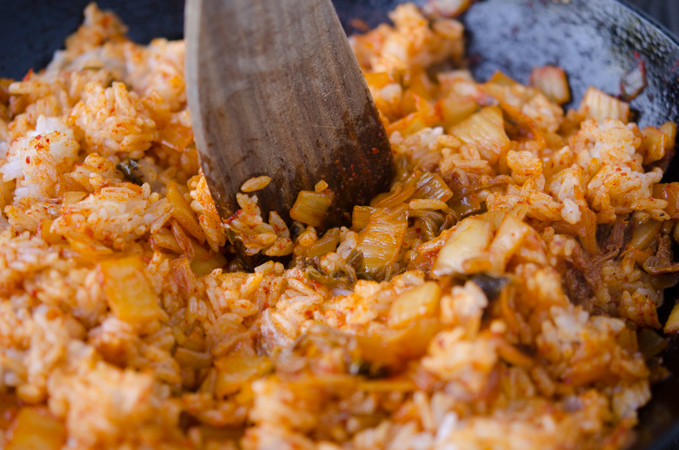
Add Rice: Cold rice works best. Add it to the skillet and break up clumps with the edge of your spatula so the grains stay separate.
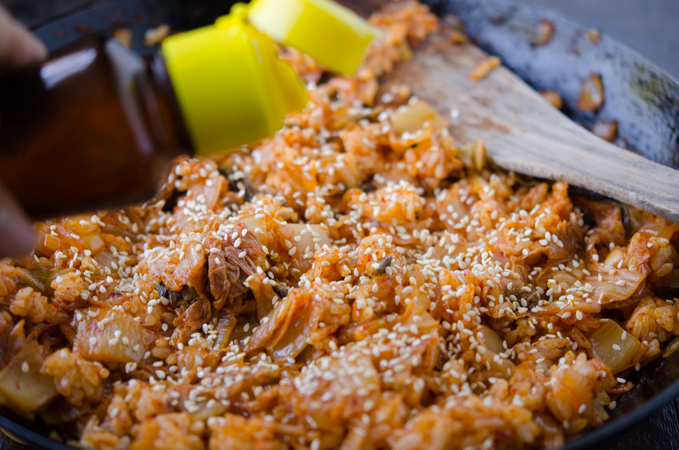
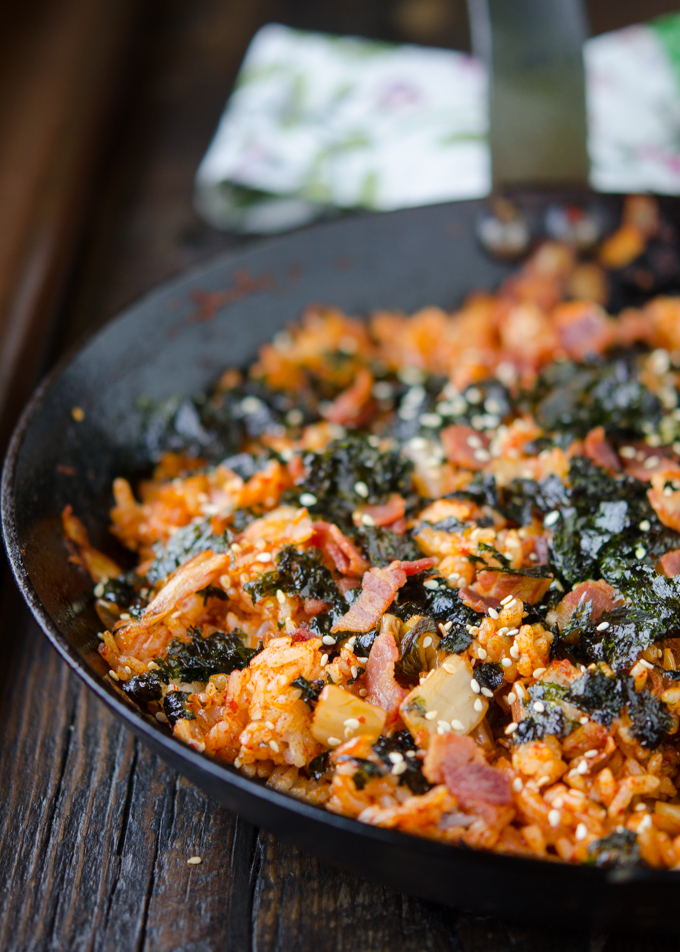
Drizzle Sesame Oil. Stir-fry until everything comes together, then finish with sesame oil and toasted sesame seeds — these two ingredients make the whole dish taste “Korean.”
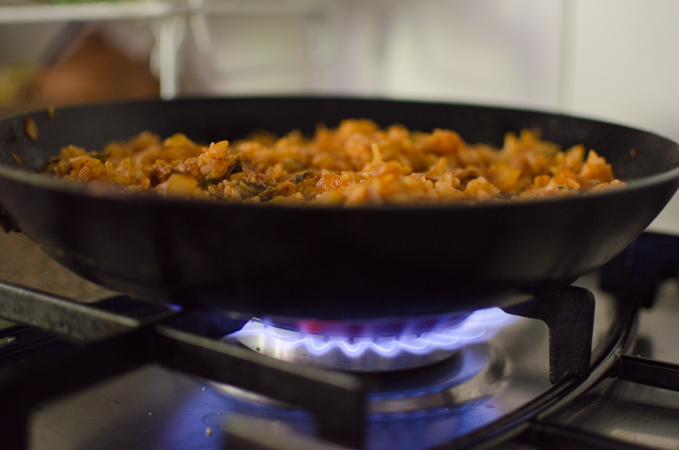
Optional: Make a Thin Layer of Nurungji. THis is my favorite part! Let the rice sit for a couple minutes to toast the bottom. That crackly, scorched rice layer (nurungji) adds a subtle nutty flavor and extra texture.

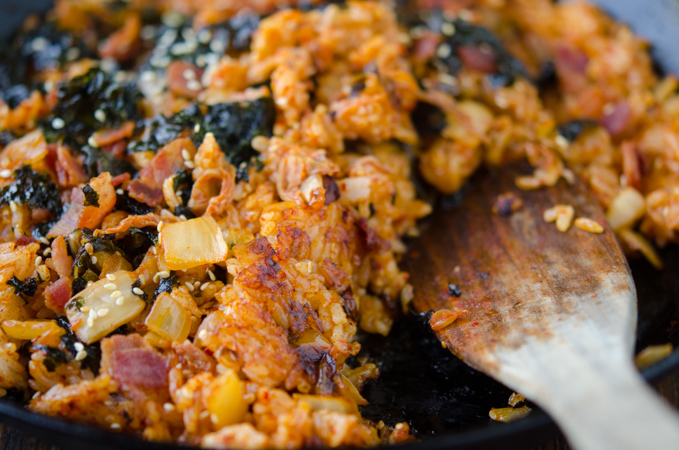
Add Toppings. Scatter the crispy bacon back on top. Your kimchi fried rice is ready to enjoy!
Pro Tips from a Korean Home Cook
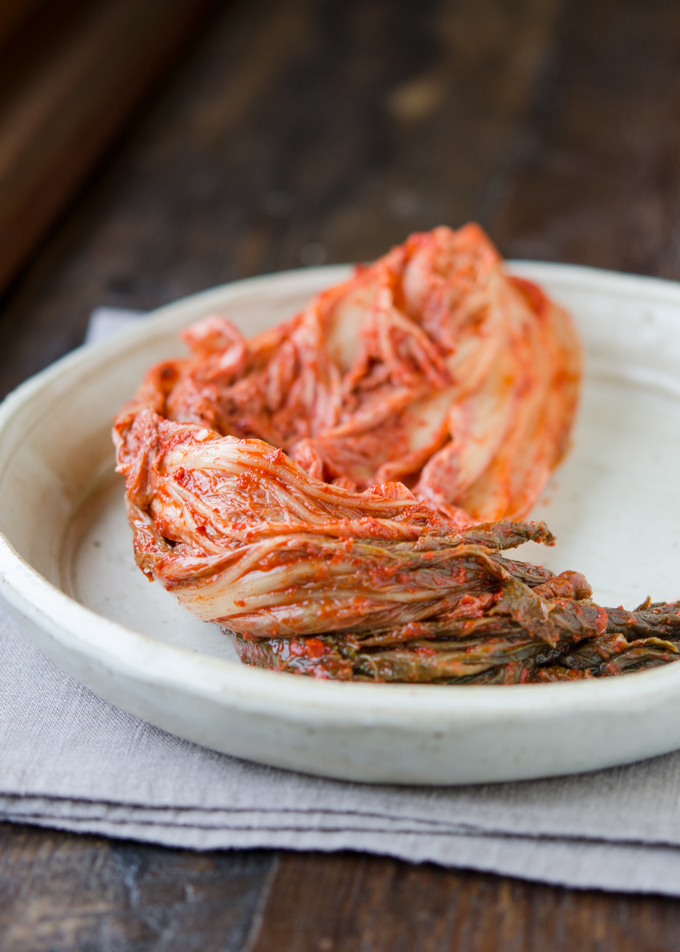
- Use Well-Fermented Kimchi, Not Fresh: Fresh kimchi tastes flat in fried rice. Ripe kimchi has deeper acidity and color. Overly ripe sour kimchi is also great for making kimchi pancakes (kimchi jeon).
- Keep the Rice Dry. If you’re using freshly cooked rice or mushy rice, spread it out over medium-high heat for a minute without stirring so the steam escapes. This helps evaporate excess moisture. The drier the rice, the better the texture.
- Season at the End. Kimchi varies in saltiness. Taste the fried rice right before serving and adjust with a pinch of sugar, gochugaru, or soy sauce only if needed.
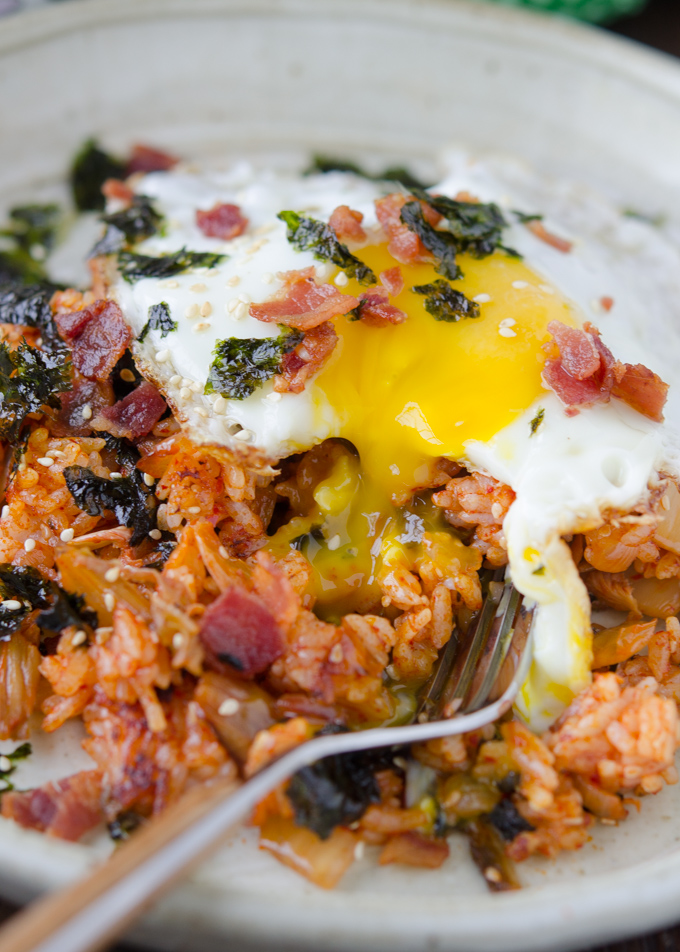
- Top with Egg and Gim (Roasted Seaweed). This is how many Korean home cooks serve kimchi bokkeumbap. A runny egg and crisp seaweed bring balance, richness, and color.
If you like a fusion twist, try my cheesy kimchi fried rice; creamy, spicy, and totally different from this classic version. It’s a popular dish among young Koreans.
Love this recipe? Rate it and share your experience in the comments below! On Instagram? Tag me to showcase your creation. For more delicious recipes, subscribe to our newsletter!

Kimchi Fried Rice with Bacon (Kimchi Bokkeumbap)
Recipe Video
Ingredients
- 1 1/2 cups (360 g) fermented sour cabbage kimchi, chopped
- 1/2 (about 80 g) onion, chopped
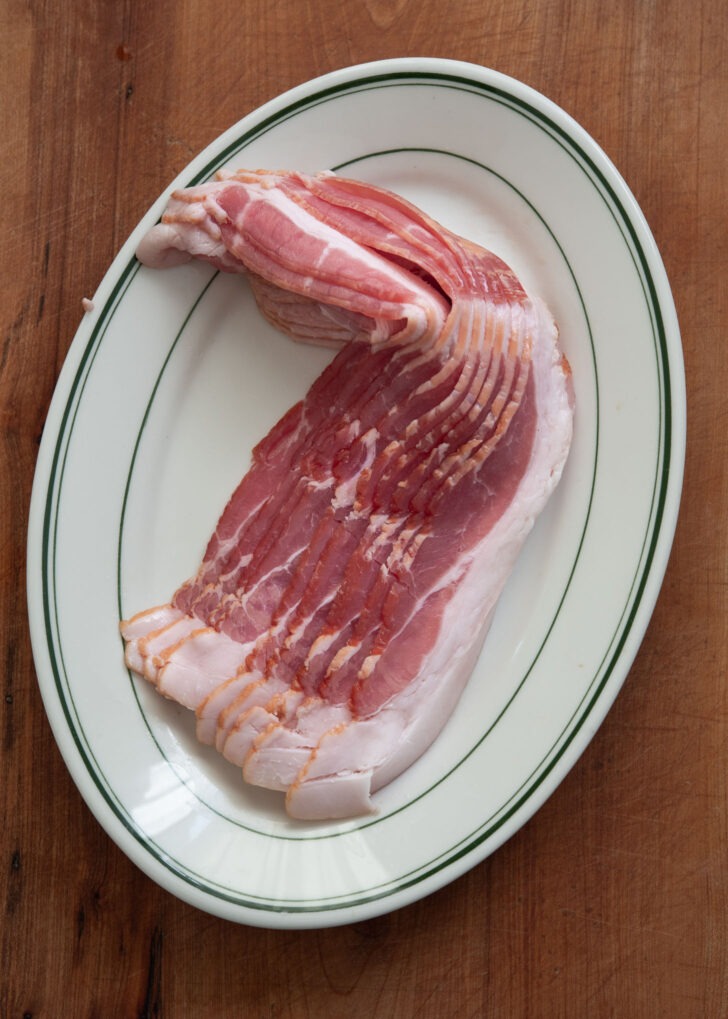
- 4-6 bacon strips, chopped
- 2-3 tbsp (30–45 ml) kimchi juice
- 3 cups (600 g) cooked rice
- 2 tsp (12 g) Korean chili paste (gochujang), see note below for gluten-free option
- 2 tsp (10 ml) sesame oil
- 2 tsp (6 g) toasted sesame seeds
- salt and pepper , to taste
- 1 package (3–5 g) roasted seaweed, crumbled
- 4 eggs, fried sunny side up
Instructions
- In a heavy skillet, cook bacon pieces until crisp. Transfer the bacon to a platter, and set aside. Using a paper towel, wipe off the bacon grease remained in the skillet but leave 1 tablespoonful.
- Saute onion in the reserved bacon grease until soft and tender over medium heat. Add the kimchi and continue to saute until kimchi is soft, about 5 minutes over medium-low heat, then add Korean chili paste and kimchi juice to the skillet and mix well to incorporate with kimchi and onion.
- Add the rice to the mixture and toss well. Use the edge of a spatula to separate the rice grains without smashing them.
- Add sesame oil and sesame seeds, and toss well. Season with salt and pepper as you wish.
- Raise the heat to medium heat and let the fried rice to sear for 2-3 minutes. This will help the rice on the bottom of skillet to be crisp. Adjust the heat, if needed, so that you don’t burn it too much. Check the bottom of the fried rice to see it created desired crispness on the rice.
- Remove the skillet from the heat and sprinkle with the reserved bacon pieces and crumbled roasted seaweed. To serve, add sunny side up fried eggs on top. Enjoy while hot!

To die for delicious. J Just wow. I used your daikon radish kimchi recipe, and yes it was pretty ripe, but perfect. Loved the seaweed. Yum!
This is AMAZING! The salty bacon adds so much flavor. This is a keeper recipe!
This has so much flavor and was super easy to make!
I’m surprised there arent more comments on this recipe. It’s a great one
The nuroongji is the BEST part! My kids call in crunchy nap! 🙂 I found your blog today on Pinterest and I can’t wait to try out some of your recipes!
Here in Sweden the bacon is generally pretty terrible so once I had a kimchi batch going sour I made this but with pancetta instead. It’s a little saltier and stands up nicely to the kimchi, but it is seriously one of the best quick meals ever. (I love this blog!)
Yummm! This looks great!
What’s a nice Pic, kimchi is the red cabbage? It find that in Korean Super market, it cost $7 per bottle!
Kimchi + bacon = pure goodness! This is such an inspired recipe — really good stuff. Thanks!