

Gosari Namul (Tender Korean Fernbrake Side Dish)
Gosari namul is a classic Korean side dish made by rehydrating dried fernbrake, then gently sautéing it with Korean soup soy sauce, garlic, perilla oil, and a little stock until tender and savory. This traditional banchan takes time to soak but only minutes to cook, and it can easily be made vegan for everyday Korean meals, bibimbap, or a holiday table.
Get new recipes via email:
I remember seeing gosari namul (고사리나물) on the table at special family gatherings growing up, especially around Chuseok and jesa, the traditional Korean ceremony honoring ancestors. My mother would patiently prepare several vegetable dishes, or namul, and this humble brown fernbrake was almost always among them.
As a kid, I wasn’t exactly lining up for it. Gosari looked a little too much like a pile of brown twigs for my younger self to get excited about. But eventually the texture won me over, followed by that quiet earthy flavor that works so well with rice and other Korean dishes.
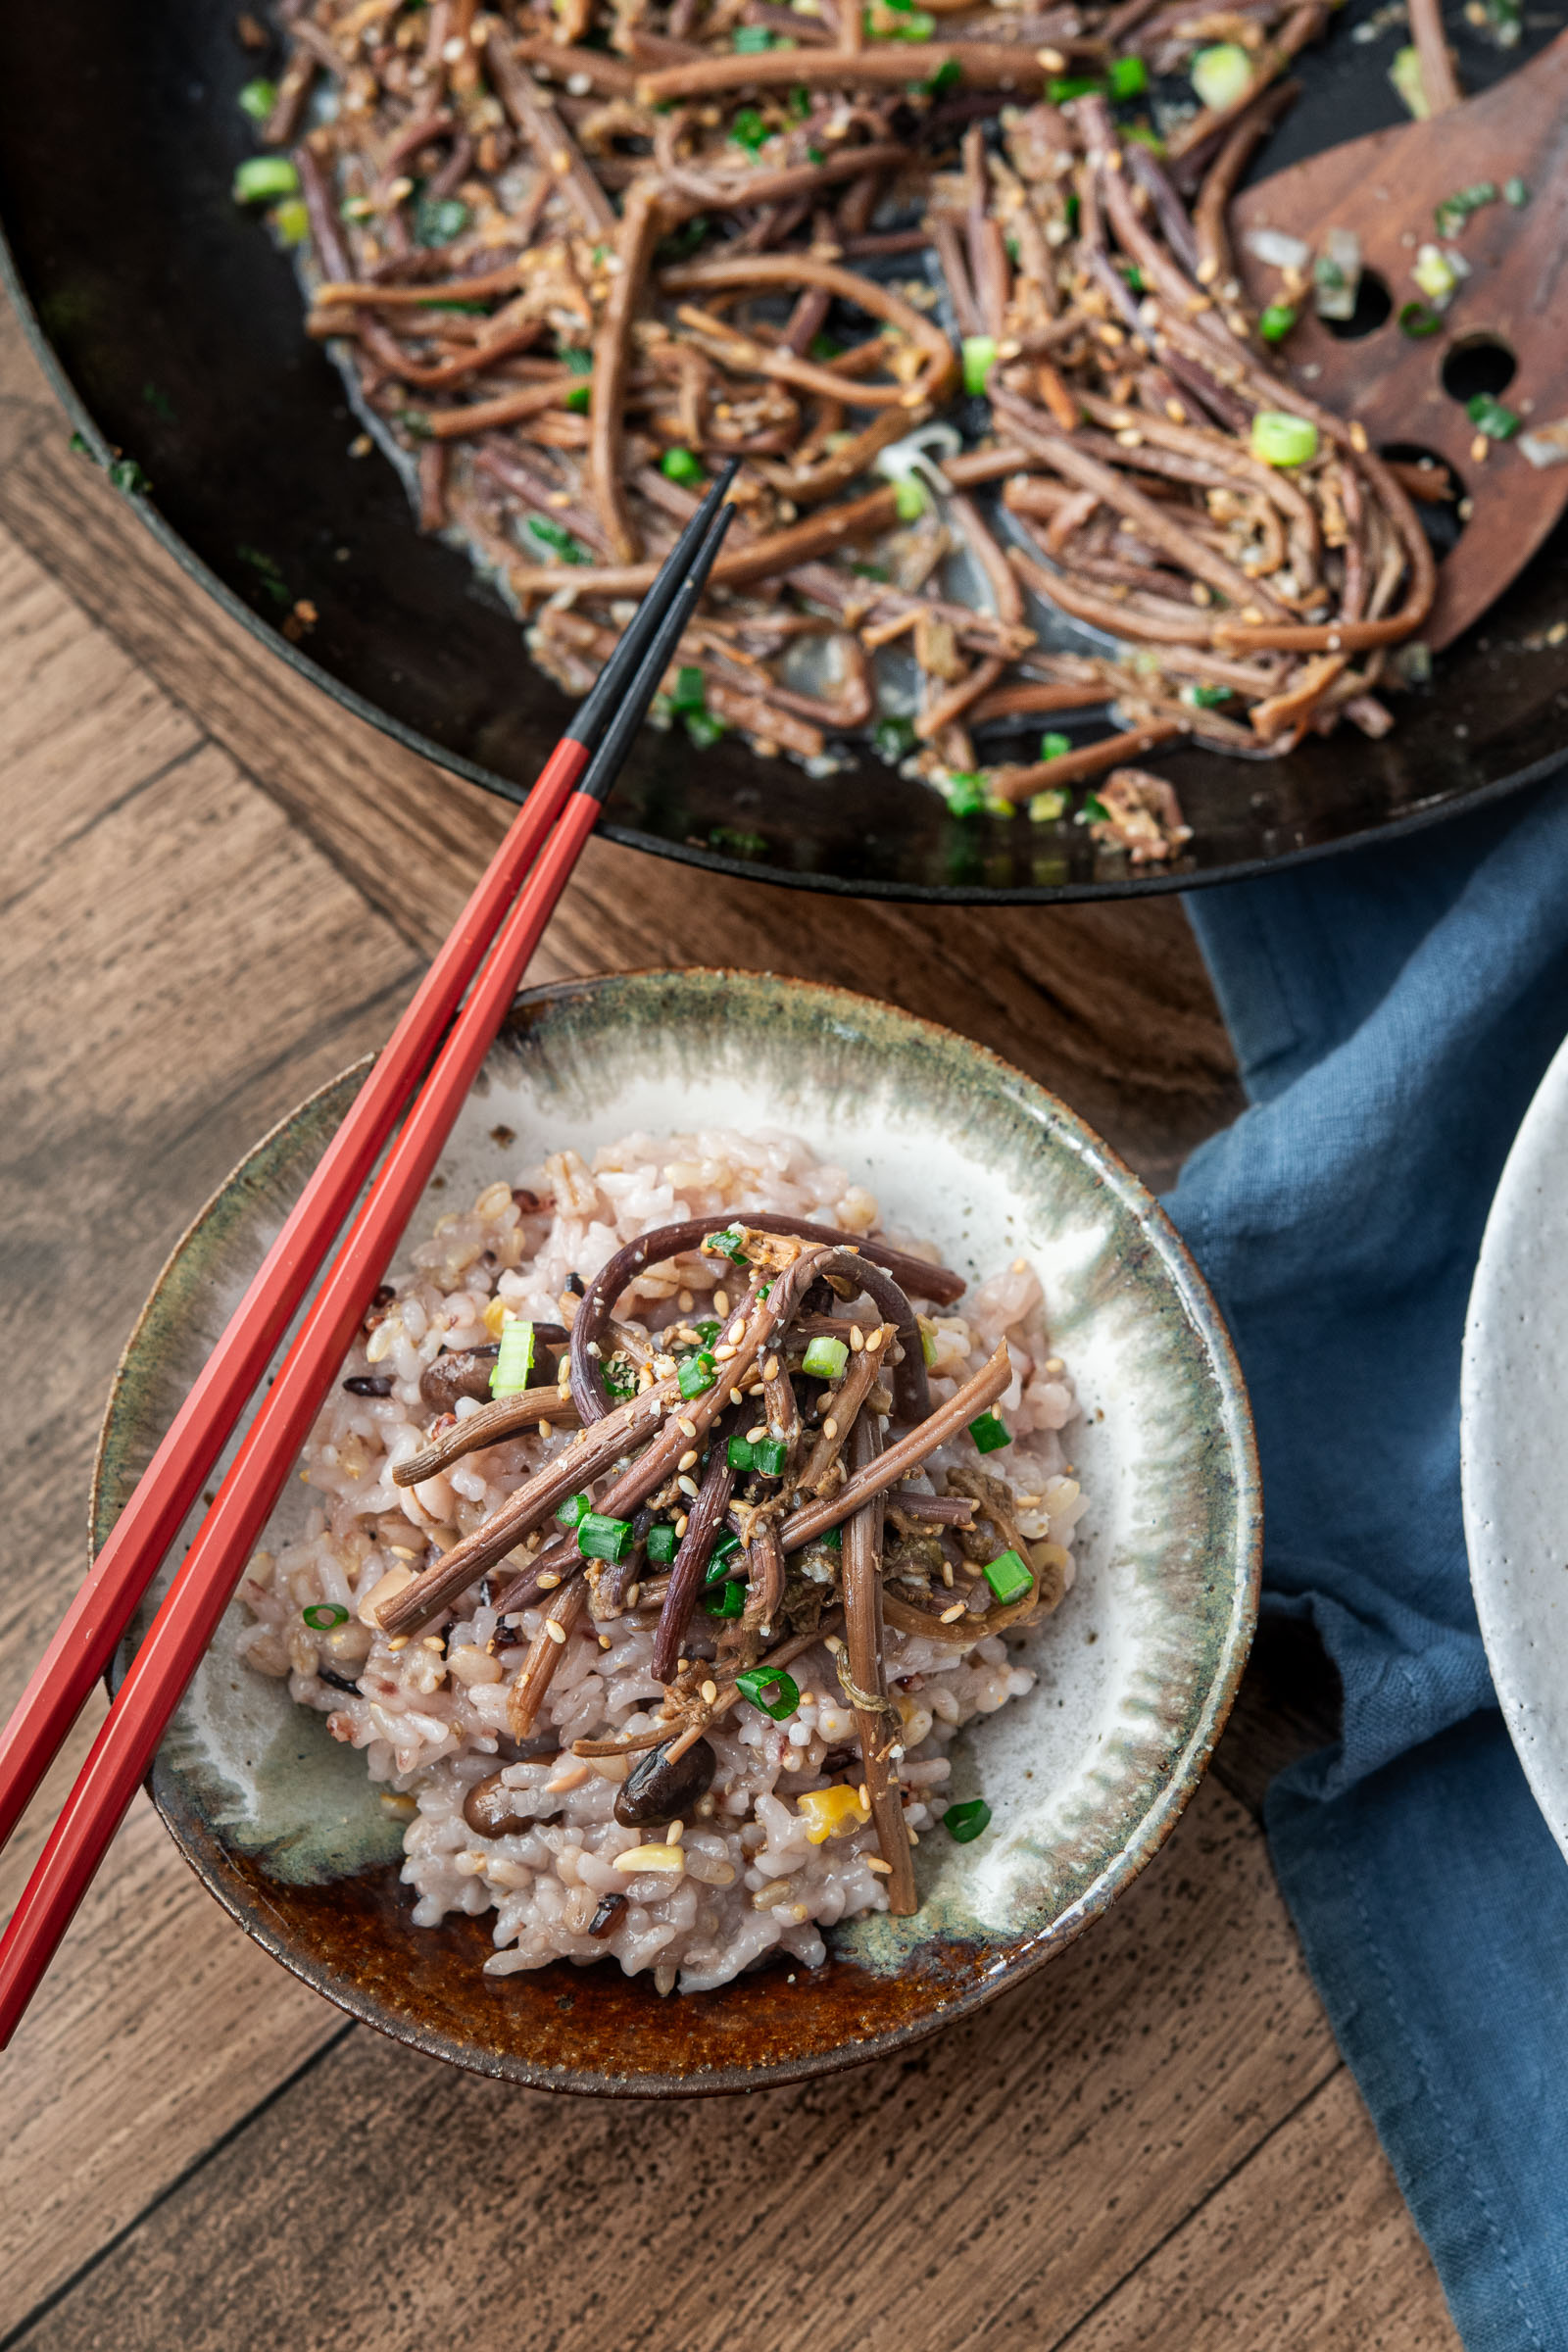
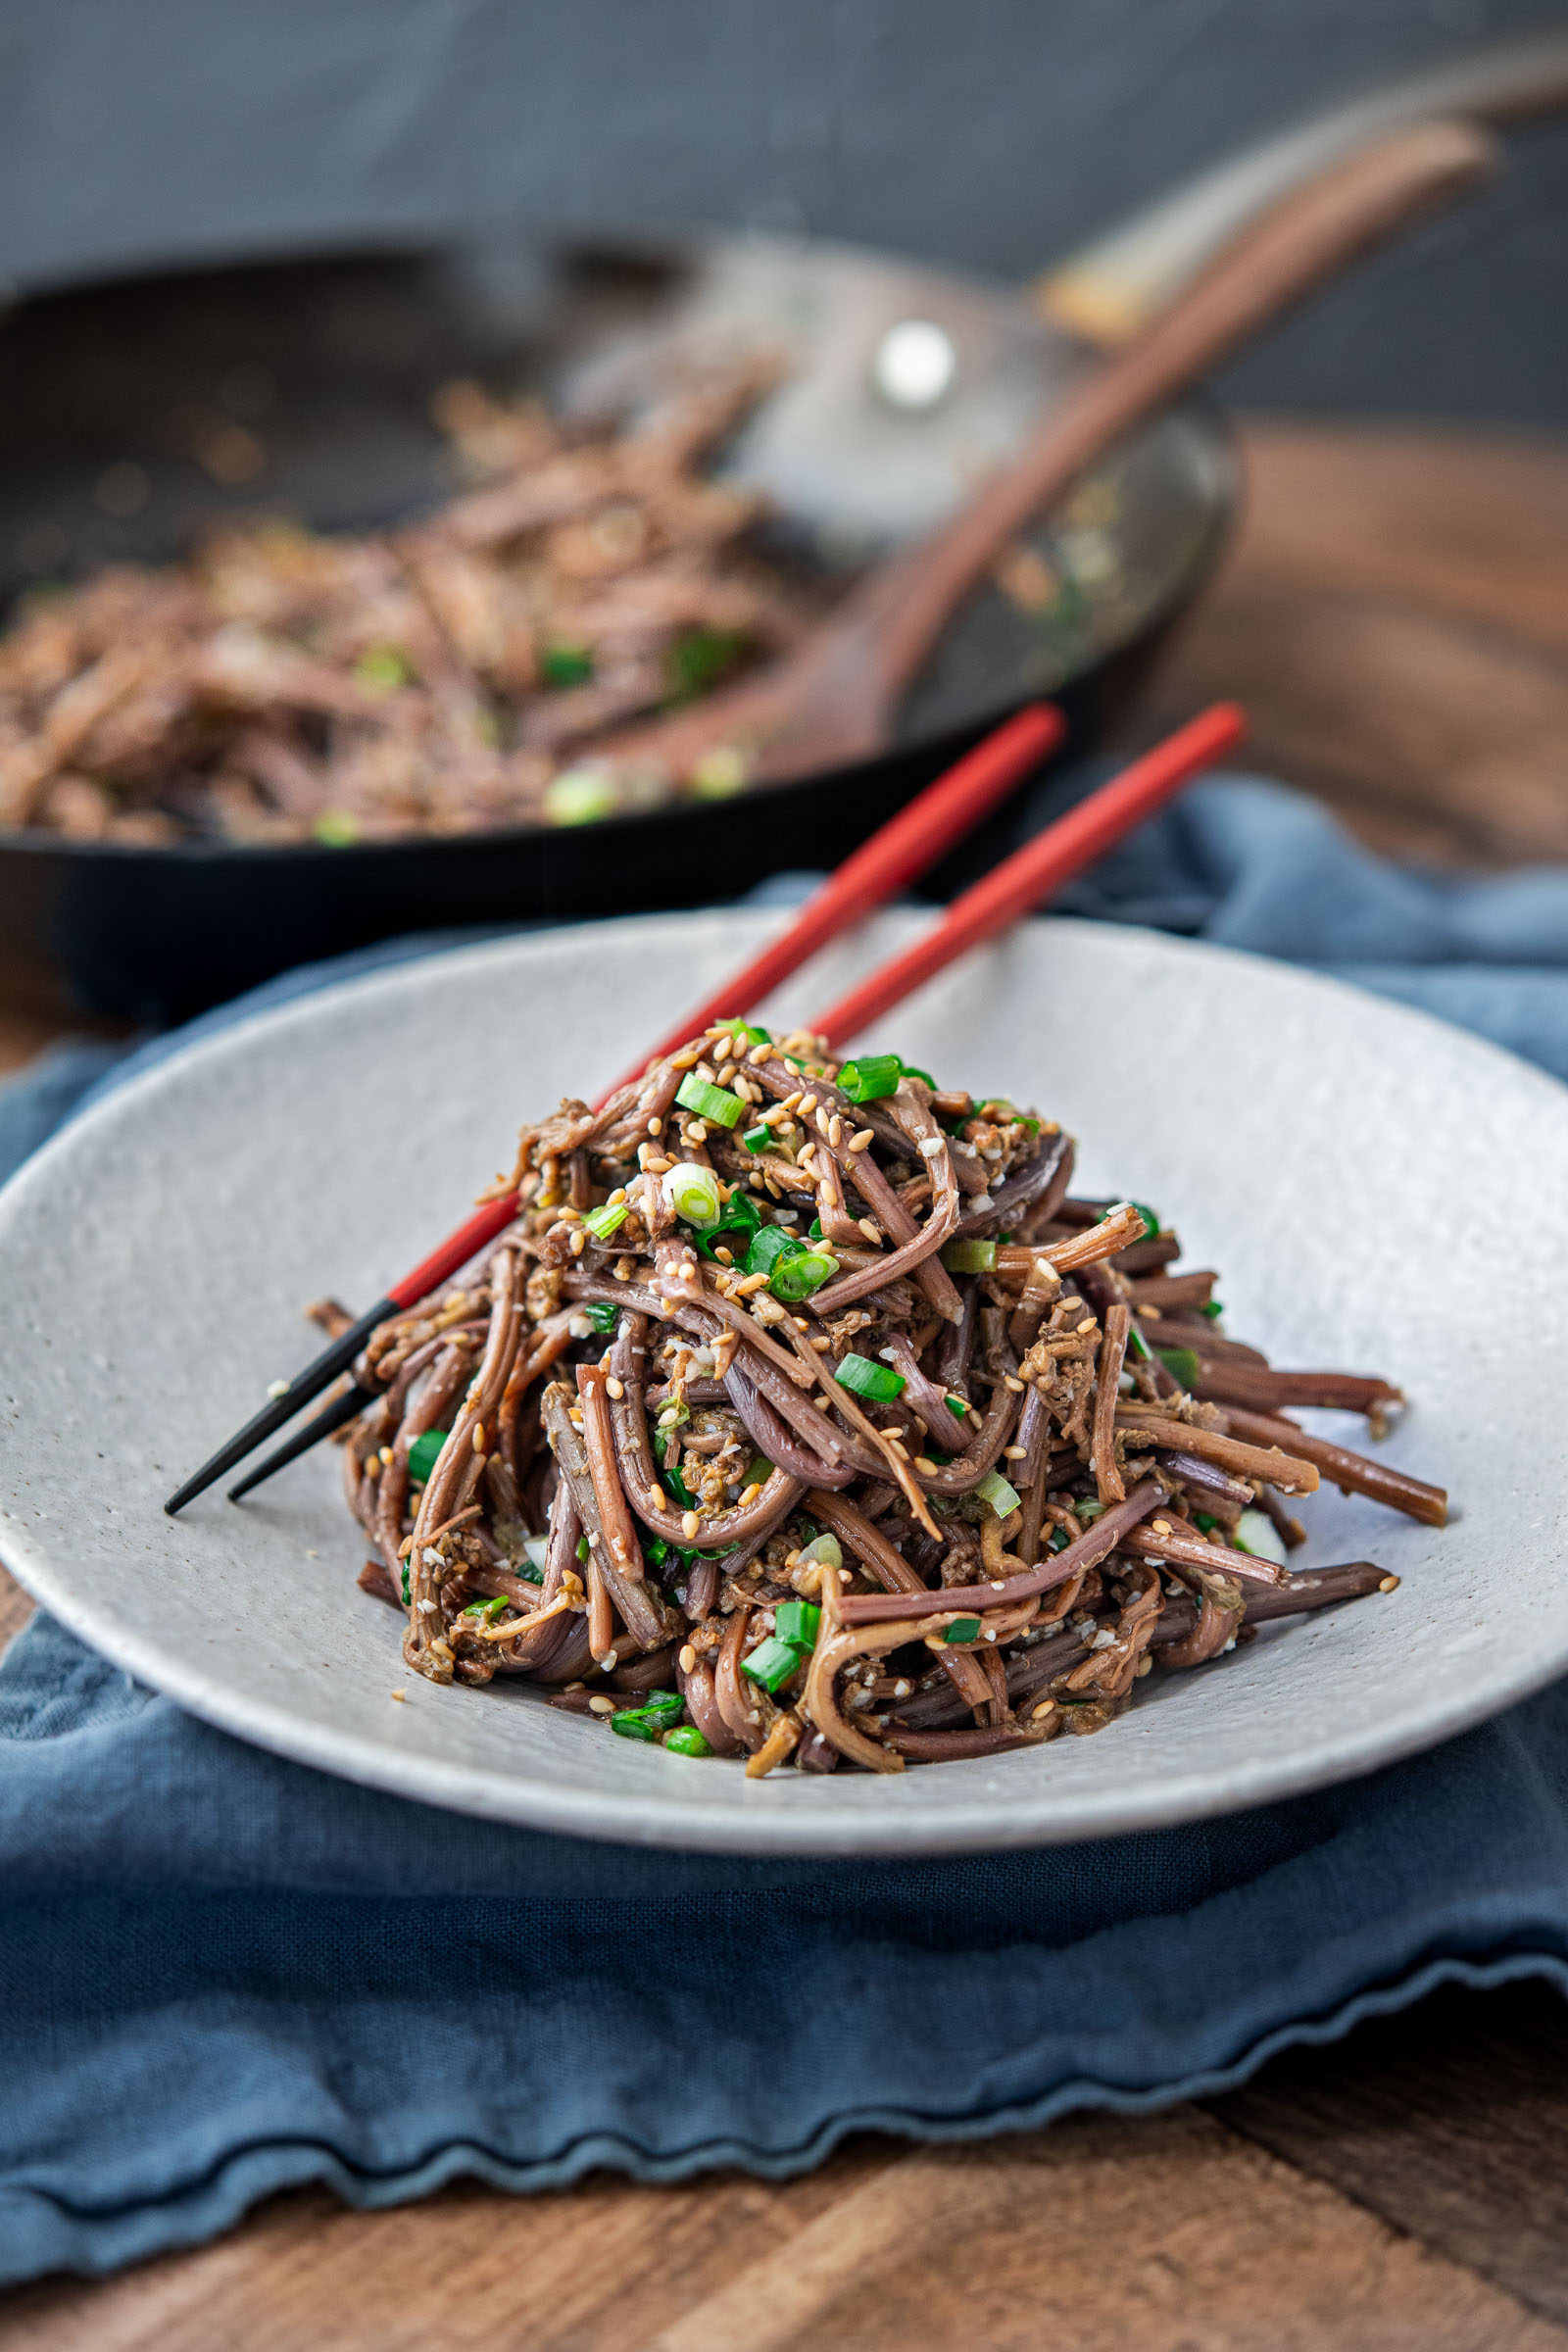
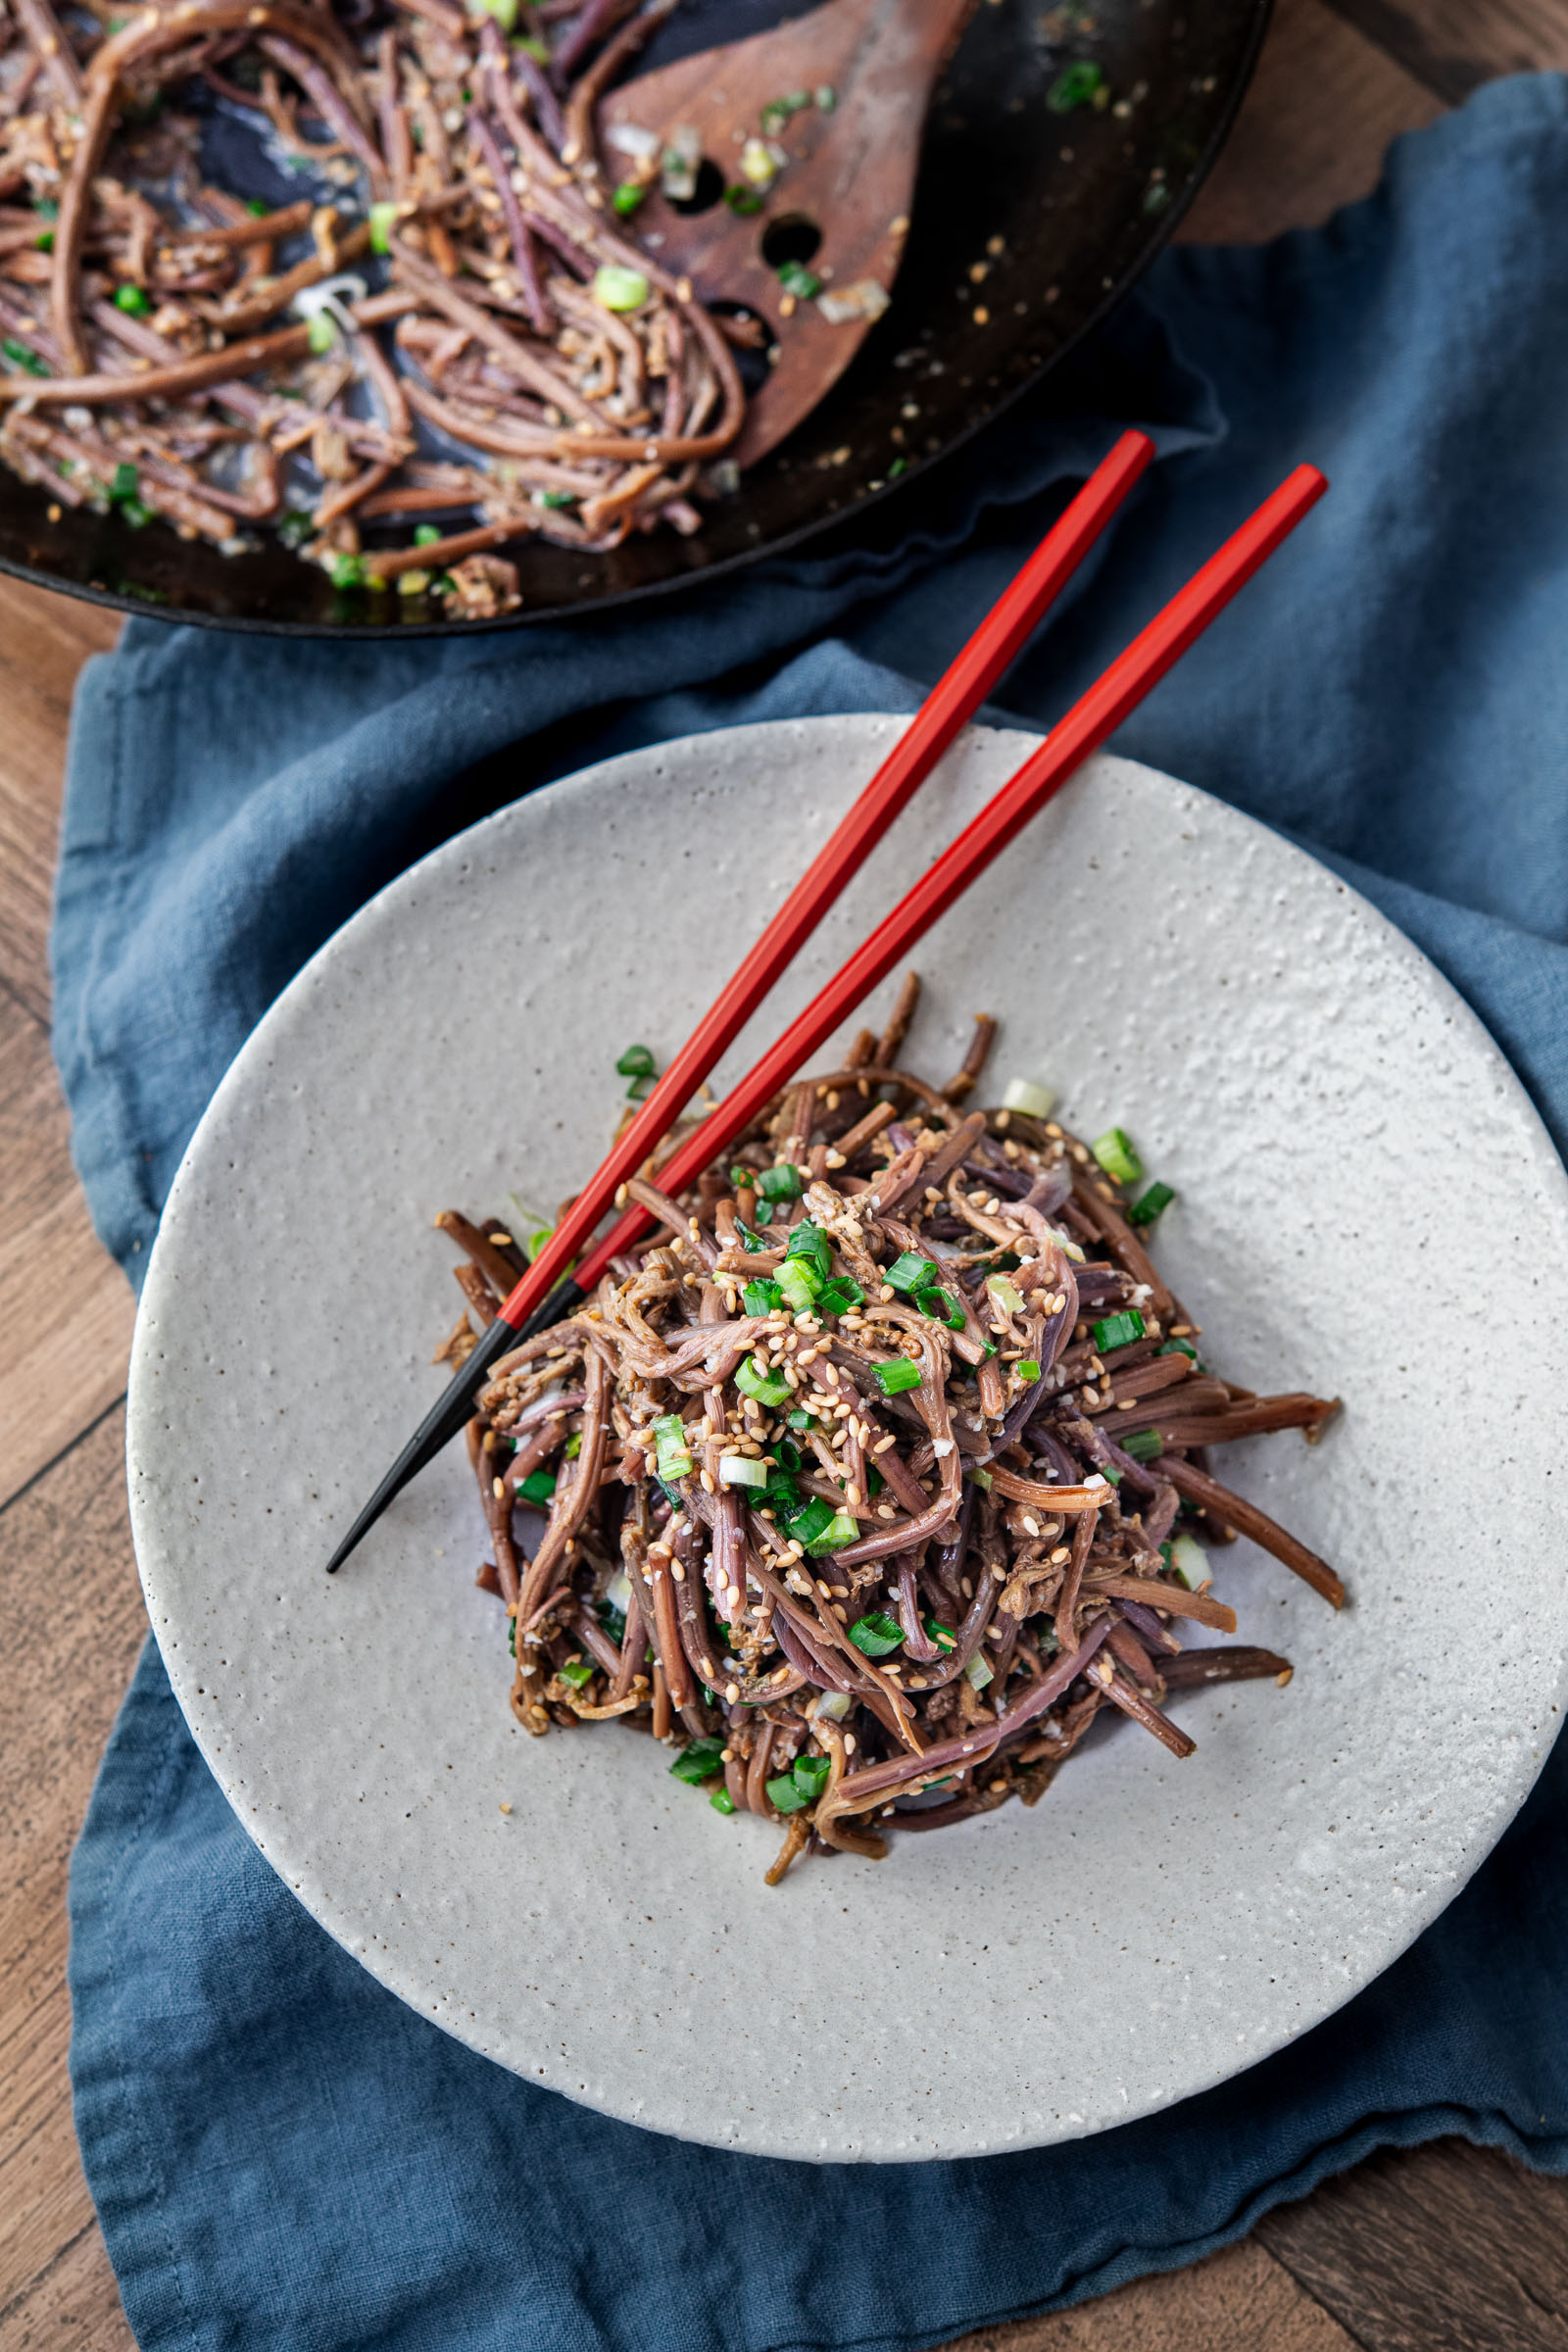
Properly cooked gosari is soft and pliable with a gentle chew. The flavor is earthy and mild, somewhat reminiscent of mushrooms, and the strands absorb garlic, soy sauce, and nutty perilla oil beautifully.
If you’ve eaten traditional bibimbap, you’ve probably seen gosari among the vegetables. It also appears in dishes such as my spicy yukgaejang with beef and vegetables and on Korean holiday tables.
The tricky part isn’t seasoning it. It’s preparing the dried fernbrake.
Dried gosari needs enough time in water to soften all the way through. Rush that step and the stems stay stringy and tough. Give them enough time, and the actual namul takes only a few minutes to cook.
That’s the part I’ll show you how to get right.
Dried Gosari: What to Look For
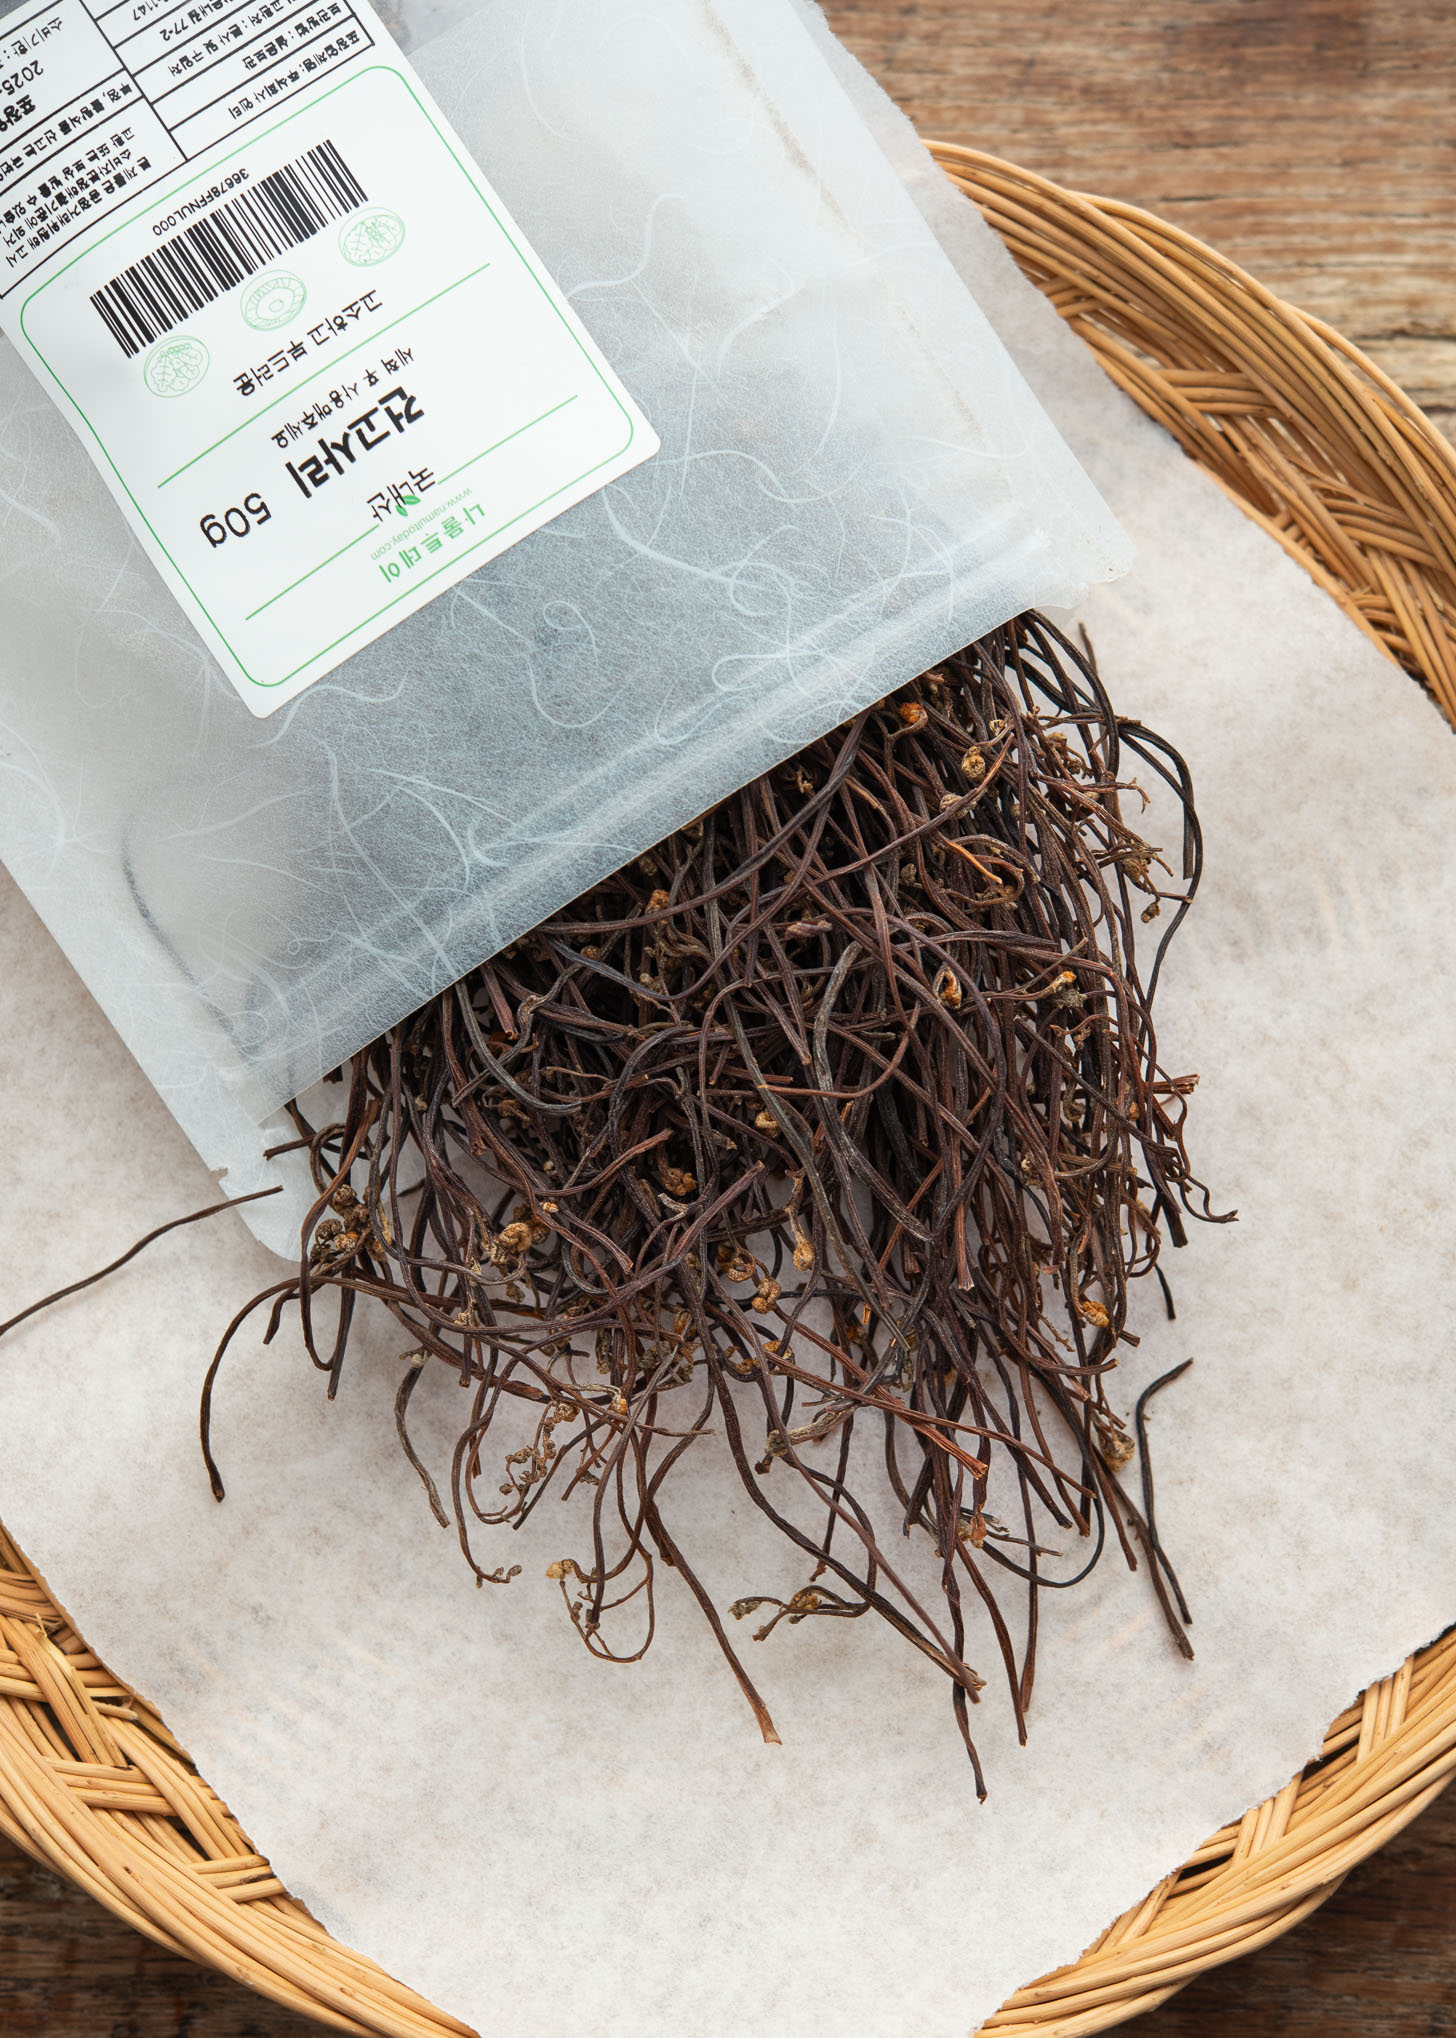
Gosari (고사리) is bracken fern, traditionally harvested while the young shoots are tender, then cooked and dried for storage. For this recipe, I use dried gosari, which is easy to keep in the pantry and develops an excellent texture once properly rehydrated.
Look for flexible stems. Good dried gosari should be deep brown and relatively pliable rather than brittle, dusty, or full of broken pieces. Very thick stems can take considerably longer to soften.
I find Korean-grown gosari is often thinner and more tender after soaking. Some imported varieties have thicker stems that need extra cooking and soaking time. Either can work, so don’t panic if that’s what you have. Let the texture, rather than the clock, tell you when it’s ready.
Dried gosari expands dramatically as it rehydrates, so a small bundle makes much more than you might expect.
A short note on preparation
Bracken fern should be properly cooked before eating. In traditional Korean recipes, dried gosari is boiled, soaked, rinsed, and cooked again before serving. Follow the preparation steps below rather than simply soaking the dried stems and adding them directly to the pan.
How I Rehydrate Dried Gosari
Dried gosari doesn’t require much hands-on work, but it does need time. I use a combination of simmering, resting, and a long cold-water soak so the stems soften evenly instead of staying firm in the center.
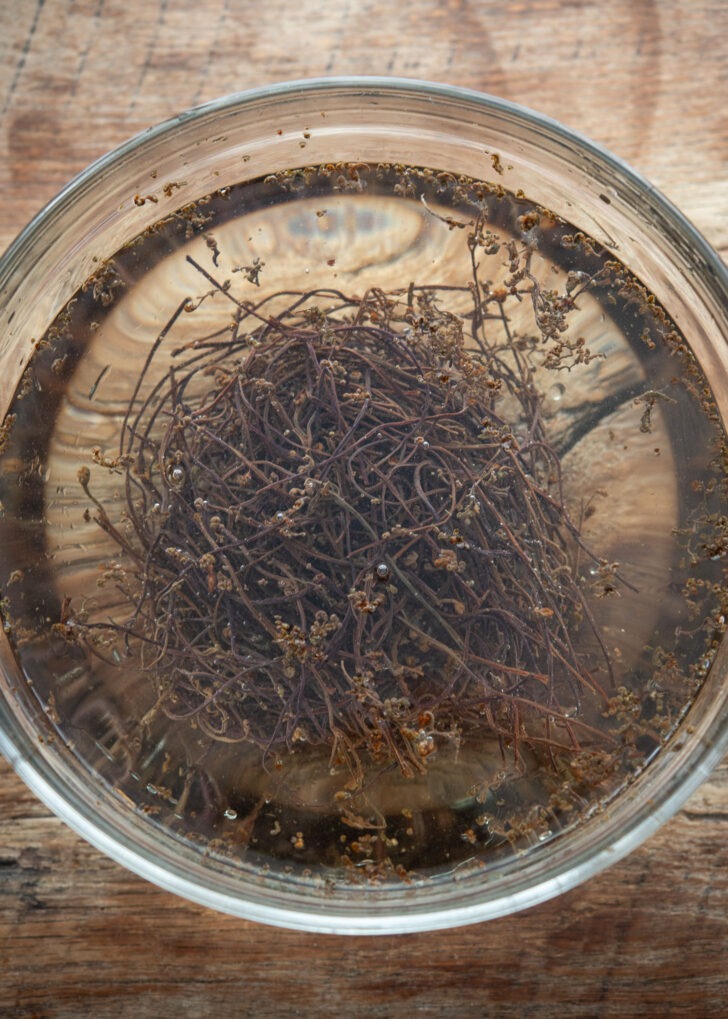
1. Rinse and give it a short soak. Rinse the dried gosari to remove any dust, then cover it generously with water and let it sit for about 20 minutes. This gives the dry stems a head start before cooking.
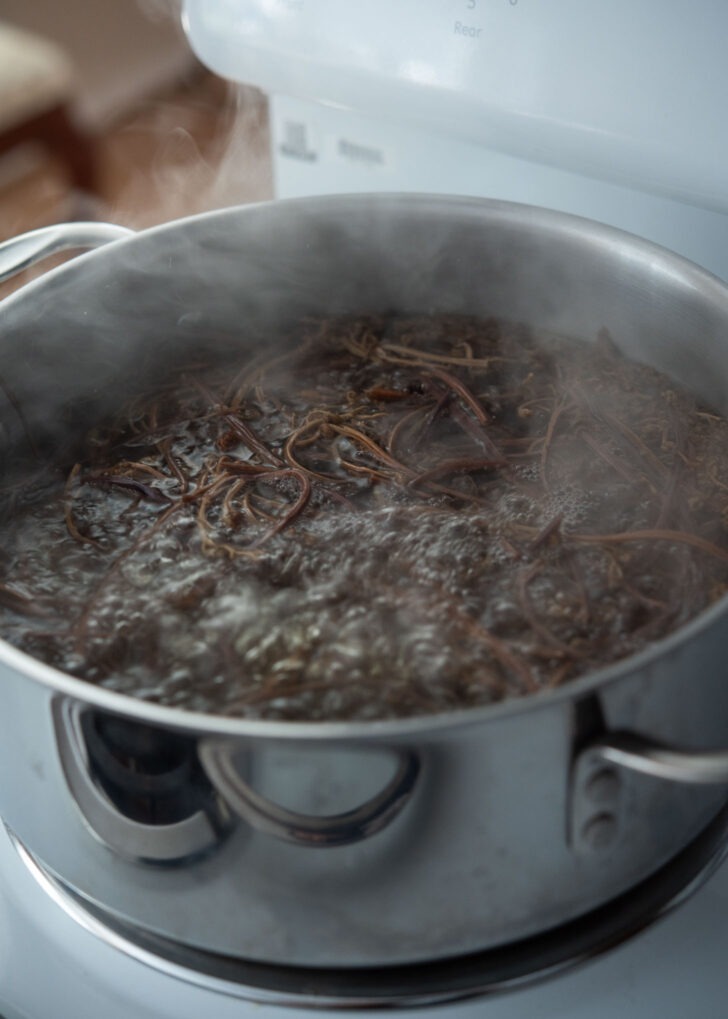
2. Simmer gently. Transfer the gosari to a pot and cover with fresh water. Bring it to a gentle simmer and cook over medium-low heat for about 20 minutes. You don’t need an aggressive boil. I prefer steady, gentle heat so the stems soften gradually.
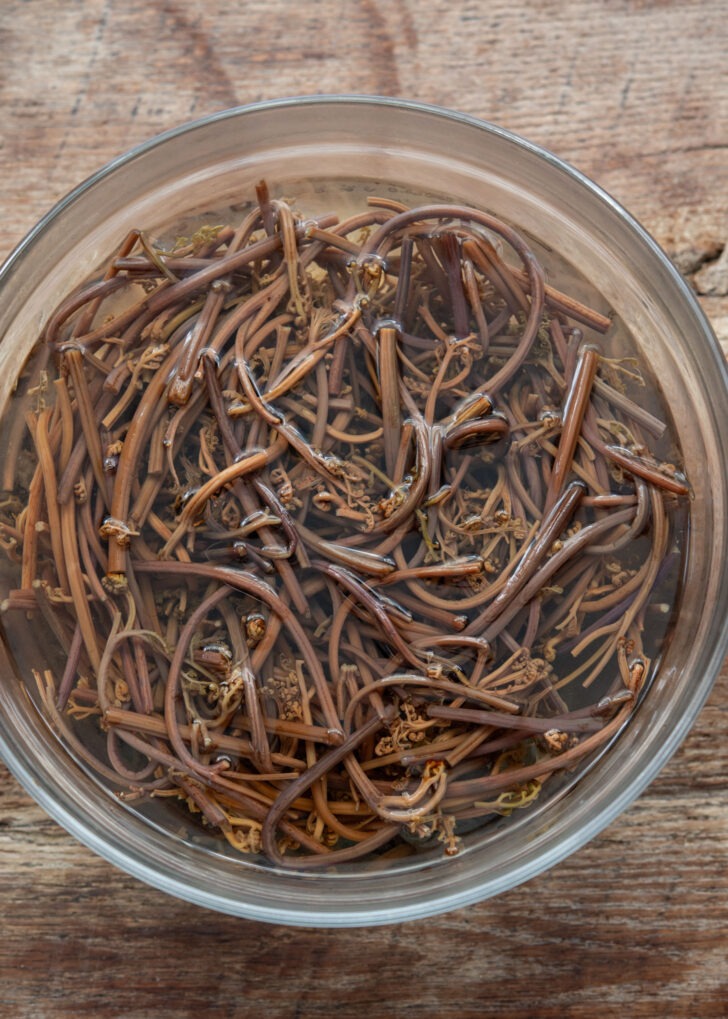
3. Let it sit in the hot water. Turn off the heat, cover the pot, and leave the gosari in the hot cooking water for another 20 to 30 minutes. This resting period matters. The residual heat continues softening the thicker parts without beating up the more delicate stems.
4. Rinse and soak overnight. Rinse the gosari well, cover it with fresh cold water, and soak for 8 to 12 hours. I usually put the whole container in the refrigerator overnight. By the next day, pick up a few strands and bend them. They should feel soft and flexible rather than stiff in the center.
If a thick stem still feels resistant, don’t move on just because the soaking time is technically over. Give it longer, or simmer it again briefly.
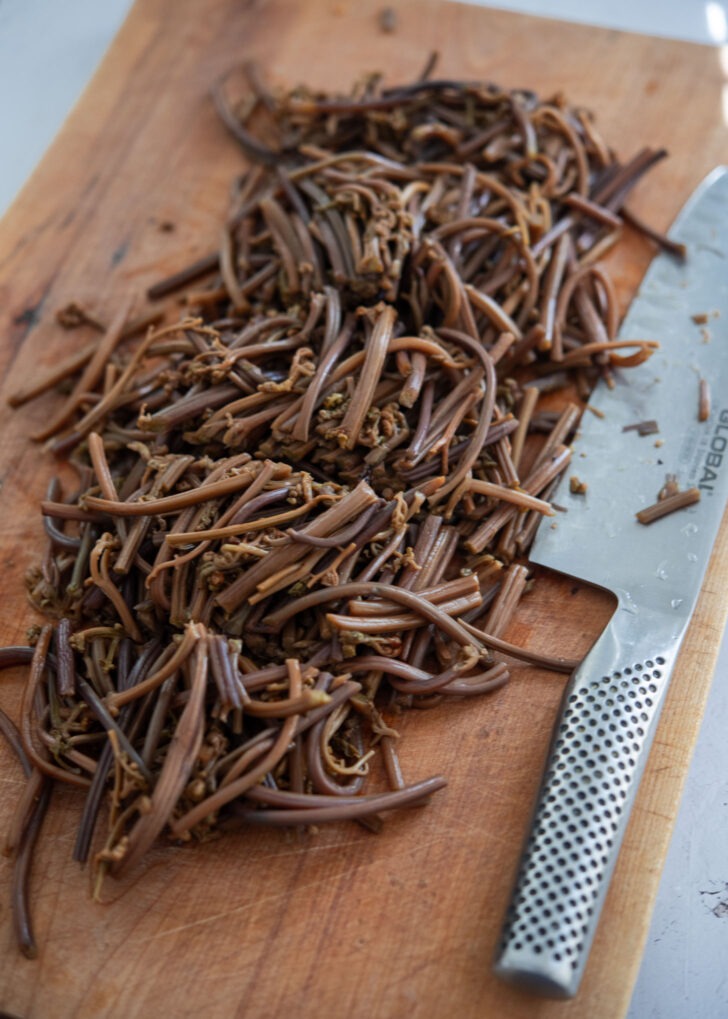
5. Trim and cut. Drain well and check the ends of the stems. Trim away any woody pieces that remain tough, then cut the gosari into comfortable bite-size lengths.
Now it’s ready for seasoning
How to Make Gosari Namul
Once the gosari is tender and fully rehydrated, making the namul is quick.
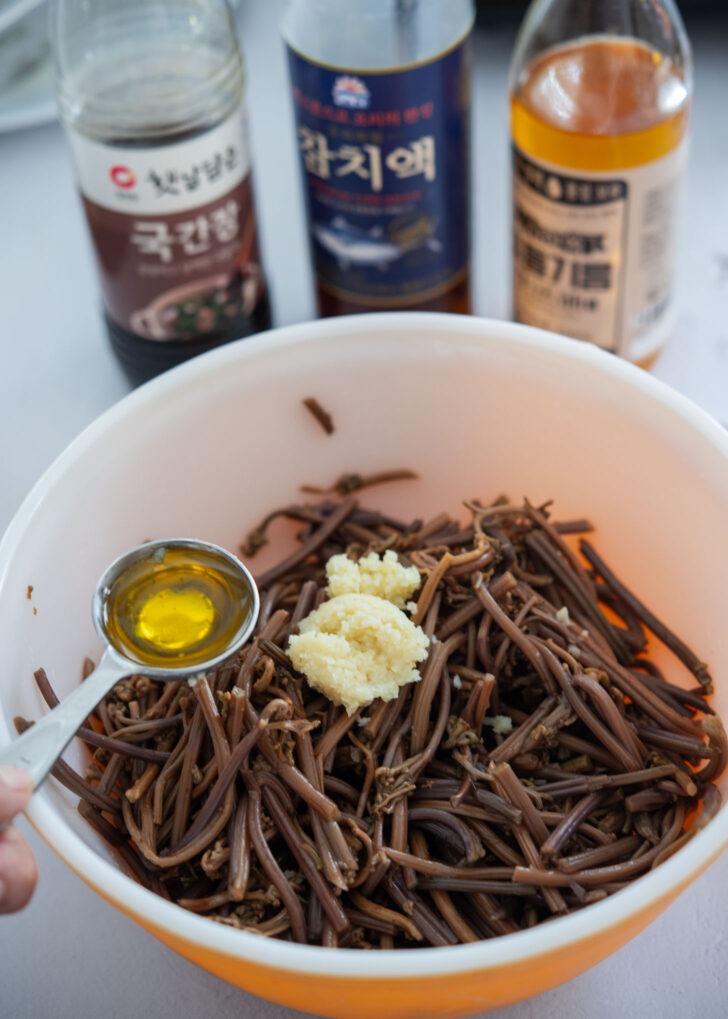
Season the drained gosari with garlic, Korean soup soy sauce, tuna sauce, and perilla oil. I like to mix it with my hands so the seasoning gets between all those tangled strands, then let it sit briefly before it hits the pan.
Note 1: For a vegan version, leave out the tuna sauce and season to taste with additional soy sauce or a vegan Korean soup soy sauce.
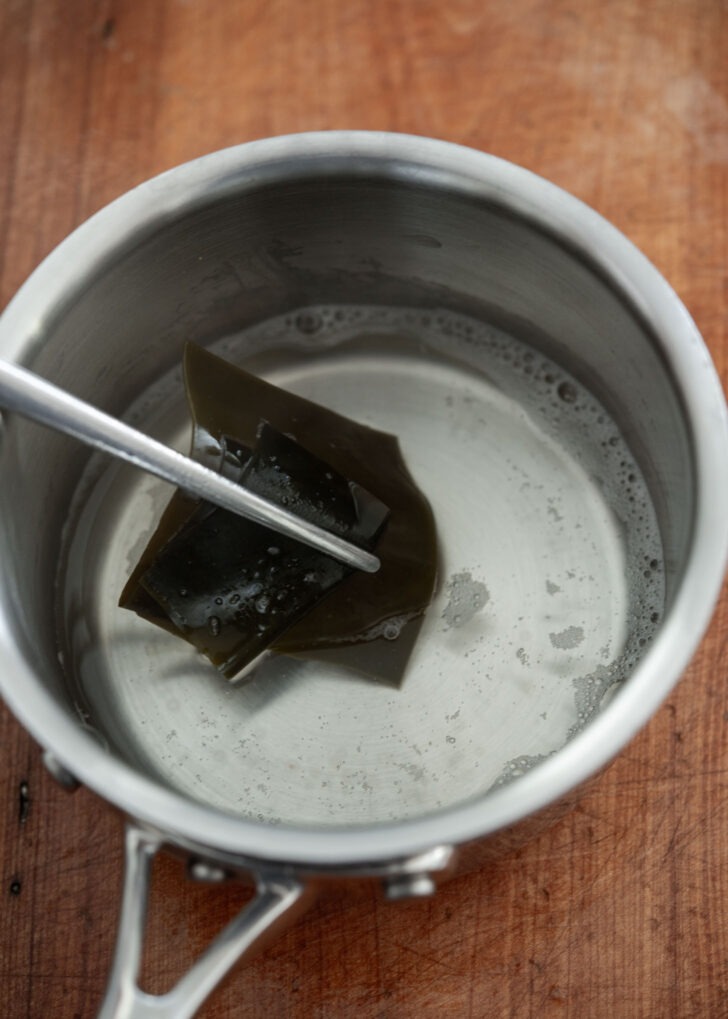
Note 2: I also make a small amount of dashima stock with dried kelp. It may seem like an extra step for such a simple vegetable dish, but that little splash of broth keeps the gosari moist while giving it a deeper savory flavor.
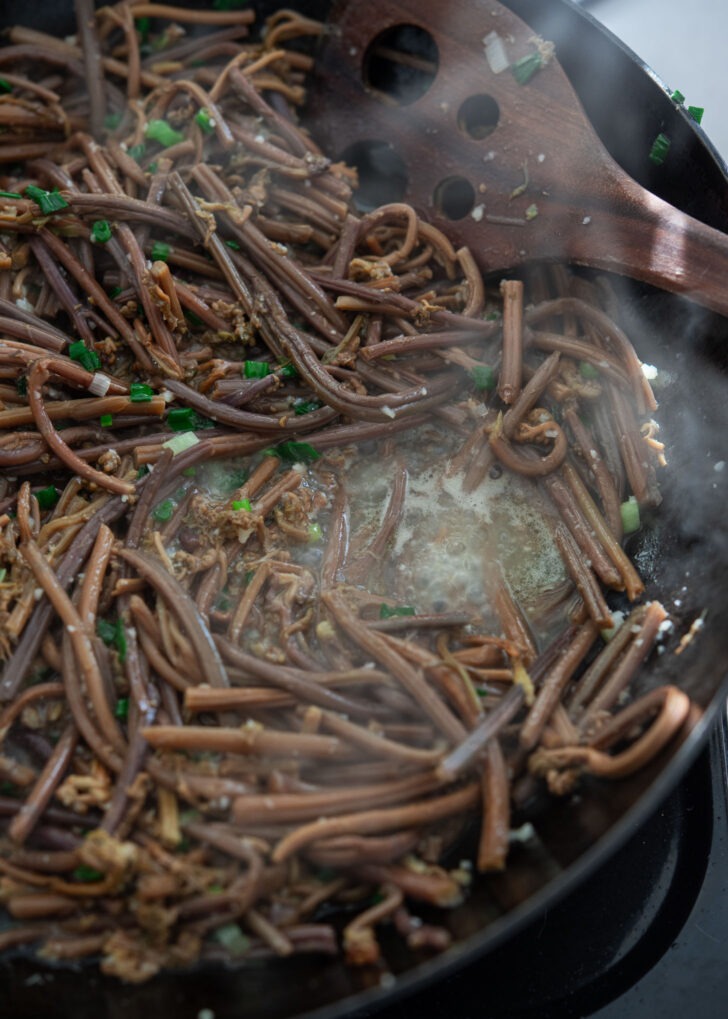
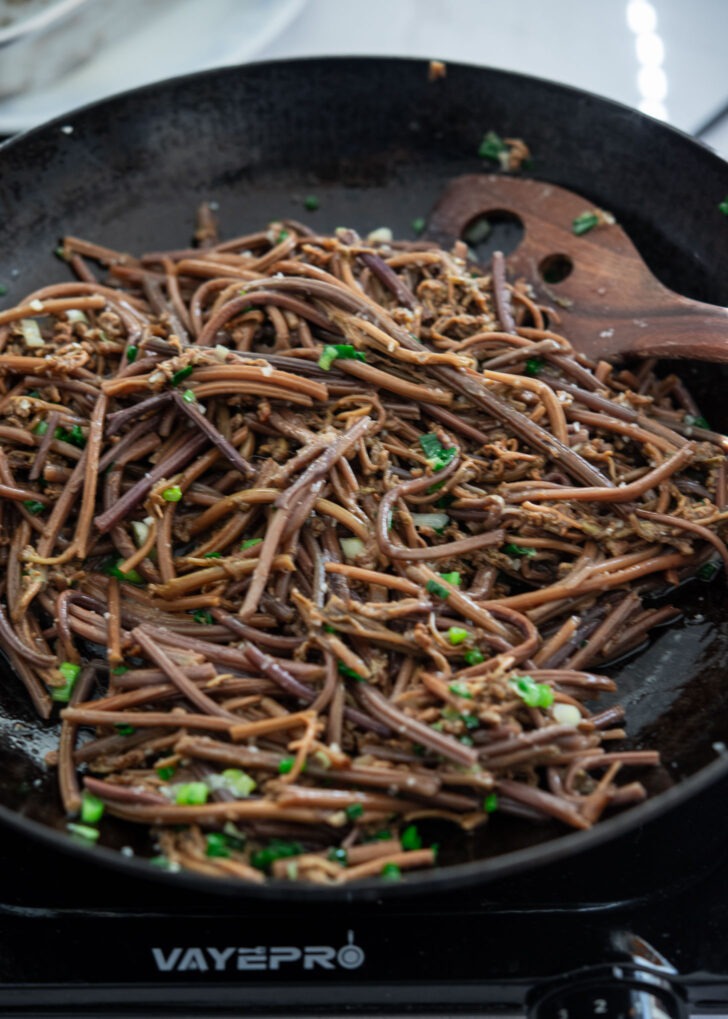
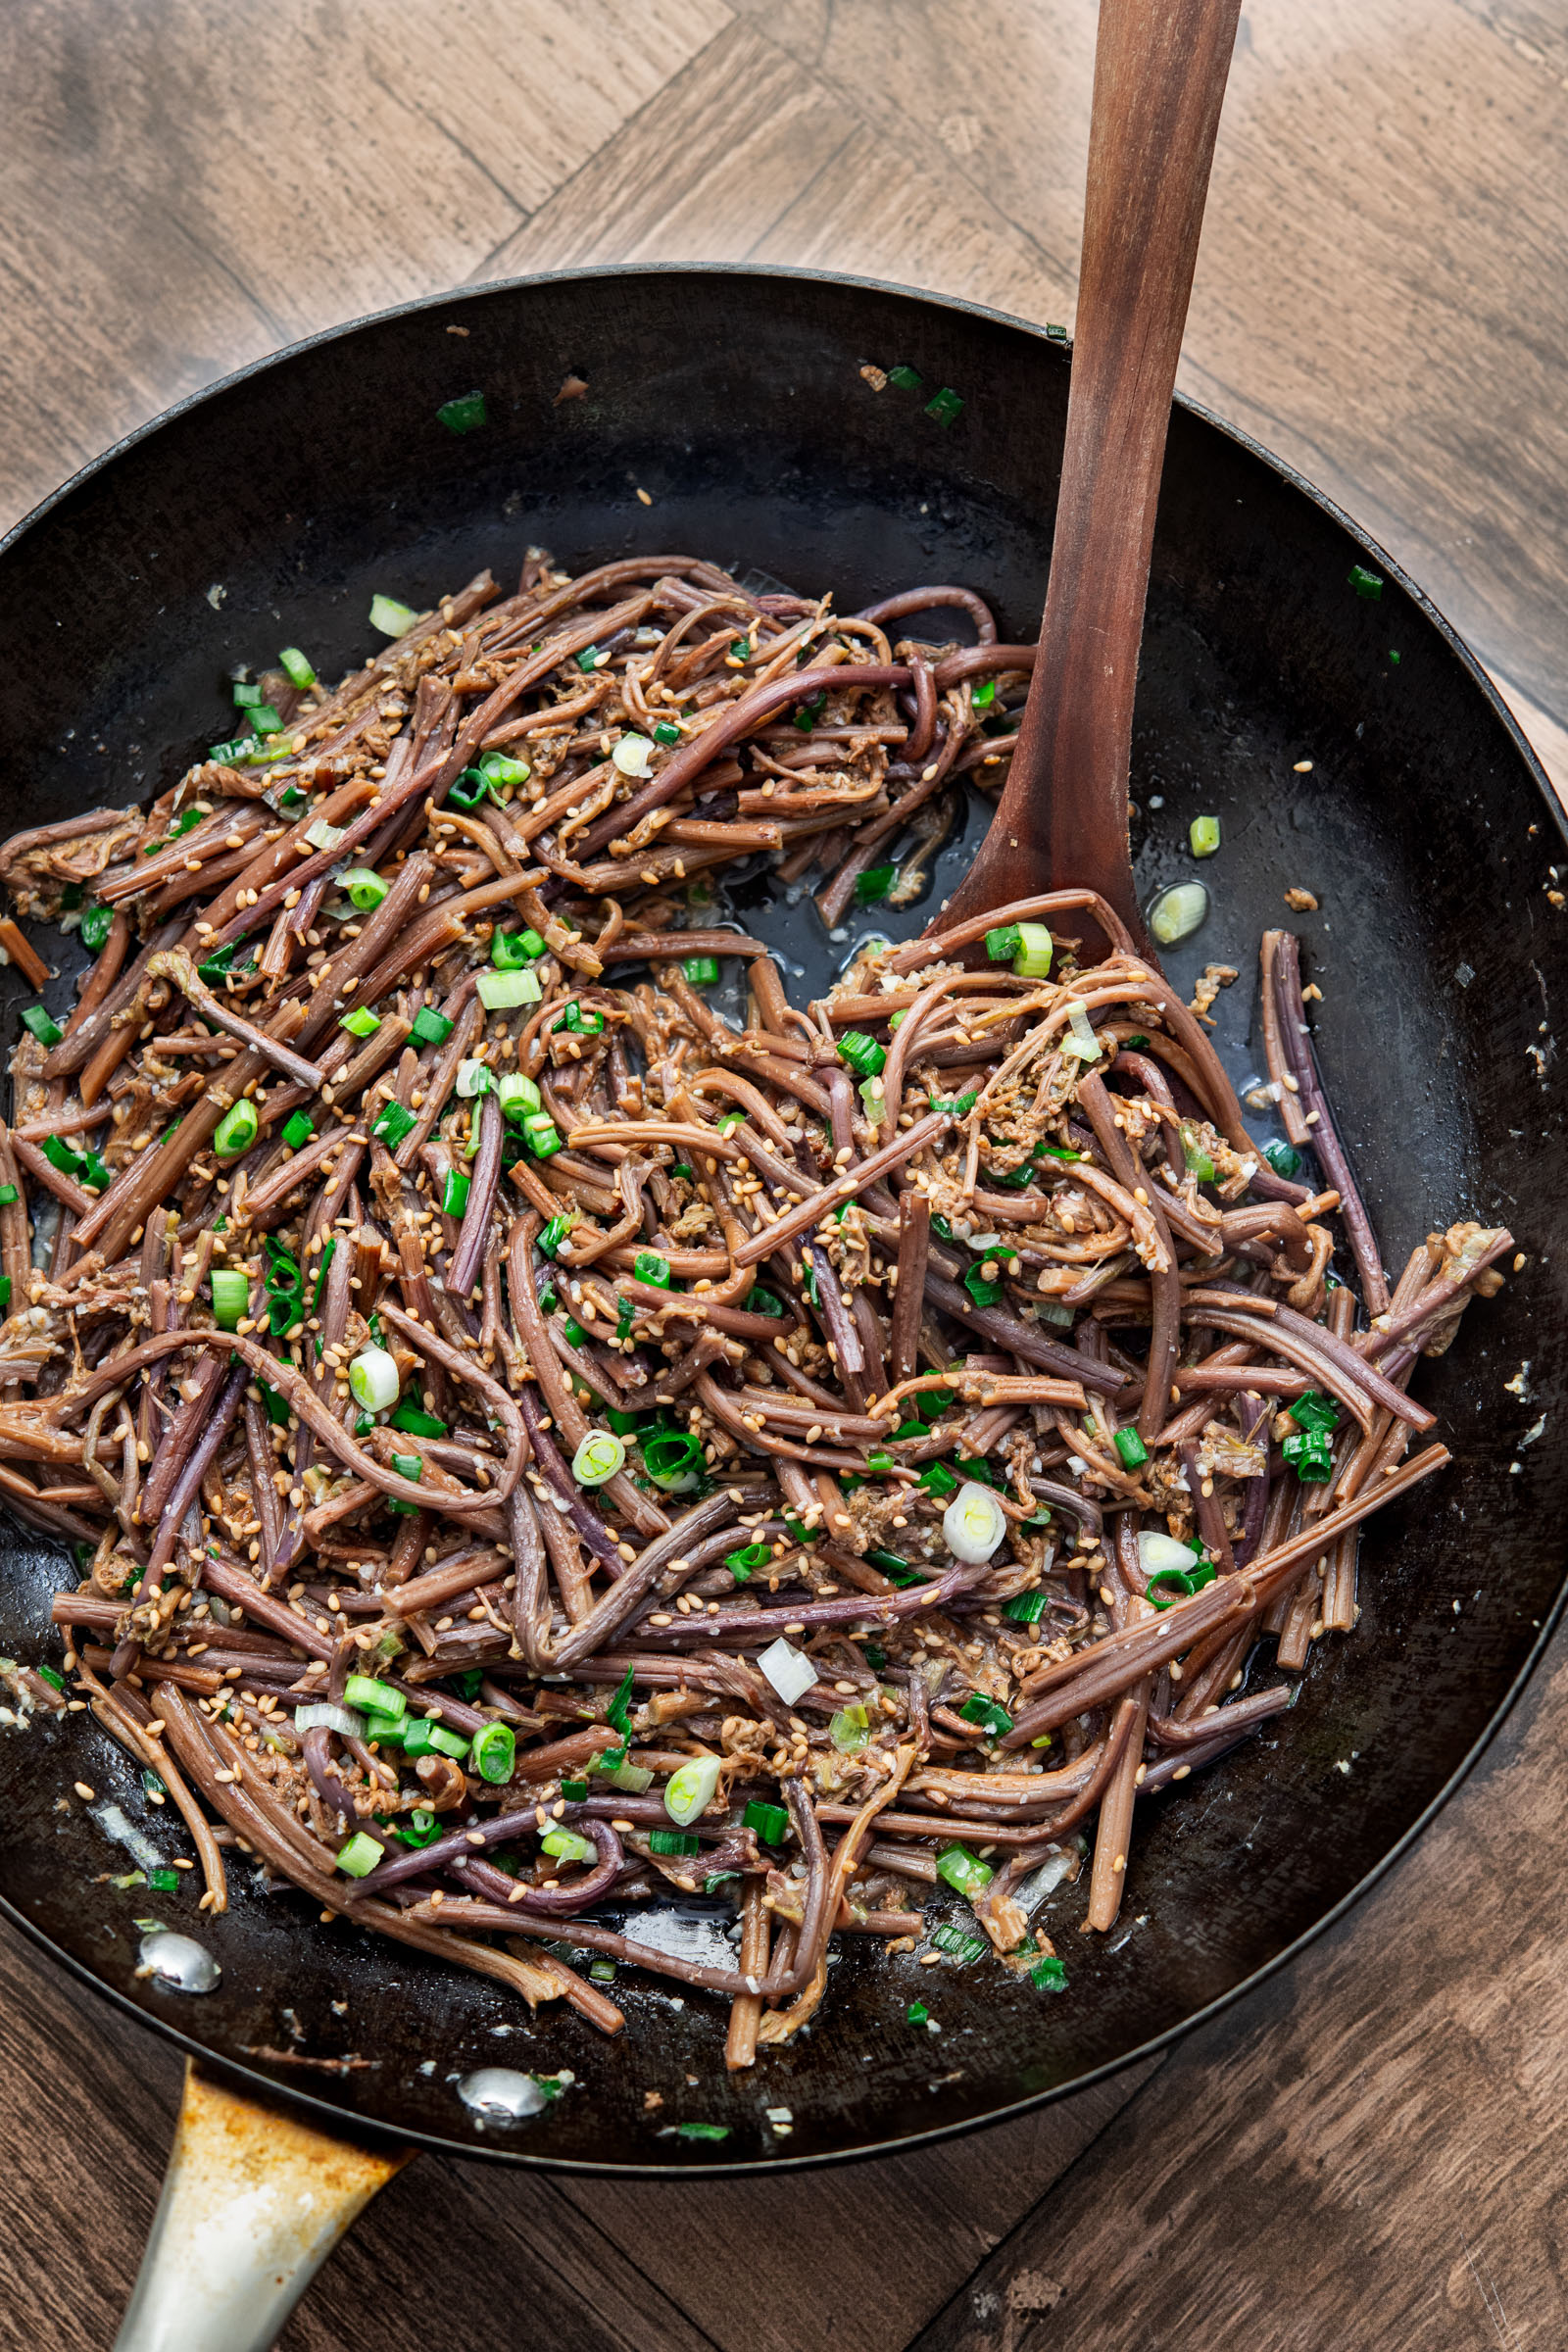
Stir-fry the seasoned gosari briefly, then add some of the dashima stock. Let it simmer until most of the liquid has been absorbed but the strands are still moist and glossy.
Finish with green onion and sesame seeds.
The goal isn’t to fry the gosari until dry. I want it tender, seasoned all the way through, and still carrying a little moisture when it leaves the pan.
If Your Gosari Is Still Tough
Then:
Tough gosari almost always needs more softening time. A stem can feel soft on the outside while remaining firm and stringy through the center, especially with thicker dried gosari.
Take one strand and bend it. It should flex easily and be pleasant to bite through. If there’s noticeable resistance, simmer the gosari again in fresh water, turn off the heat, and let it rest until tender.
Check the ends too. Very woody portions sometimes won’t soften properly and are better trimmed off.
On the other end of the spectrum, gosari shouldn’t collapse into mush. You’re looking for tender strands with a gentle chew.
How I Serve Gosari Namul
At home, I usually serve gosari namul the simplest way possible: a small plate alongside warm rice, soup, and a few other banchan. It pairs especially well with fresh vegetable sides such as my Korean spinach namul.
Gosari is also a classic topping for classic Korean bibimbap. Its soft, slightly chewy texture is a nice contrast to the rice and other vegetables, and this is probably one of the most familiar ways people encounter gosari outside Korea.
For Chuseok, jesa, or a larger Korean meal, I often serve it as part of a bigger namul spread. For more ideas to round out the table, browse my Korean side dish recipes.
And honestly, I don’t always wait for a special meal. Gosari over multigrain rice with a little kimchi nearby makes a perfectly good lunch in my book.
Love this recipe? Rate it and share your experience in the comments below! On Instagram? Tag me to showcase your creation. For more delicious recipes, subscribe to our newsletter!
Tender Gosari Namul (Korean Fernbrake)
Ingredients
- 1½ oz (40 g) dried fernbrake
- 1 tbsp (15 ml) minced garlic
- 1 tbsp (15 ml) Korean soup soy sauce
- 1 tbsp (15 ml) Korean tuna sauce, see note below
- 1 tbsp (15 ml) perilla oil, or sesame oil
- 1 piece (about 5 x 5 cm / 2 x 2 inch) dried sea kelp (dashima)
- ½ cup (120 ml) water
- 1 tbsp (15 ml) oil
- 1 green onion, finely chopped
- 1 tbsp (9 g) toasted sesame seeds
Instructions
- Rinse the dried gosari well. Place it in a large bowl, cover generously with water, and soak for 20 minutes.
- Drain and transfer the gosari to a pot. Cover with fresh water and bring to a gentle simmer over medium-low heat. Cook for about 20 minutes. Remove from the heat, cover, and let the gosari rest in the hot water for 20 to 30 minutes.
- Drain and rinse again. Cover with fresh cold water and soak for 8 to 12 hours, preferably overnight in the refrigerator. The stems should be soft, flexible, and easy to bend. If they still feel firm in the center, soak longer or simmer briefly again.
- Drain well and trim off any tough or woody ends. Cut the gosari into bite-size lengths.
- Place the prepared gosari in a bowl. Add garlic, Korean soup soy sauce, tuna sauce, and perilla oil. Toss well with your hands and let it sit for about 5 minutes to absorb the seasoning.
- Meanwhile, combine the dashima and water in a small saucepan. Bring to a gentle simmer, cook briefly, then remove the kelp.
- Heat a skillet over medium heat. Add the seasoned gosari and stir-fry for 1 to 2 minutes. Add the dashima stock and continue cooking until most of the liquid is absorbed and the gosari is tender and moist, not dry.
- Stir in the green onion and sesame seeds. Taste and adjust the seasoning if needed. Serve warm or at room temperature.