

Everyday Napa Cabbage Kimchi
Everyday napa cabbage kimchi made with chopped cabbage, gochugaru, and a simple seasoning paste, then fermented naturally for clean, balanced flavor that works with daily Korean meals.
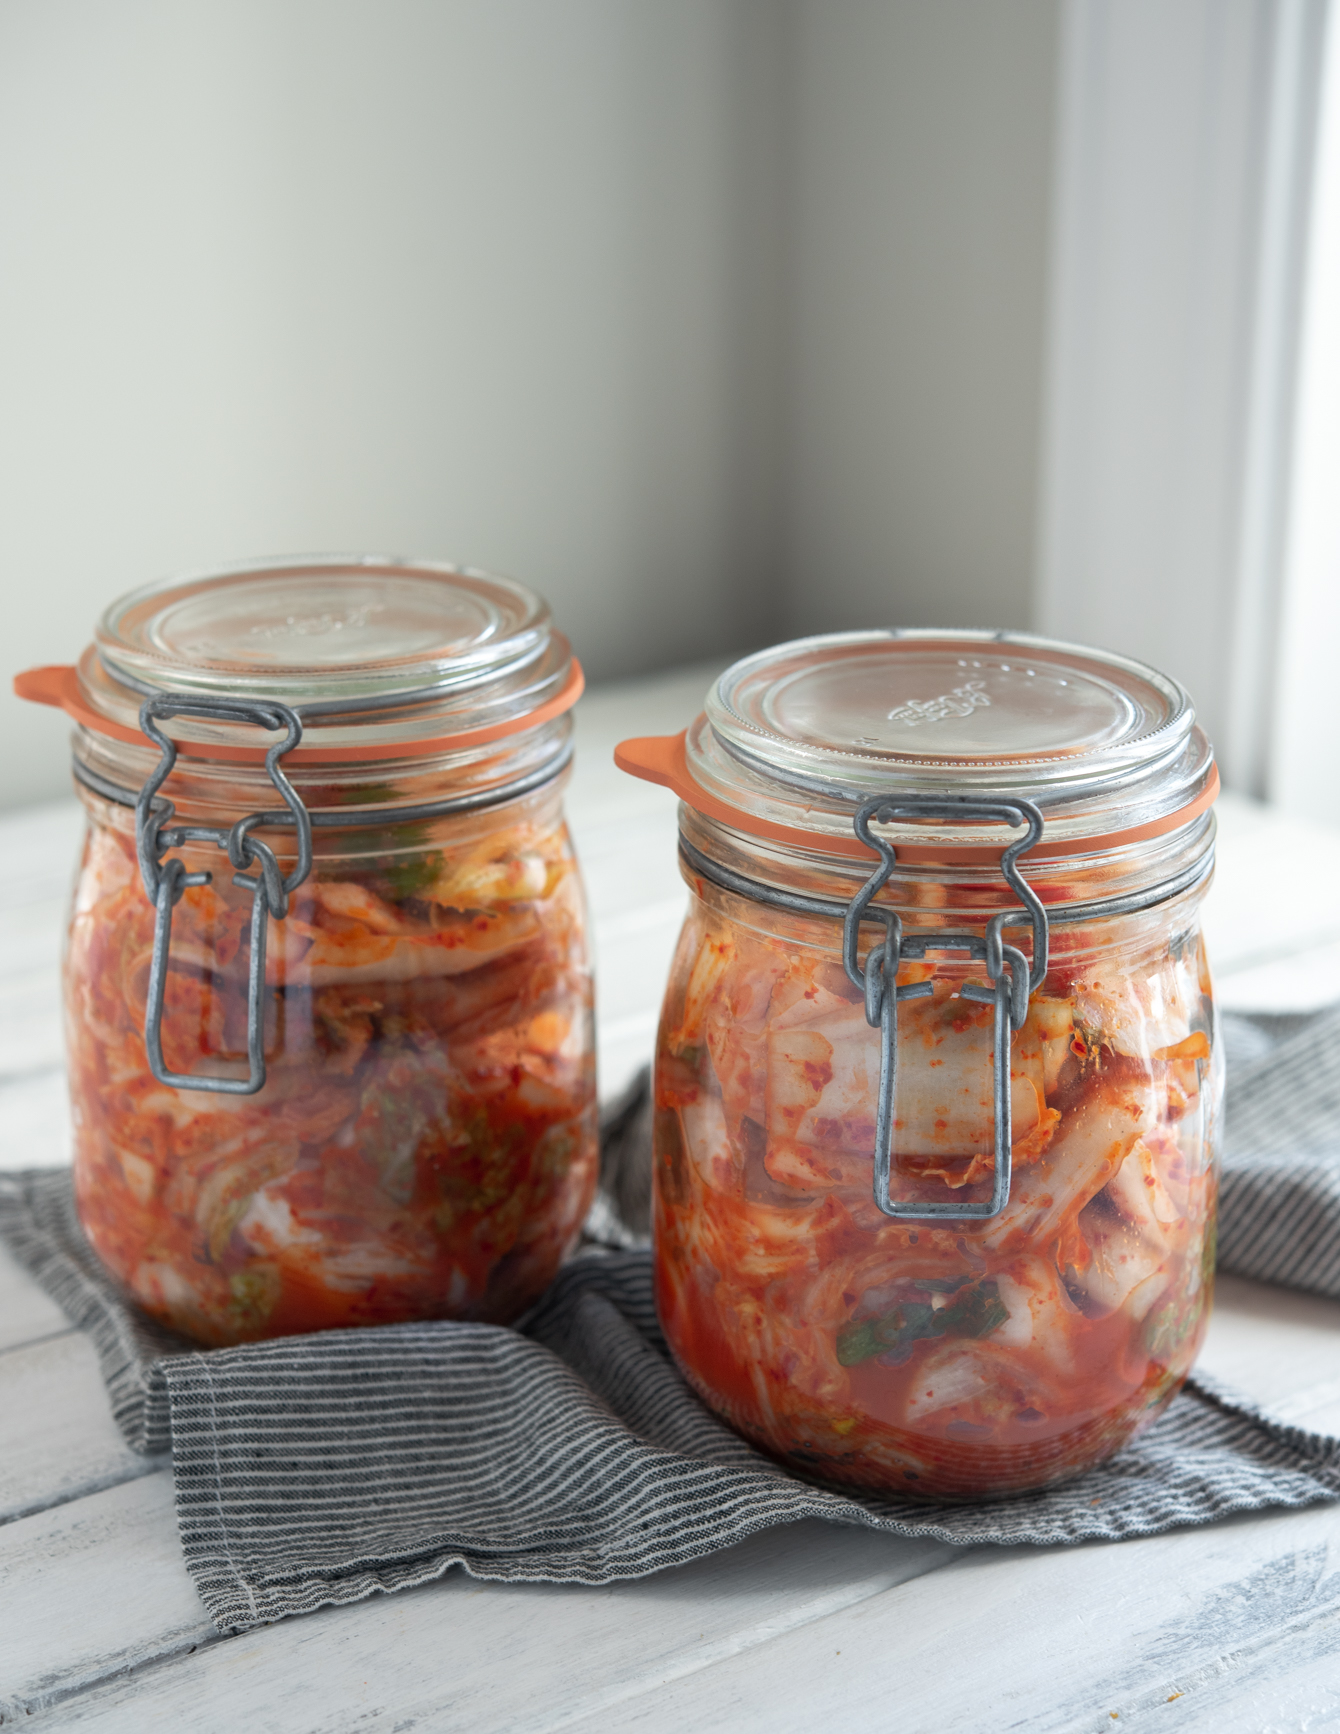
This is the napa cabbage kimchi I make most often at home — not for kimjang season, and not as a same-day salad, but for everyday meals. It’s a mak kimchi–style recipe, meaning the cabbage is chopped instead of left whole, which keeps the process practical while still allowing the kimchi to ferment properly and develop flavor over time.
I rely on this version when I want a dependable batch of kimchi in the fridge that gets better after a day or two, with balanced heat, tang, and savoriness. It’s the kind of kimchi that works with a simple bowl of rice, soups, or grilled dishes without overpowering the meal. If you’re looking for a home-style cabbage kimchi that’s straightforward, fermented, and made to be eaten daily, this is the recipe I come back to again and again.
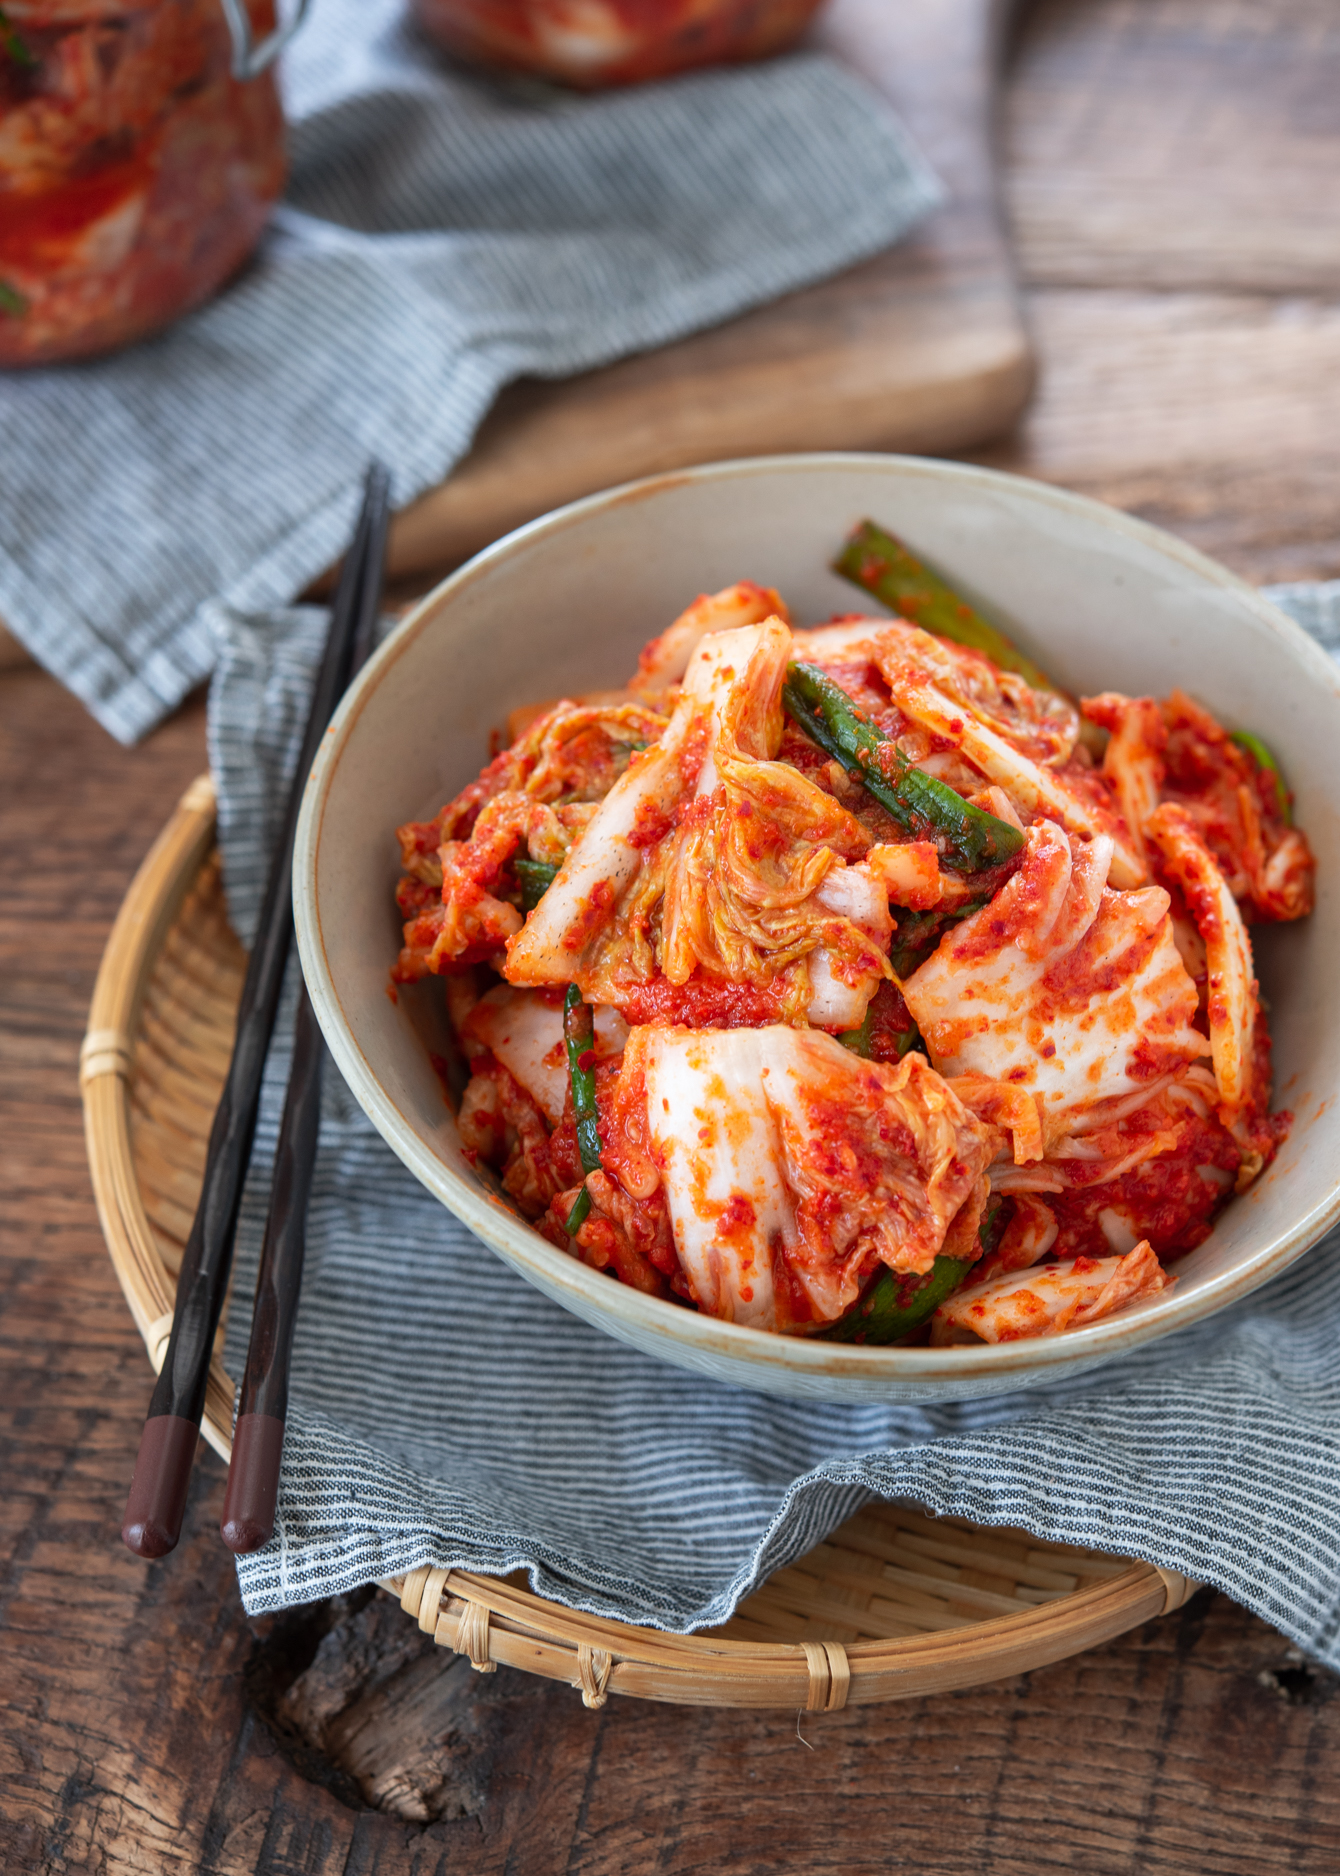
Get new recipes via email:
Why This Is My Everyday Napa Cabbage Kimchi
This recipe is designed for regular home cooking, not large-batch kimjang or same-day kimchi. The cabbage is chopped for practicality, seasoned simply, and allowed to ferment so the flavor develops gradually in the fridge. I make this version when I want a reliable napa cabbage kimchi that works with everyday meals and improves over time.
For traditional, whole-cabbage kimchi made in larger batches, see my kimjang kimchi recipe, which follows the classic salting and fermentation process used for winter storage.
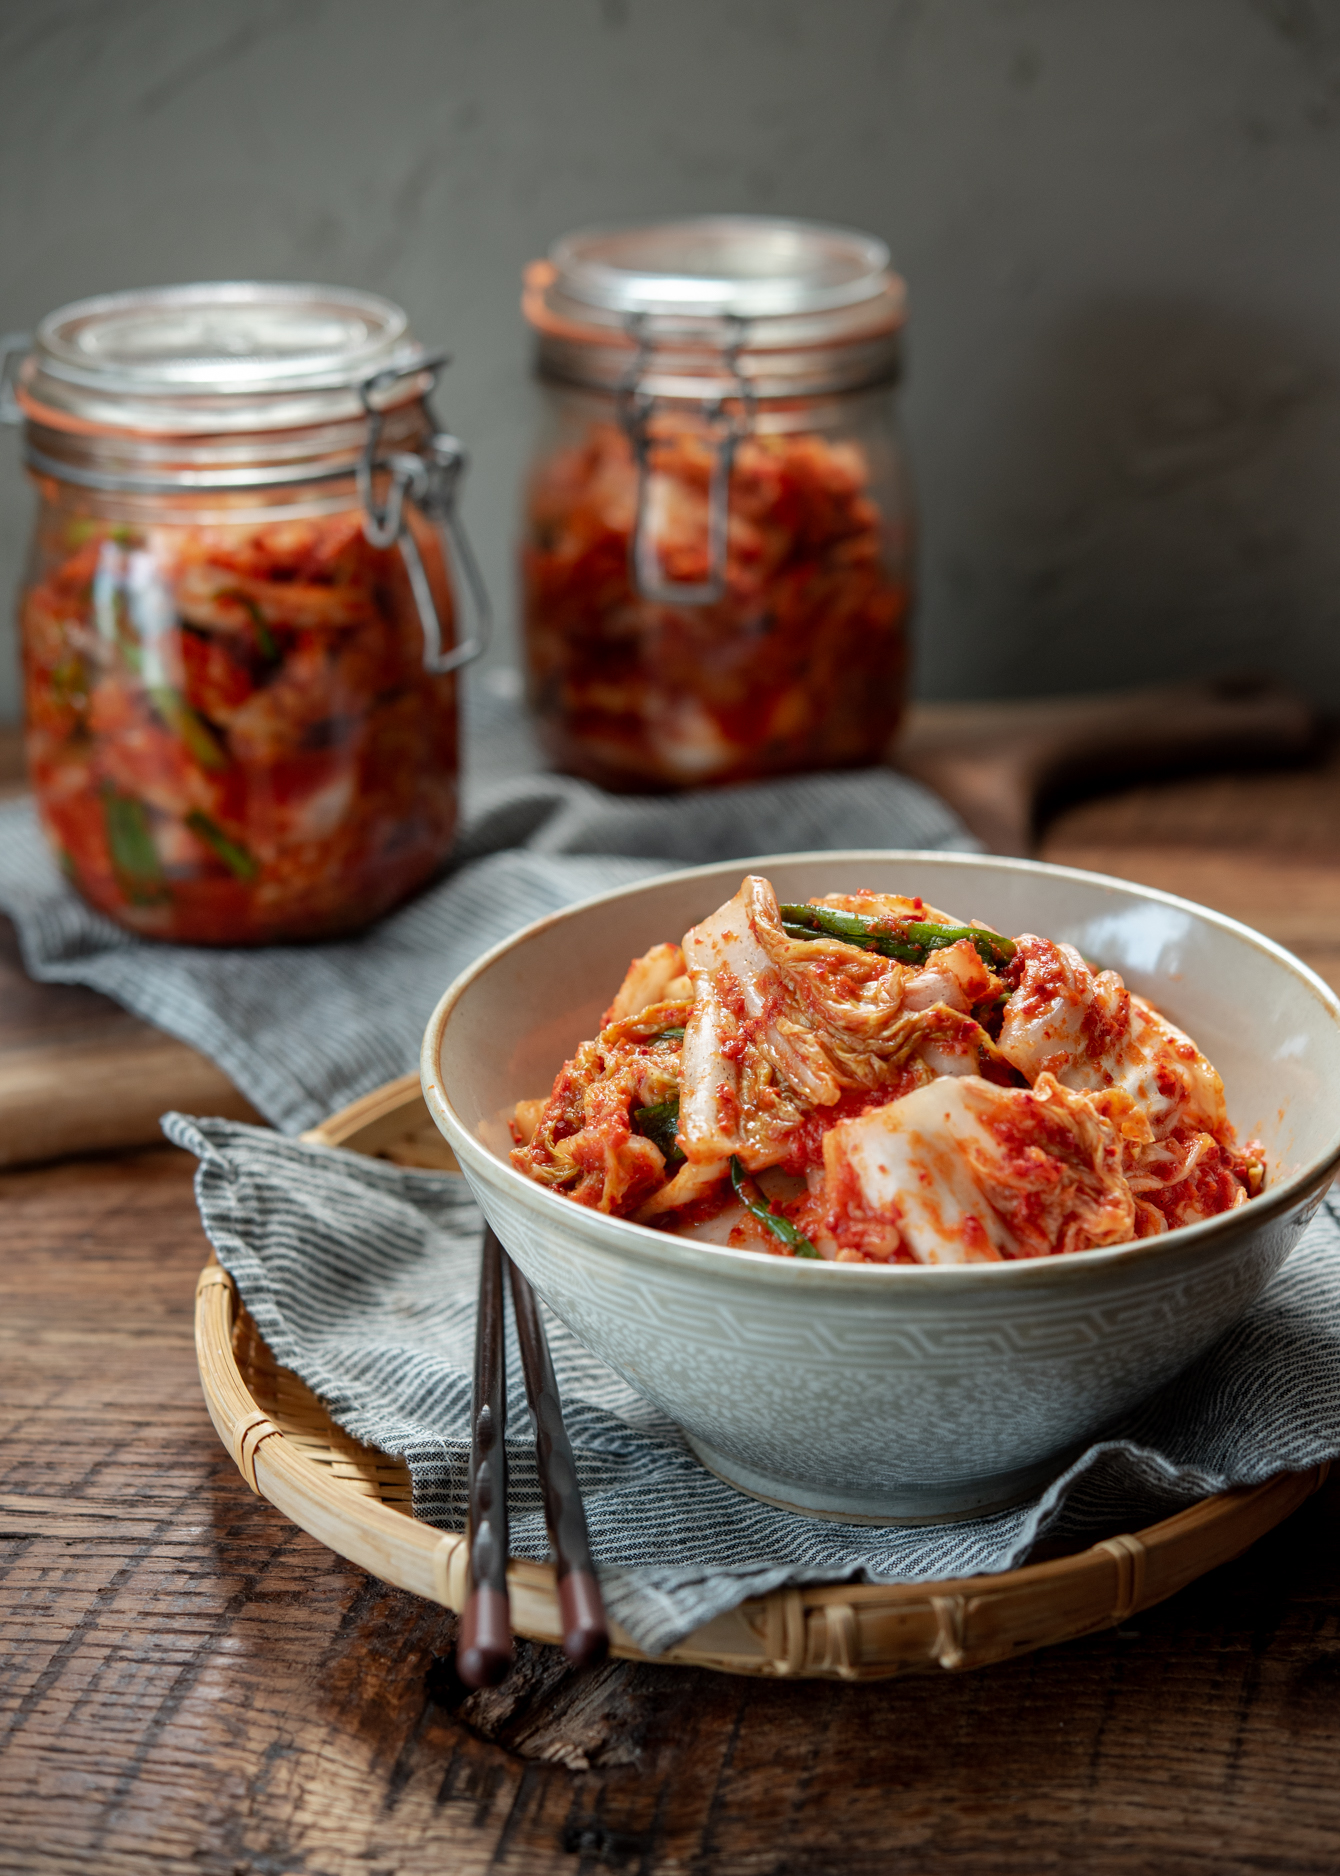
Key Ingredients for Cabbage Kimchi
After years of making kimchi both in Korea and abroad, I’ve found that choosing the right ingredients is key—especially for an everyday kimchi that’s meant to ferment and be eaten over time. Here are my go-to ingredients and why they matter.
Napa Cabbage: This is the classic base for kimchi, known for its crunchy texture that softens beautifully as it ferments. Can’t find napa? Green cabbage works in a pinch, though the texture and fermentation will be slightly different. I share a dedicated method in my green cabbage kimchi recipe.
Korean Coarse Sea Salt (cheonilyeom): Korean sea salt draws moisture slowly and evenly, which helps preserve the cabbage’s crunch. I’ve tested regular table salt—it makes the cabbage too limp. Stick with coarse salt made for kimchi when you can.
Korean Chili Flakes (Gochugaru): This gives kimchi its signature color and spicy kick. I recommend using gochugaru made in Korea—it tends to have better flavor and brighter color. Avoid chili flakes that look dull or brownish.
Starch (for the paste): A small amount of starch helps the seasoning paste cling to the cabbage and supports fermentation. When I want a smoother texture or am making a larger batch, I cook a quick sweet rice flour paste. On busy days, blended leftover rice works just as well.
Fish Sauce & Salted Shrimp: Anchovy fish sauce and saeujeot (salted shrimp) provide the depth and umami that give fermented kimchi its complexity. This combination is what I use most often at home. If you avoid seafood, soup soy sauce can be used as a plant-based substitute while still producing a well-balanced kimchi.
Sweetener (Fruit or Sugar): A small amount of sweetness helps balance the spice and acidity as the kimchi ferments. For this batch, I used a blend of apple and pear nectar, which added gentle sweetness without overpowering the chili paste.
Sea Kelp Stock (Optional): This isn’t required, but a light kelp stock adds subtle savory depth to the seasoning paste. Simmer a small piece of dried kelp in water, then let it cool before using.
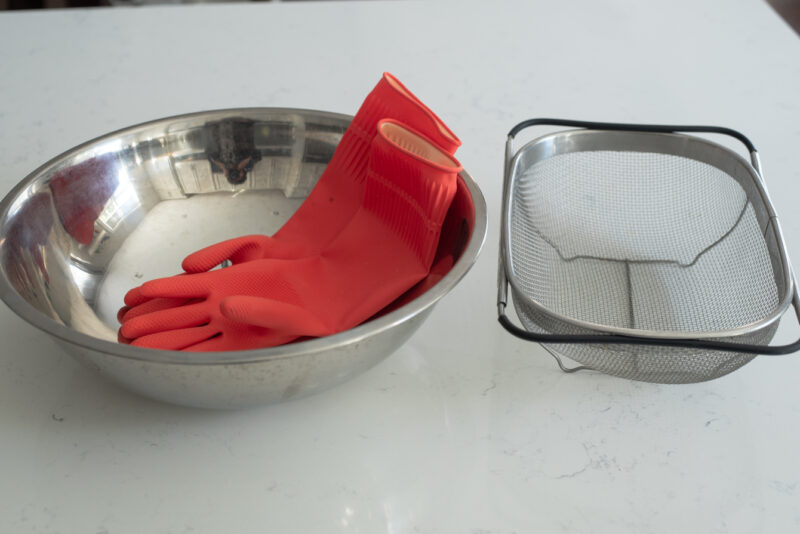
You don’t need special equipment to make this kimchi, but a few basics make the process easier: a large mixing bowl for salting, a colander for draining, kitchen gloves to protect your hands from gochugaru, and airtight jars with a little headspace for fermentation.
How I Make Everyday Napa Cabbage Kimchi
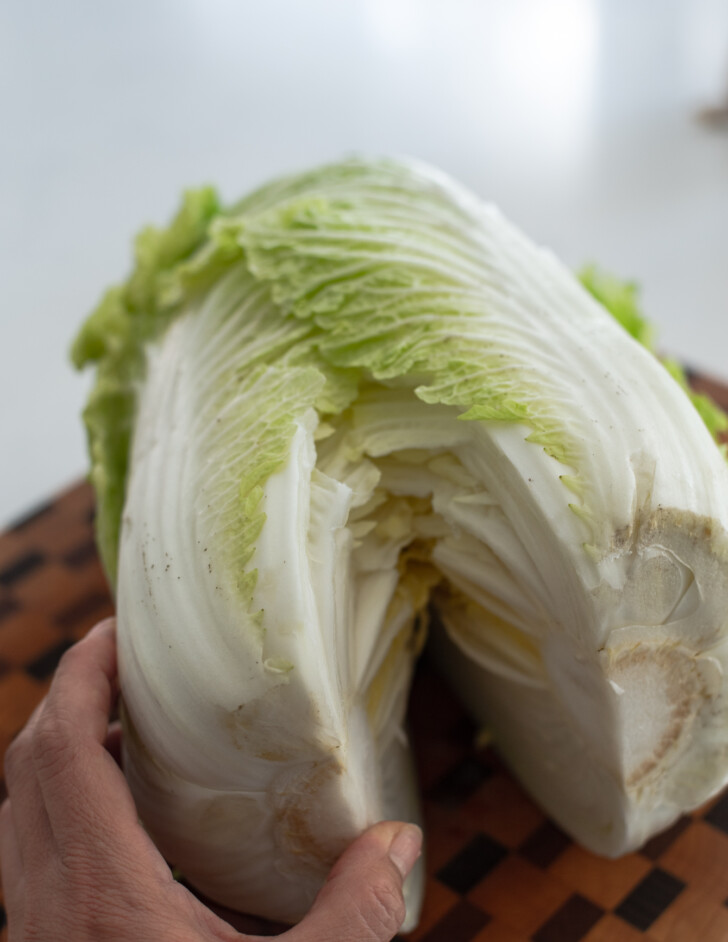
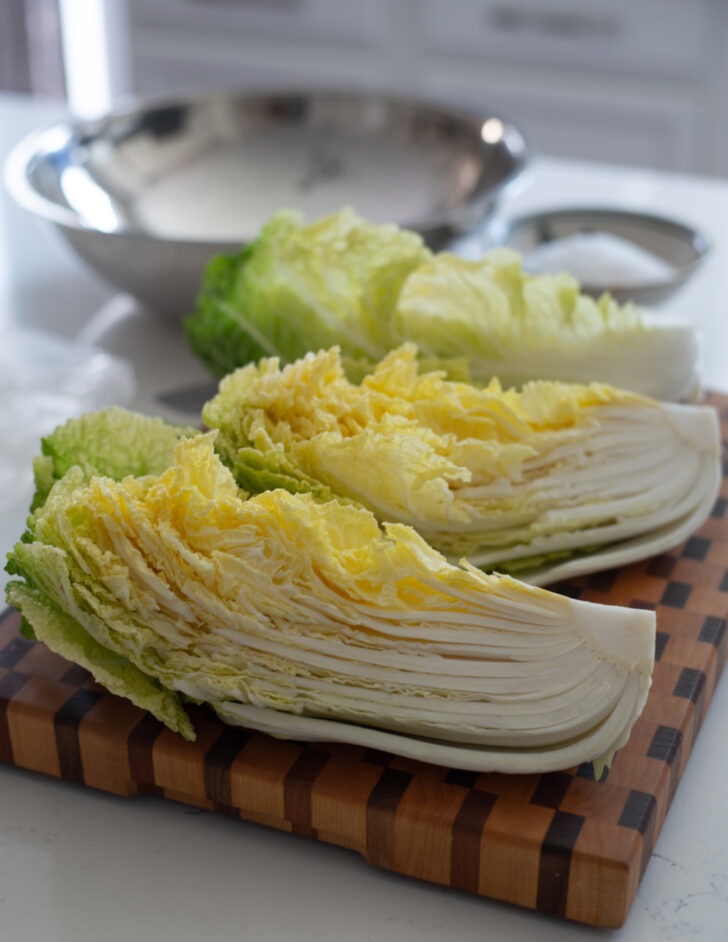
Prep the Cabbage. I start by quartering the napa cabbage the traditional Korean way—cutting a small slit at the base, then splitting it open by hand. This keeps the leaves intact and helps the cabbage ferment evenly later on.
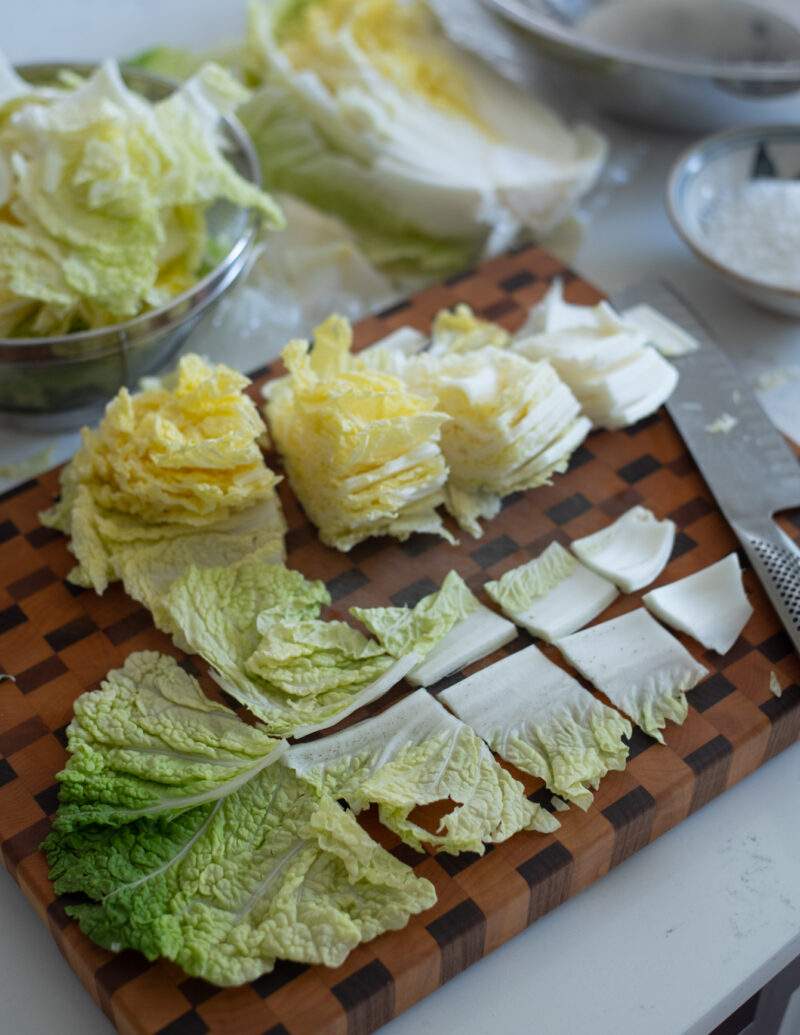
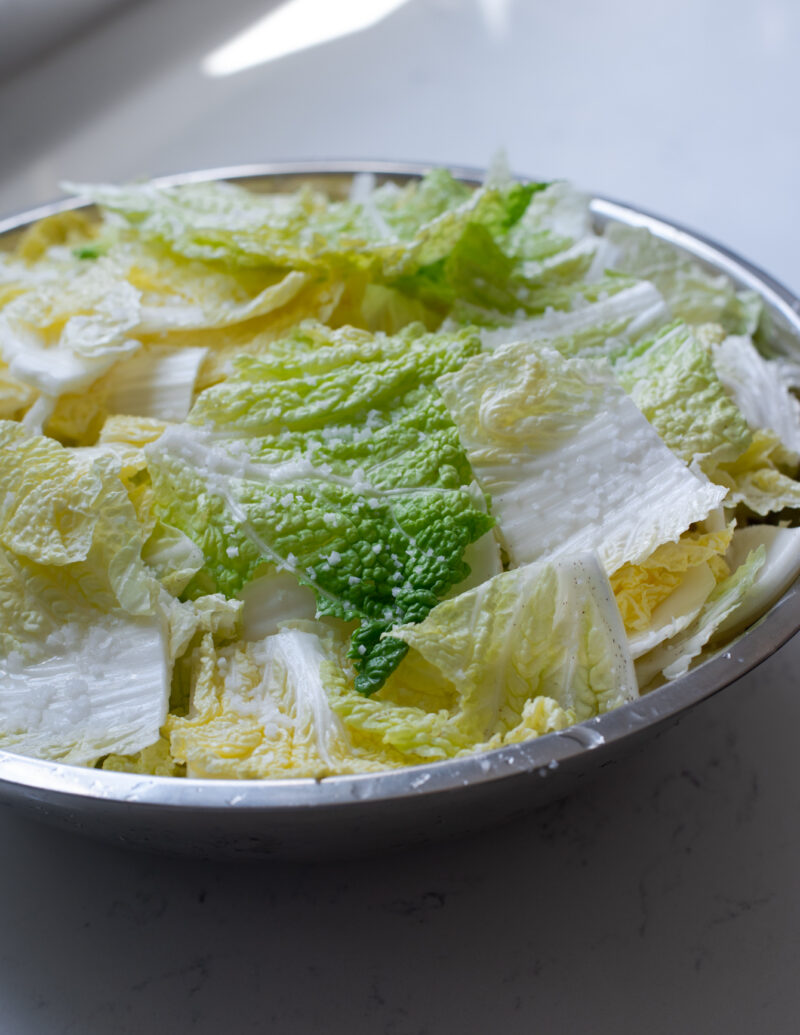
Salt the Cabbage. Cut the quarters into large chunks and layer them with coarse Korean sea salt in a large bowl. Make sure the salt reaches the thicker stem parts. Let the cabbage rest until the stems bend easily without snapping.
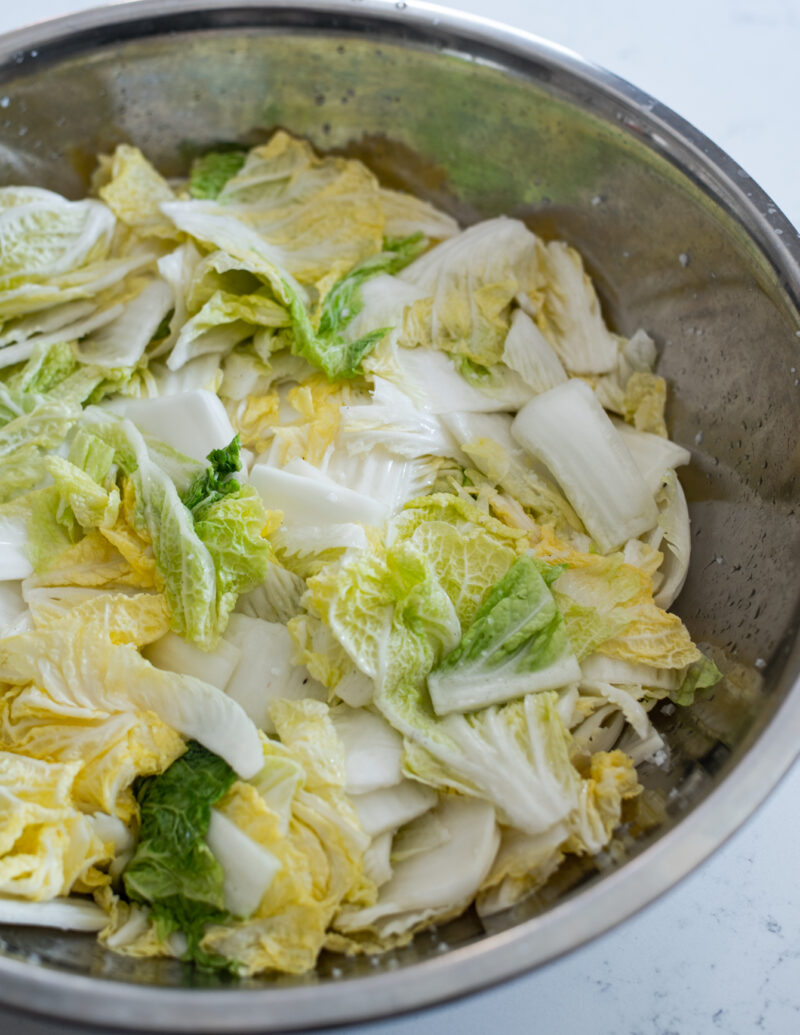
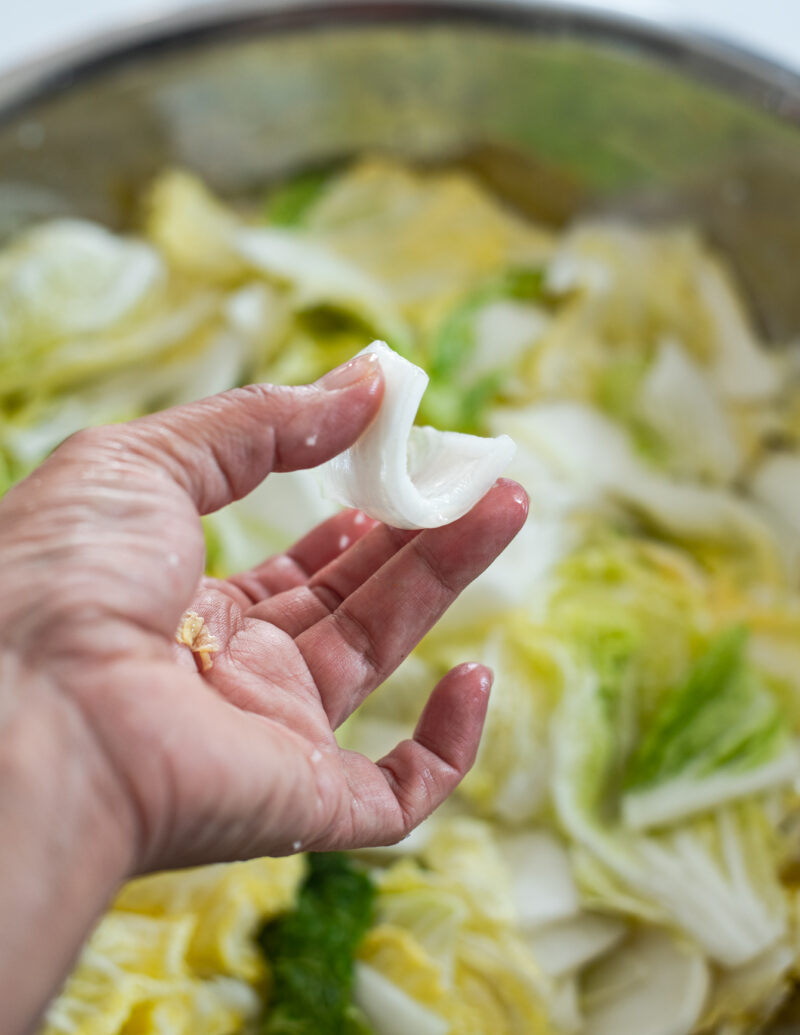
Rinse and Drain. Rinse the salted cabbage a few times to remove excess salt, then gently squeeze out the water. The cabbage should feel pliable but not waterlogged.
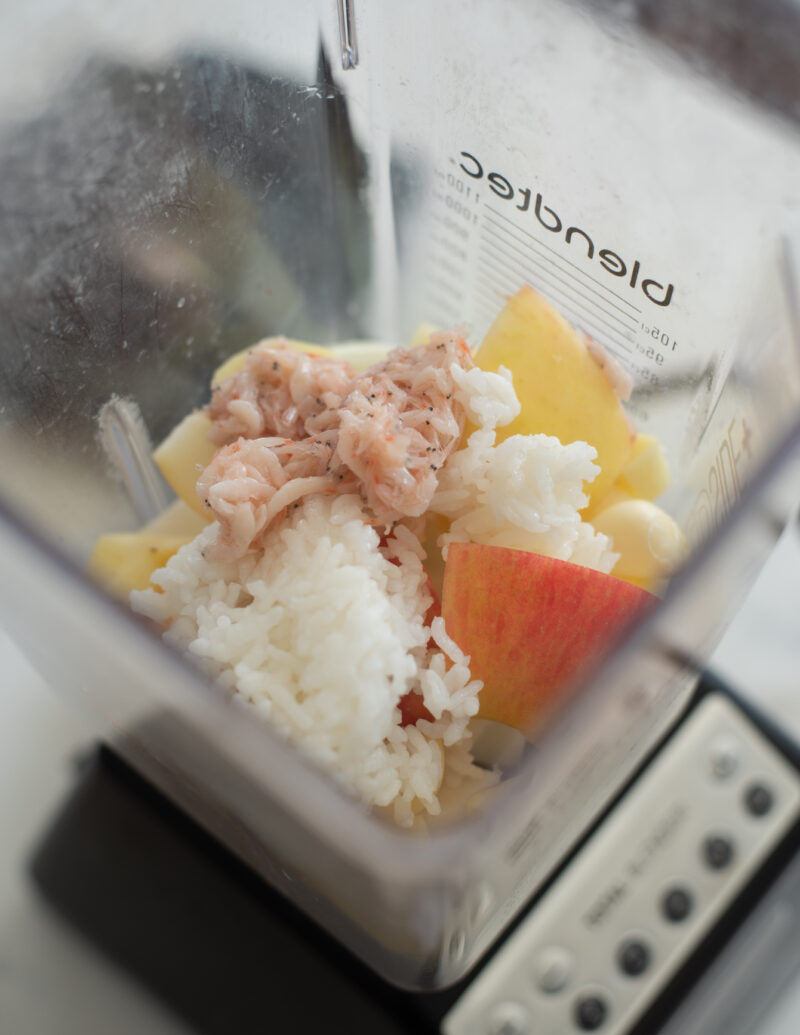
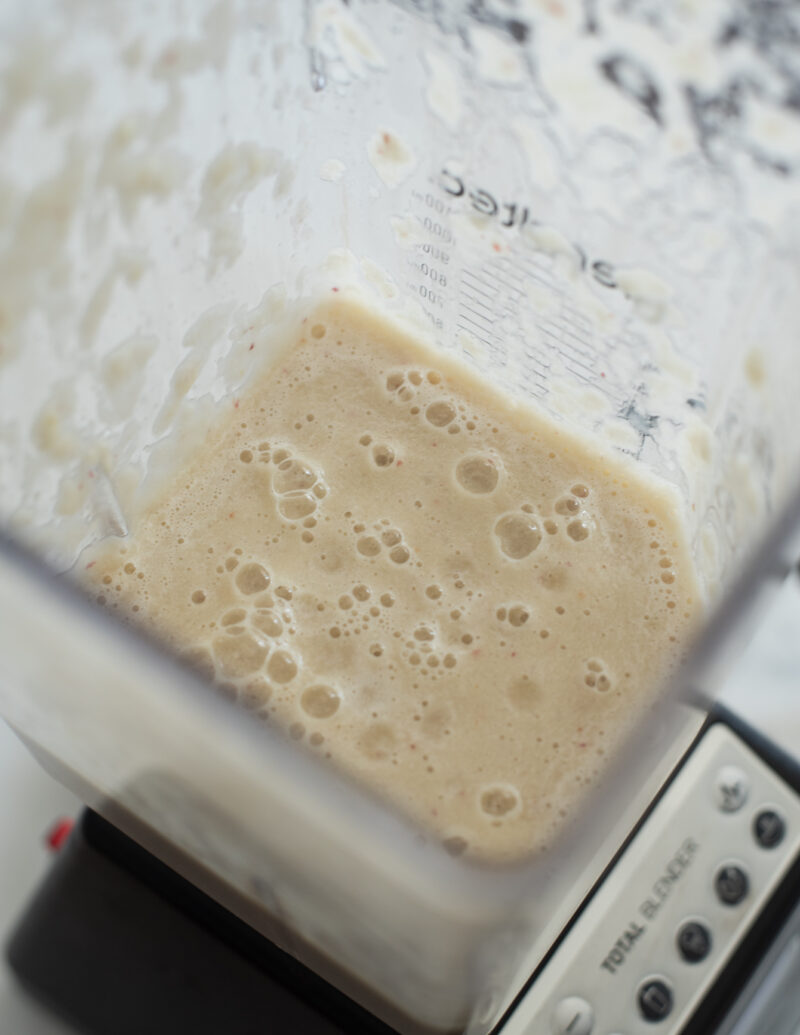
Make the Seasoning Base. While the cabbage rests, blend garlic, ginger, onion, apple or pear, a small amount of sugar, fish sauce, salted shrimp, and a bit of kelp stock if using. This base gives the kimchi depth and helps it ferment cleanly.
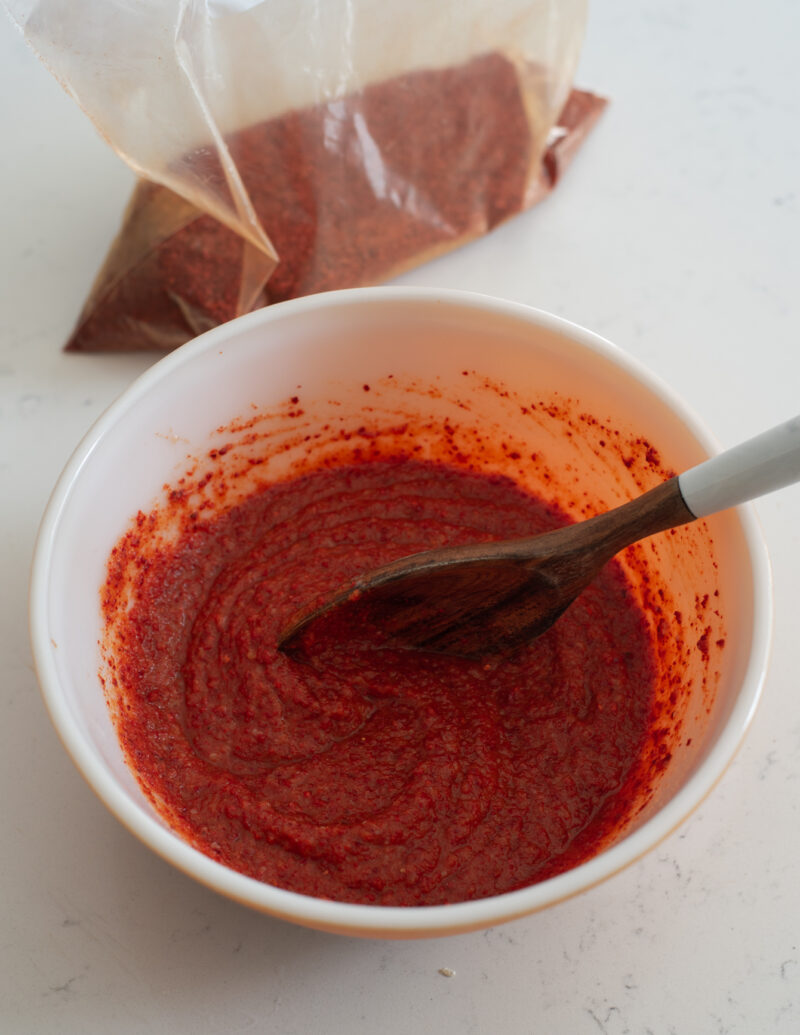
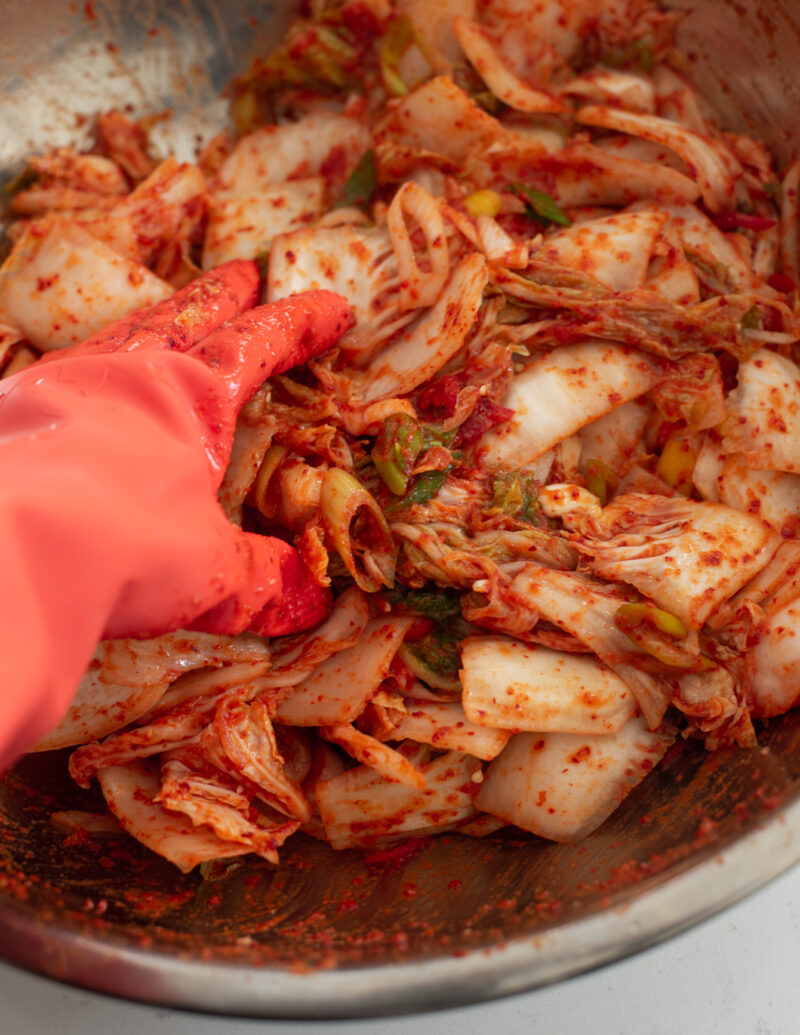
Mix and Season. Stir gochugaru into the blended base and let it sit briefly so the chili flakes bloom. Toss the drained cabbage with the seasoning paste and sliced green onions or leeks, coating the cabbage evenly.
Tip: I always wear gloves for this step—gochugaru stains and can irritate skin. The kimchi may taste slightly salty at first; it will mellow as it ferments.
If you’re looking for a fully plant-based version without fish sauce or salted shrimp, see my vegan kimchi, which follows the same fermentation principles using pantry-friendly substitutes.
How to Ferment and Store Kimchi at Home
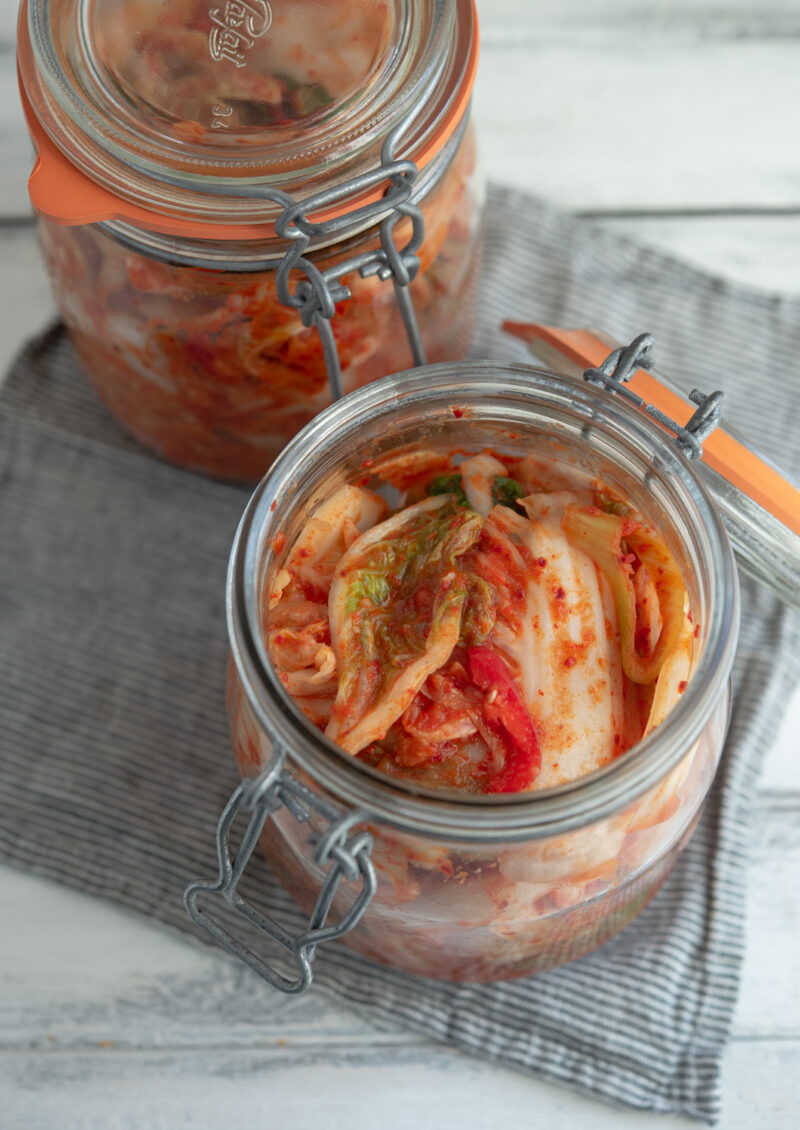
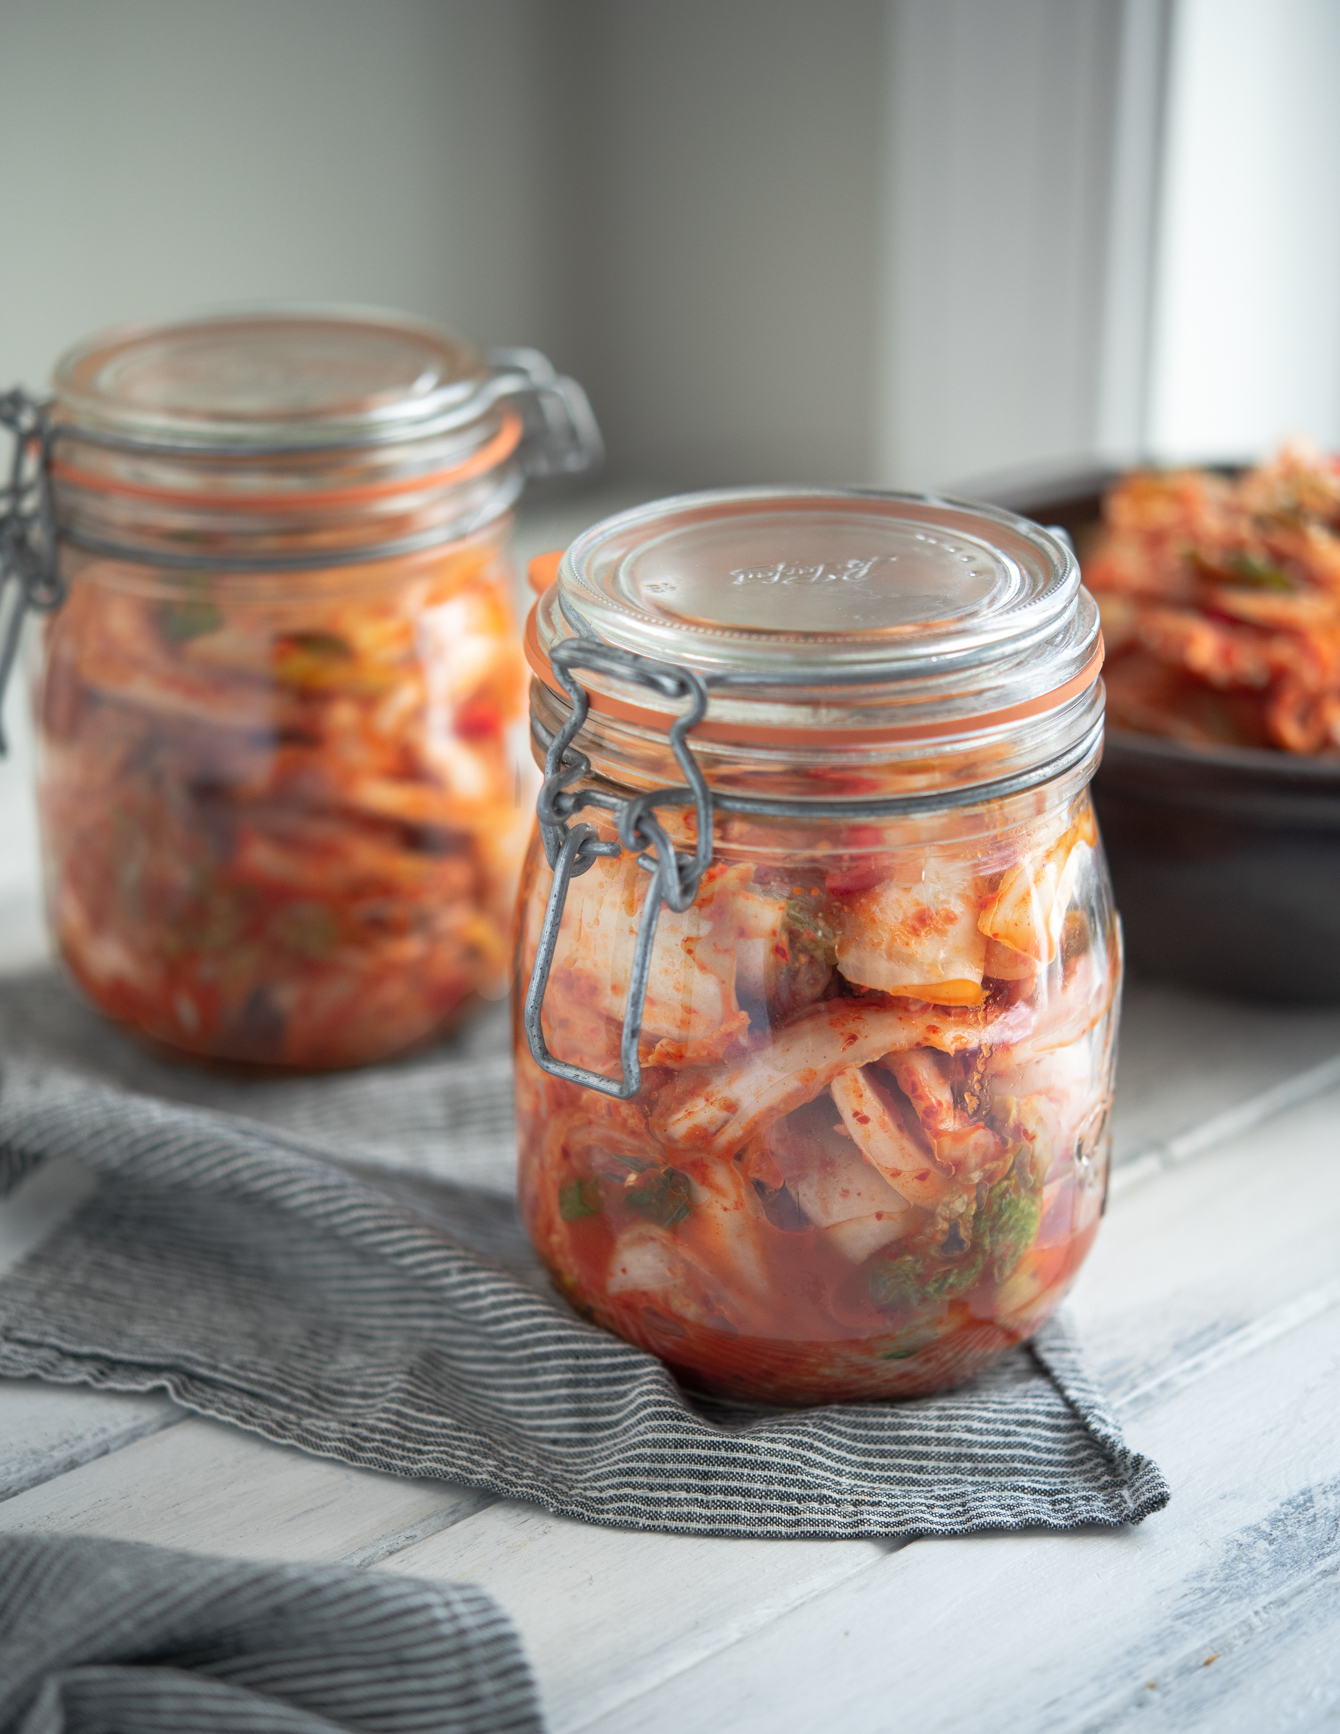
Once packed into jars, fermentation is what transforms the seasoning and cabbage into kimchi. I usually leave mak kimchi at room temperature for about one day—sometimes two if the kitchen is cool—until I see light bubbling and smell a gentle sourness. At that point, it goes into the fridge to slow fermentation.
Because the cabbage is chopped, mak kimchi ferments faster than whole-leaf kimchi. I like it best within the first few weeks, when it’s still crisp and balanced. As it ages, it becomes softer and tangier, which makes it better suited for cooking.
My go-to storage tips:
- Use airtight glass jars and leave headspace for expansion
- Press the kimchi down so it stays submerged in its juices
- Store it toward the back of the fridge where temperature is steady
As the kimchi becomes more sour over time, it’s especially good for cooking. Well-fermented kimchi works beautifully in dishes like kimchi jjigae, where deeper flavor is a plus.
If you want a same-day option without fermentation, make my geotjeori (fresh kimchi salad) and serve it right away.
For other styles and variations, browse my Korean kimchi recipes collection.
Love this recipe? Rate it and share your experience in the comments below! On Instagram? Tag me to showcase your creation. For more delicious recipes, subscribe to our newsletter!
Everyday Napa Cabbage Kimchi
Ingredients
- 3 lb (1.3 kg) napa cabbage, about 1 medium head
- 2/3 cup (200 g) Korean coarse sea salt
- 1 bunch green onion, sliced
- 2-3 fresh red chili (optional), sliced
For kimchi paste
- 1/2 large onion, diced
- 7-8 cloves garlic
- 1 inch (2.5 cm) ginger, peeled and diced
- 1/2 large sweet apple, seeded and diced
- 2/3 cup (60 g) Korean chili flakes (gochugaru)
- 1 tbsp (12 g) sugar
- 4 tbsp (60 ml) Korean anchovy sauce
- 1 tbsp (15 ml) Korean salted shrimp
- 3 tbsp (45 g) cooked white rice
- 1/2 cup (120 ml) sea kelp stock , or water (See note)
Equipment
- glass food storage jars 1 gallon (3.5 liter) airtight container
Instructions
To salt brine the cabbage
- Cut a 3-inch slit through the white stem part of cabbage. Open up the cabbage from the white stem part using your hand. It should open up easily. Cut additional slits on each cabbage half on the stem and open up again. By doing so, you are quartering the cabbage the Korean traditional way. Rinse the cabbage quarters once to wet them.
- Dice cabbage quarters into large chunks. For the large outer leaves, slice them in half lengthwise first, then dice into chunks.
- In a large bowl, put in a small layer of cabbage chunks and sprinkle about 2-3 tablespoons of coarse sea salt over the cabbage. Repeat the process several times, creating layers of cabbage chunks and salt.
- Let the cabbage soak for 1-2 hours, turning them upside down a couple of times during the soaking. When you bend the white stem part of cabbage, if it bends with a gentle pressure, the brine step is completed. Rinse the cabbage 3 times in water. Drain the cabbage in a colander, pressing down gently to remove excess water.
To make kimchi paste
- Combine onion, garlic, ginger, salted shrimps, fish sauce, cooked rice (or other choice of starch), and fruit in a blender. Pour in sea kelp stock (or water) to allow the blade to mix the ingredients. (If using fruit nectar, you don't need to add stock.) Process everything until smooth.
- Pour the puree in a large mixing bowl. Add Korean chili flakes, and mix well. Taste and adjust the seasoning of paste for your liking. Let the paste rest for 5 minutes, so the chili flakes will get re-hydrated.
To assemble kimchi
- Put the drained cabbage in a large mixing bowl. Add leek (or green onion), fresh chili (if using), and kimchi paste to the cabbage.
- Mix well to coat the cabbage with the seasoning paste. (Wear kitchen rubber gloves to protect your hands from getting stained or smelly.) Taste your kimchi! If your kimchi tastes saltier than you would hope for, don't worry! Freshly made kimchi usually taste much saltier, but the saltiness will subdue as it ferments.
To ferment and store kimchi
- Pack kimchi tightly into a clean glass jar, leaving 1 inch of headspace. Seal with a lid and let sit at room temperature (60–75°F / 15–24°C) for 1–2 days until light bubbling appears. Transfer to refrigerator and let ferment 4–5 days before serving. Best within 1–2 months.

Thanks for letting me know. I like the name.
We have a Korean market so close to my house and each week they make kmchee and if I happen to be in there on the day they make it the whole place smells wonderful. If this is the easy version…wow, I can't imagine how much you have to do to make the authentic cabbage kimchi . Must be a labor of love. 🙂
This sounds delicious and I need a recipe for kimchi. This is my first visit to your blog, so I took some time to browse through your earlier posts. I'm so glad I did that. I really like the food and recipes you share with your readers and I'll definitely be back. I hope you have a great day. Blessings…Mary
Thanks for pointing out the mistake, Lucy. I will fix it. I am glad that you liked the mak-kimchi.
Thanks. Hope you can try to make kimchi this year. This Mak-kimchi would be perfect for the beginner.
Hi Holly, I made the kimchee and it turned out great! I didn't read your recipe properly though and use 2 cup of stuck and about half a cup of rice, so I think the consistency is slightly wrong. I'm going to try again after I've finished eating and sharing this batch with friends! Have noticed a minor mistake on step 4 of the recipe, you forgot to include the rice going into the blender. Thank you again for this MAK recipe, anything mak is good in my kitchen! x
Great post. Kimchi is on my list of things to make this year (I love the flavor, just have never made it). I liked your longer recipe, but this one is more doable for a novice. (David Chang's recipe in Momofuku is also quite good.) As always, a well written and presented recipe – thanks.
all the food you make seems to be delicious, i have to try the teriyaki chicken.
looks like a beautiful recipe. i can't wait to try it.
Hi Mark
Thank you for the comment. Yes, kimchi making is a little challenging at first, but keep trying. You will get the feel for a good kimchi as you keep challenging.
Gorgous. I'm an American guy, who worked in Korea for about 6 months,
and fell in love with the food. (The people, and the beautiful country, are
pretty nice too). I love finding a slightly easier way to make kimchi. I
actually have sort of skipped the seafood stock bit, although I've put
in anchovies. I'll try it this time. The first time I made it, it was way
too salty; but I've gotten a little better at it. I figure: keep trying,
and eventually I'll get it just right. Mark
You can use Thai (or Vietnamese) fish sauce with a little less amount. Have fun making kimchi this weekend and let me know how it turns out.
You are welcome. Hope you get to try this recipe soon.
I use Korean anchovies that I purchased in my hometown in Korea (the best of the bests). I store them the freezer and they can last forever. You can buy Korean anchovies at the Korean grocery stores. For the stock, you can use local anchovies but I would recommend dried fish I often see at the local groceries. They will make your kimchi very flavorful as well.
For cabbage or any vegetables or fruits, I always wash with baking soda. Soak vegetables with 1 tbsp baking soda in cold water for 5-10 minutes (or scrub if you can), then rinse out. It cleans out pesticide very well and seems to improve its crispness.
No matter where you shop most vegetables are loaded with pesticide unless you purchase trusty organic products.
Thank you so much for sharing this wonderful food. Connie
oh this looks so good, and i have all the ingredients at home so will make this wkend! only thing i don't have is anchovy sauce – what can i use instead? Thanks holly! x
Fish Sauce is fine
This recipe made Kimchi more delightful and easy to make. Thanks a lot!
Hi Holly
I live in KL, Malaysia, With regarding to the anchovies, do you buy yours from a Korean grocery shop or you can just use those from the market? Secondly, can you leave out the bottled salted shrimps?
I was told that the Malaysian cabbage (those grown in Cameron Highlands) is loaded with pesticides. How do you clean yours?
Thanks for the amazing post, once again.
oh my this looks so goooood
my korean hubby will be so impressed!
I am salivating!!! I should be going to bed soon but now, I have an intense desire to eat rice with kimchi! I look forward to trying my hand (a first) at making it this weekend. Thank you for the step by step photos. Lovely!
That's one nice looking mak-kimchi, Holly!
Two things I have always noted when it comes to Korean food are: 1. they are typically colorful; and 2. they are rife with vegetables.
I generally neither have the tie or inclination to make Kimchi, so when I do get the urge, I buy some from one of the many Korean places here in Manila.
Usually, I prefer to eat yook gae jang or bulgogi (yeah, meat!).
Your images of the preparation are alays great, thus it's no wonder you have so many followers.
The advantage to this type of kimchi is that it is very easy to make a giant batch and store in quart jars. I sell my homemade kimchi and I always use this method. Makes the whole process go faster.
oh i love this!!! thanks for sharing
Thanks for the recipe. I just run out of my radish kimchee, I'll try this easy version.