Nurungji (Korean Scorched Rice) – Stovetop & Air Fryer Methods
Crispy, golden nurungji (누룽지), Korean scorched rice, is easier to make than you think. This recipe gives you two options: a classic stovetop version and a quick air-fryer method that’s perfect for busy days or leftover rice. In just a short time, you’ll have a toasty, gluten-free, pantry-friendly snack that Koreans enjoy on its own or crumble into soups.
I don’t think my mom ever actually used her rice cooker to cook rice. She had one, of course—but it was basically a warmer. The real rice always came from a stone pot on the stovetop because my dad wanted sungnyung (숭늉, nurungji tea) after every meal. Every. Single. Day. And you can’t get real nurungji from a rice cooker, no matter what the box claims.
Because of that, I grew up loving nurungji from a pretty young age. When I make rice on the stove now, I still scrape up the crispy bottom and pour hot water over it out of habit. The nutty aroma, the warmth… it takes me right back to my childhood kitchen and my parents sitting at the table.
Get new recipes via email:
These days, nurungji isn’t just an old-school thing anymore. Plenty of Koreans are going back to stovetop rice for the flavor—and yes, for the crispy rice crust, too. (Fun fact: I don’t own an electric rice cooker either. People look at me like I’ve confessed a crime.)
And if stovetop isn’t your style? Modern kitchens have our back. You can make beautifully crispy nurungji in the air fryer with almost no effort. I’ll show you both methods, classic stovetop and quick air fryer, so you can choose the one that fits your mood, your schedule, or whatever rice situation you’re dealing with today.
Two Ways to Make Nurungji (Korean Scorched Rice)
Traditional Stovetop Method
This is the classic way Koreans make scorched rice—slow heat, a heavy pot, and a little patience. If you’ve never cooked rice on the stovetop before, check out my how to cook Korean rice on the stove post.
A cast-iron or stone pot works best because it naturally creates that toasted, even layer on the bottom. Use short-grain Korean rice for the best chewy–crispy texture, and keep the heat low so the rice has time to toast without burning. When you start smelling that nutty, almost popcorn-like aroma, you’re right on track.
Here’s how I do it:
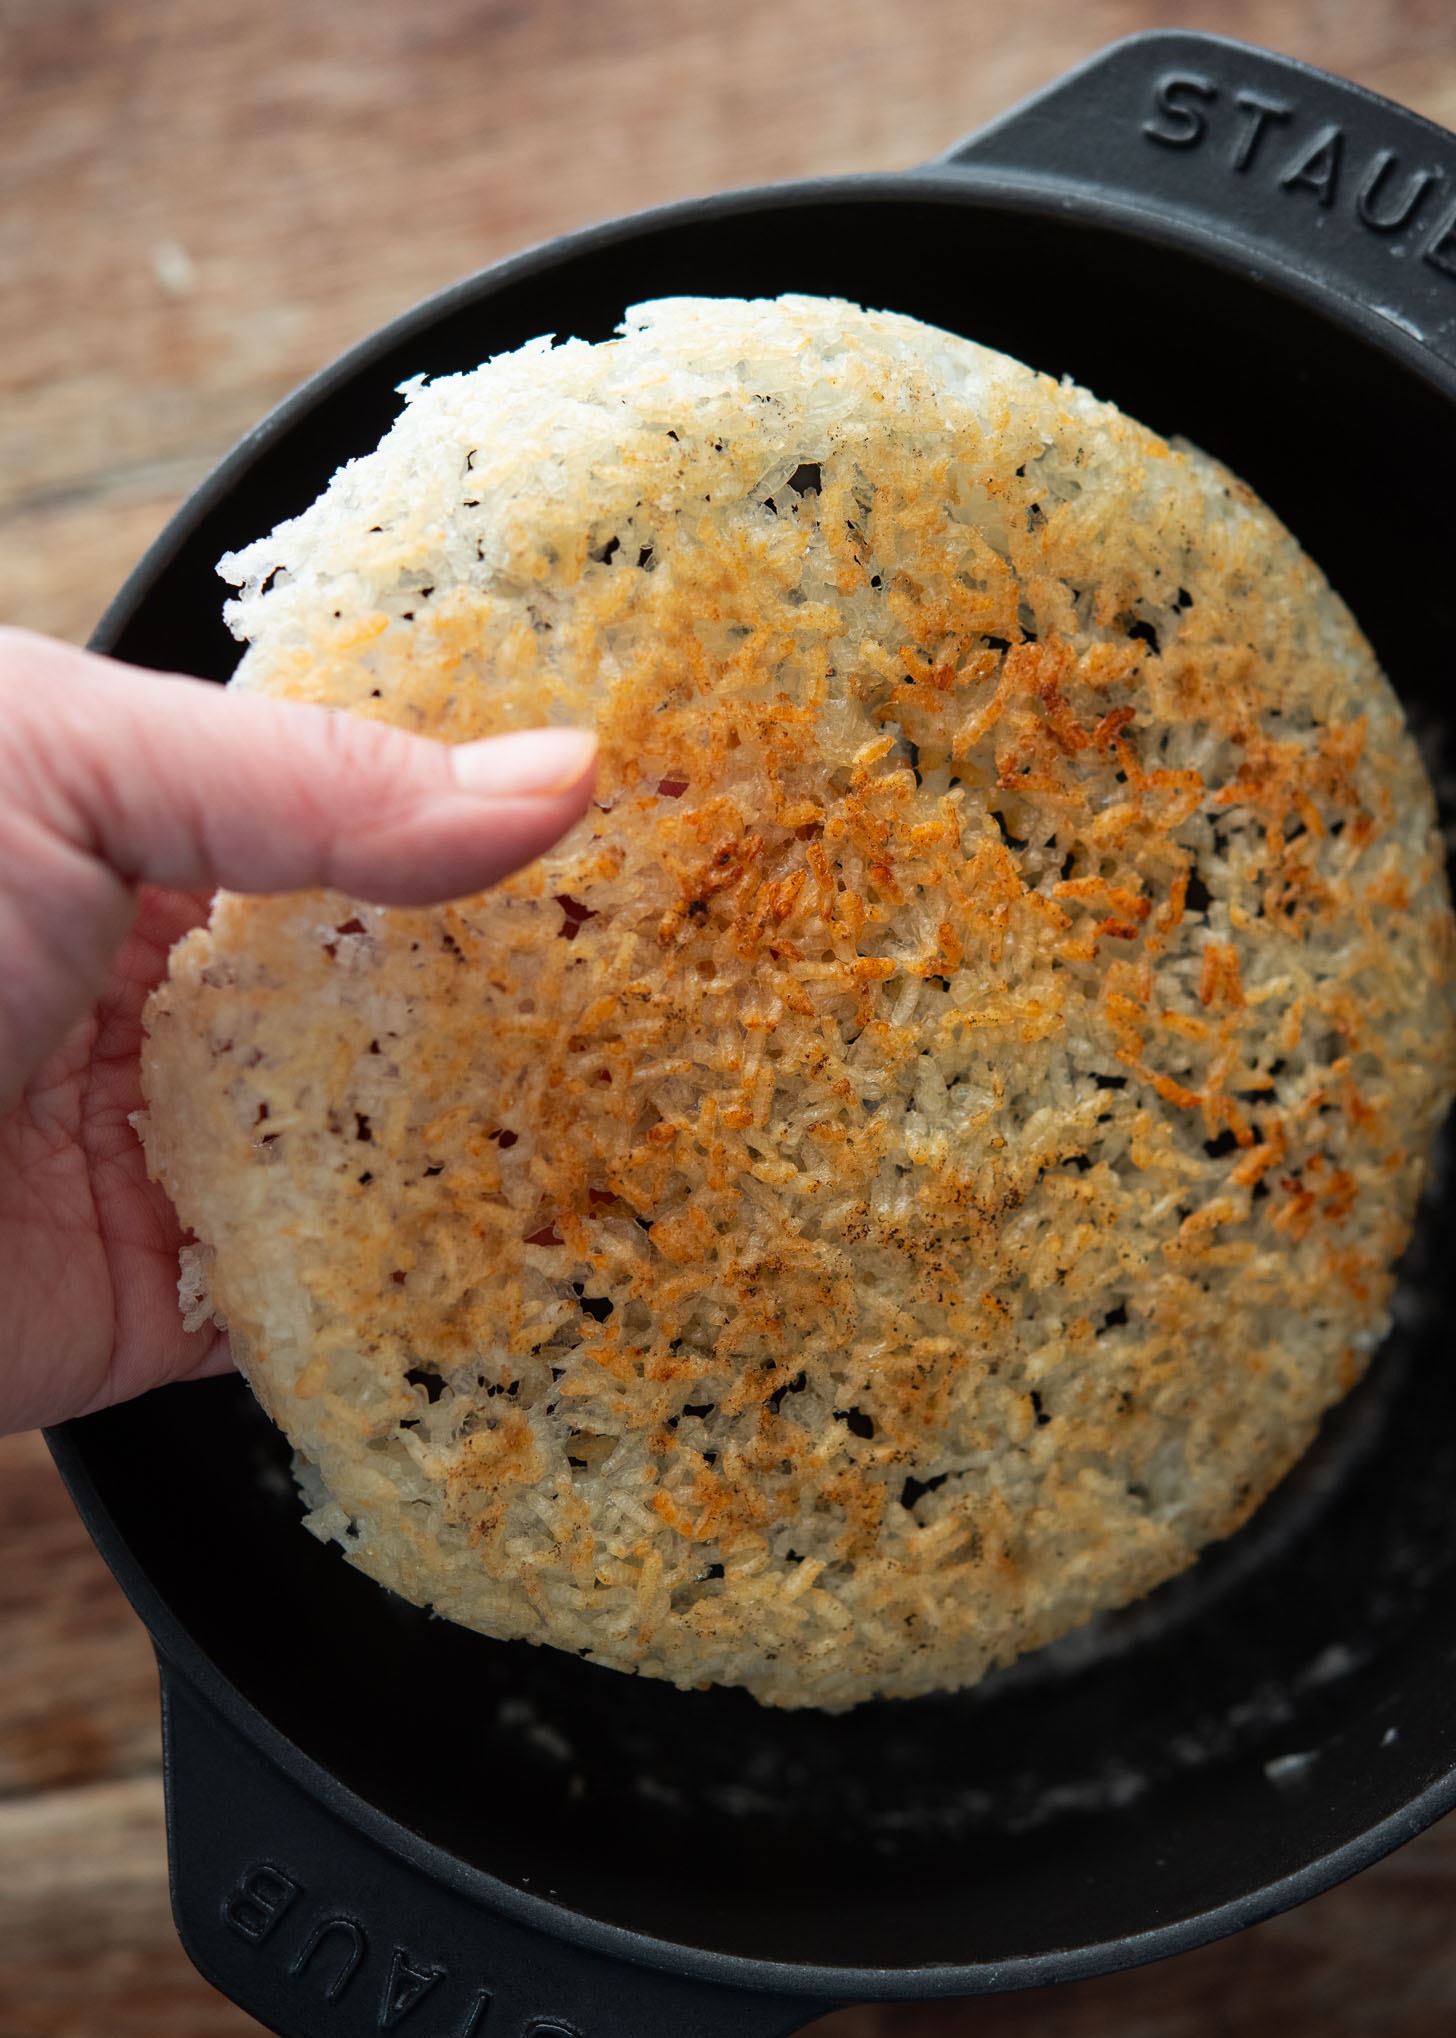
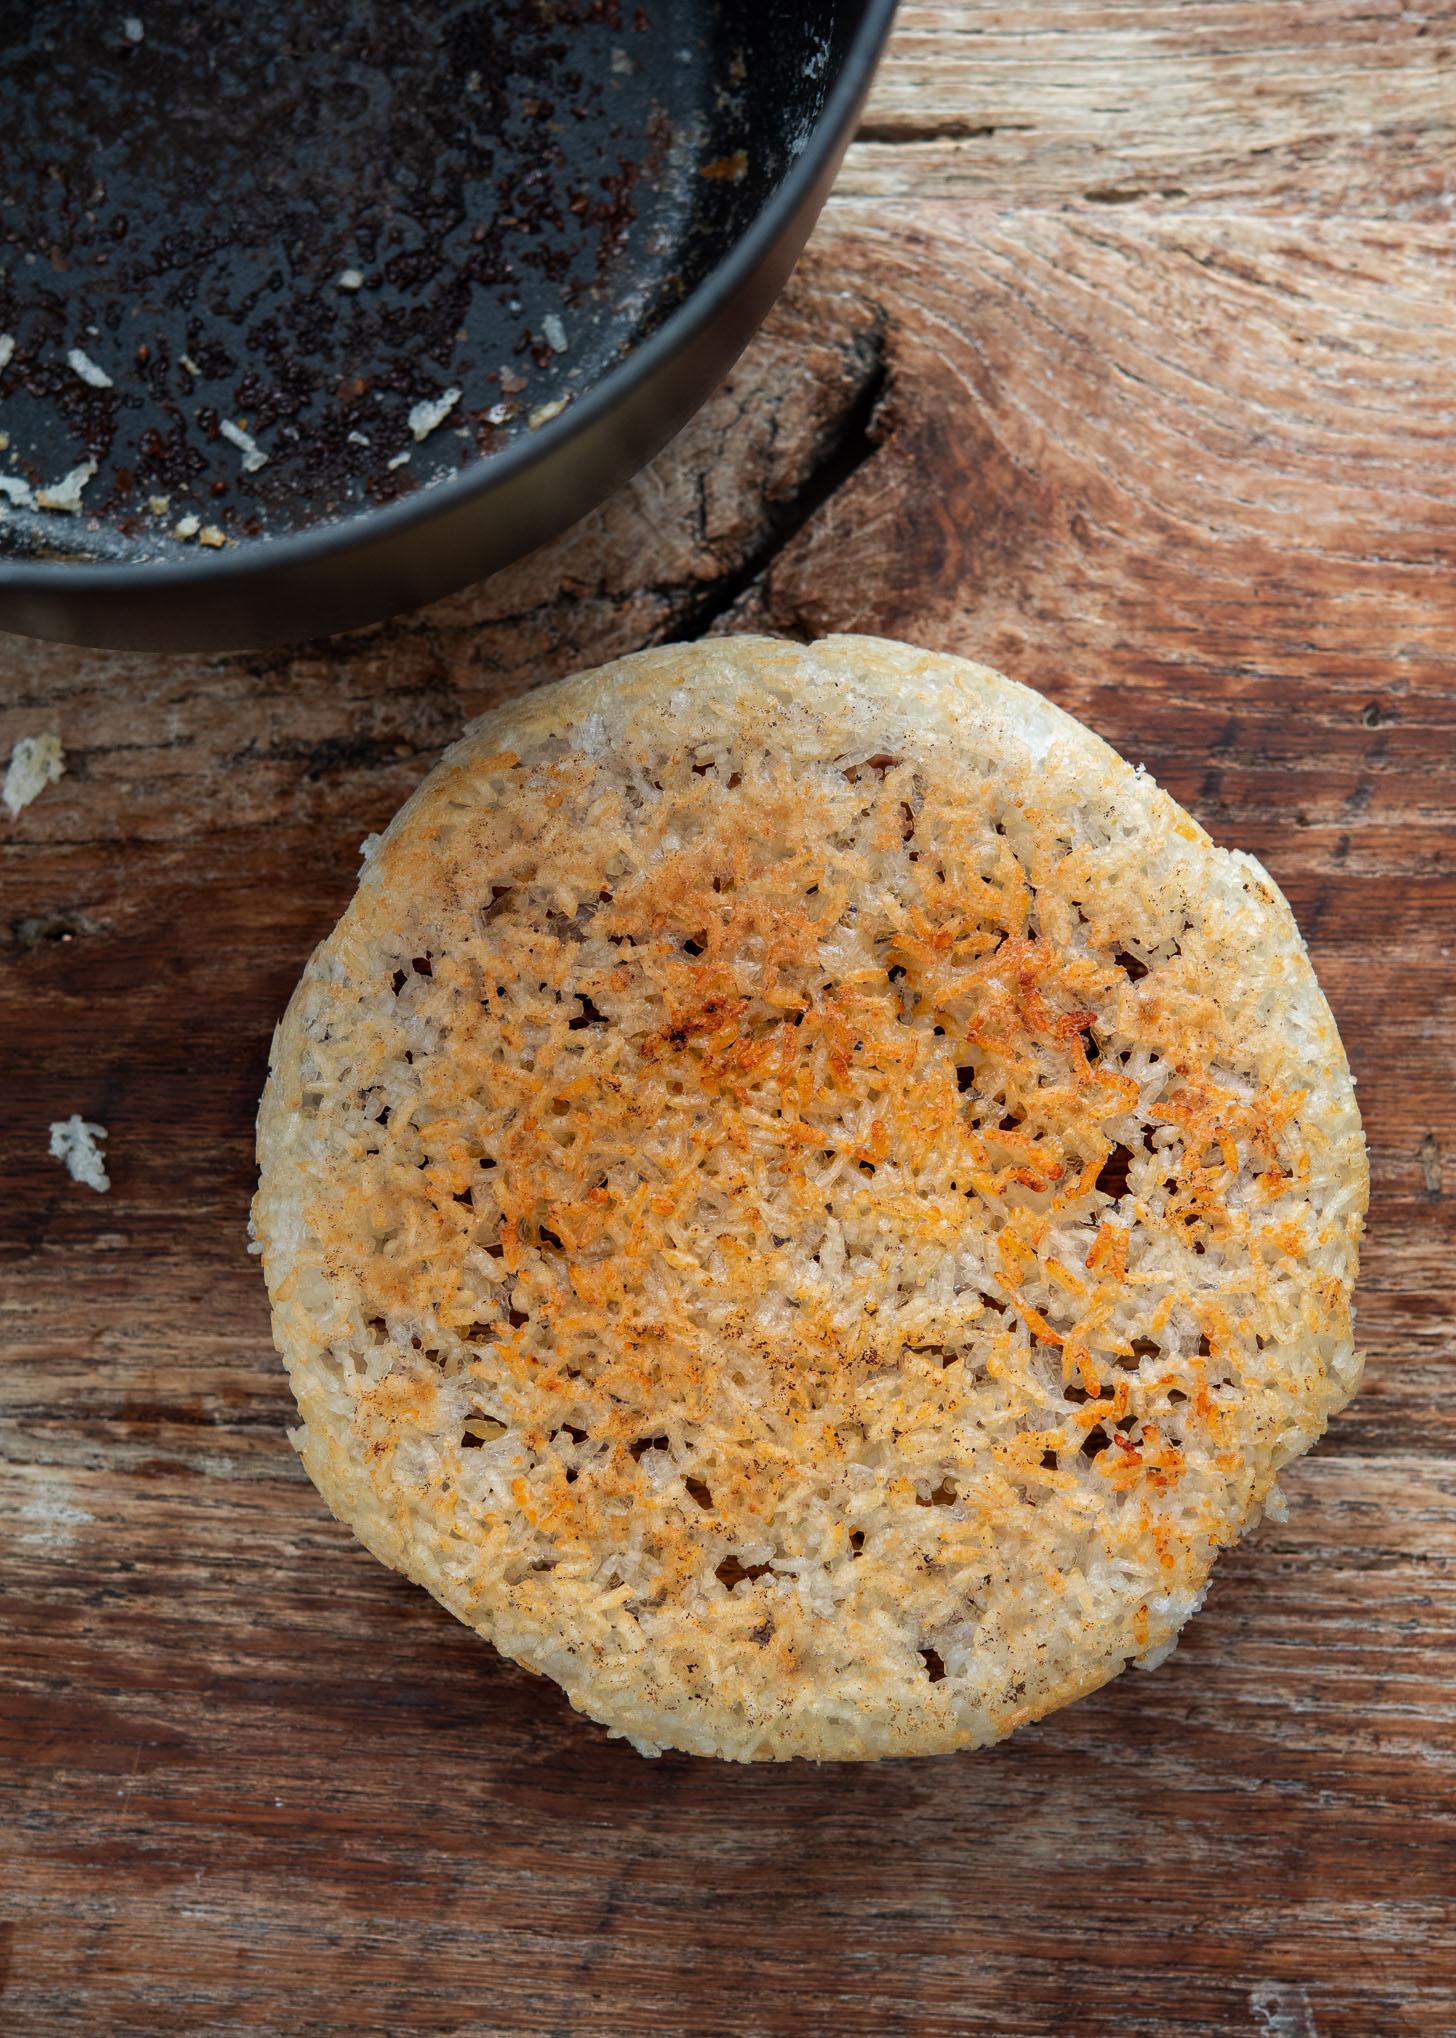
Cook your rice as usual, then lower the heat and let it simmer a bit longer, about 10 extra minutes, until that nutty aroma comes through. Scoop out most of the rice for serving, but leave a thin layer stuck on the bottom. That’s your nurungji in the making.

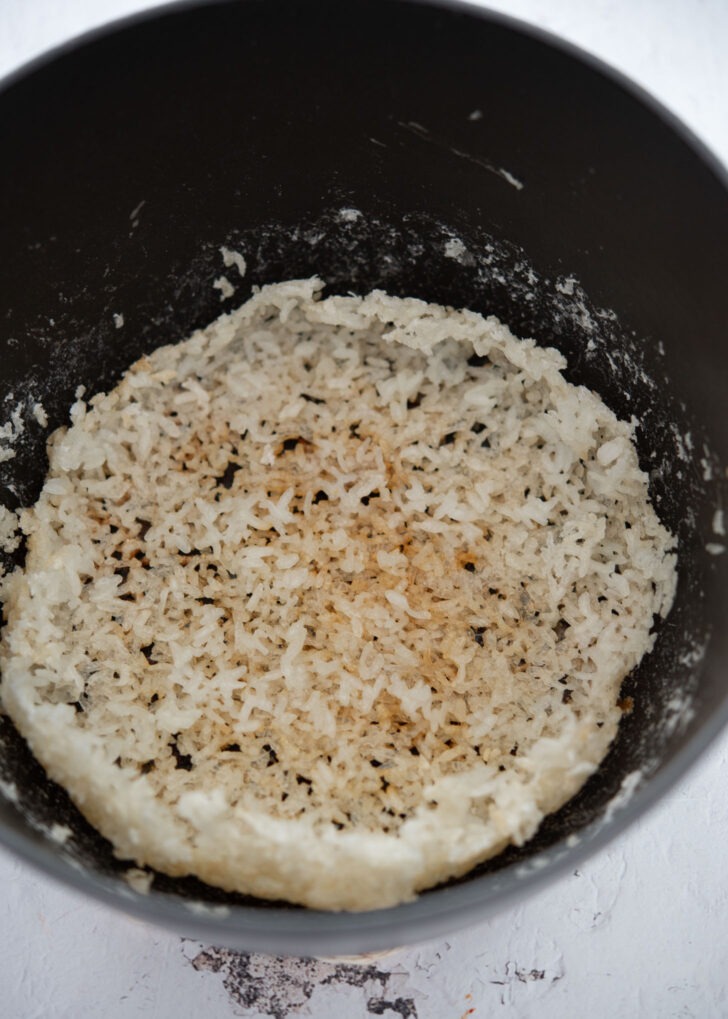
Put the pot back on medium-low heat without the lid and let it sit for another 10 minutes. This dries the rice and deepens the golden color. When you gently loosen the edge with a butter knife and the crust slides off in one piece? Congratulations—you’ve made real nurungji.
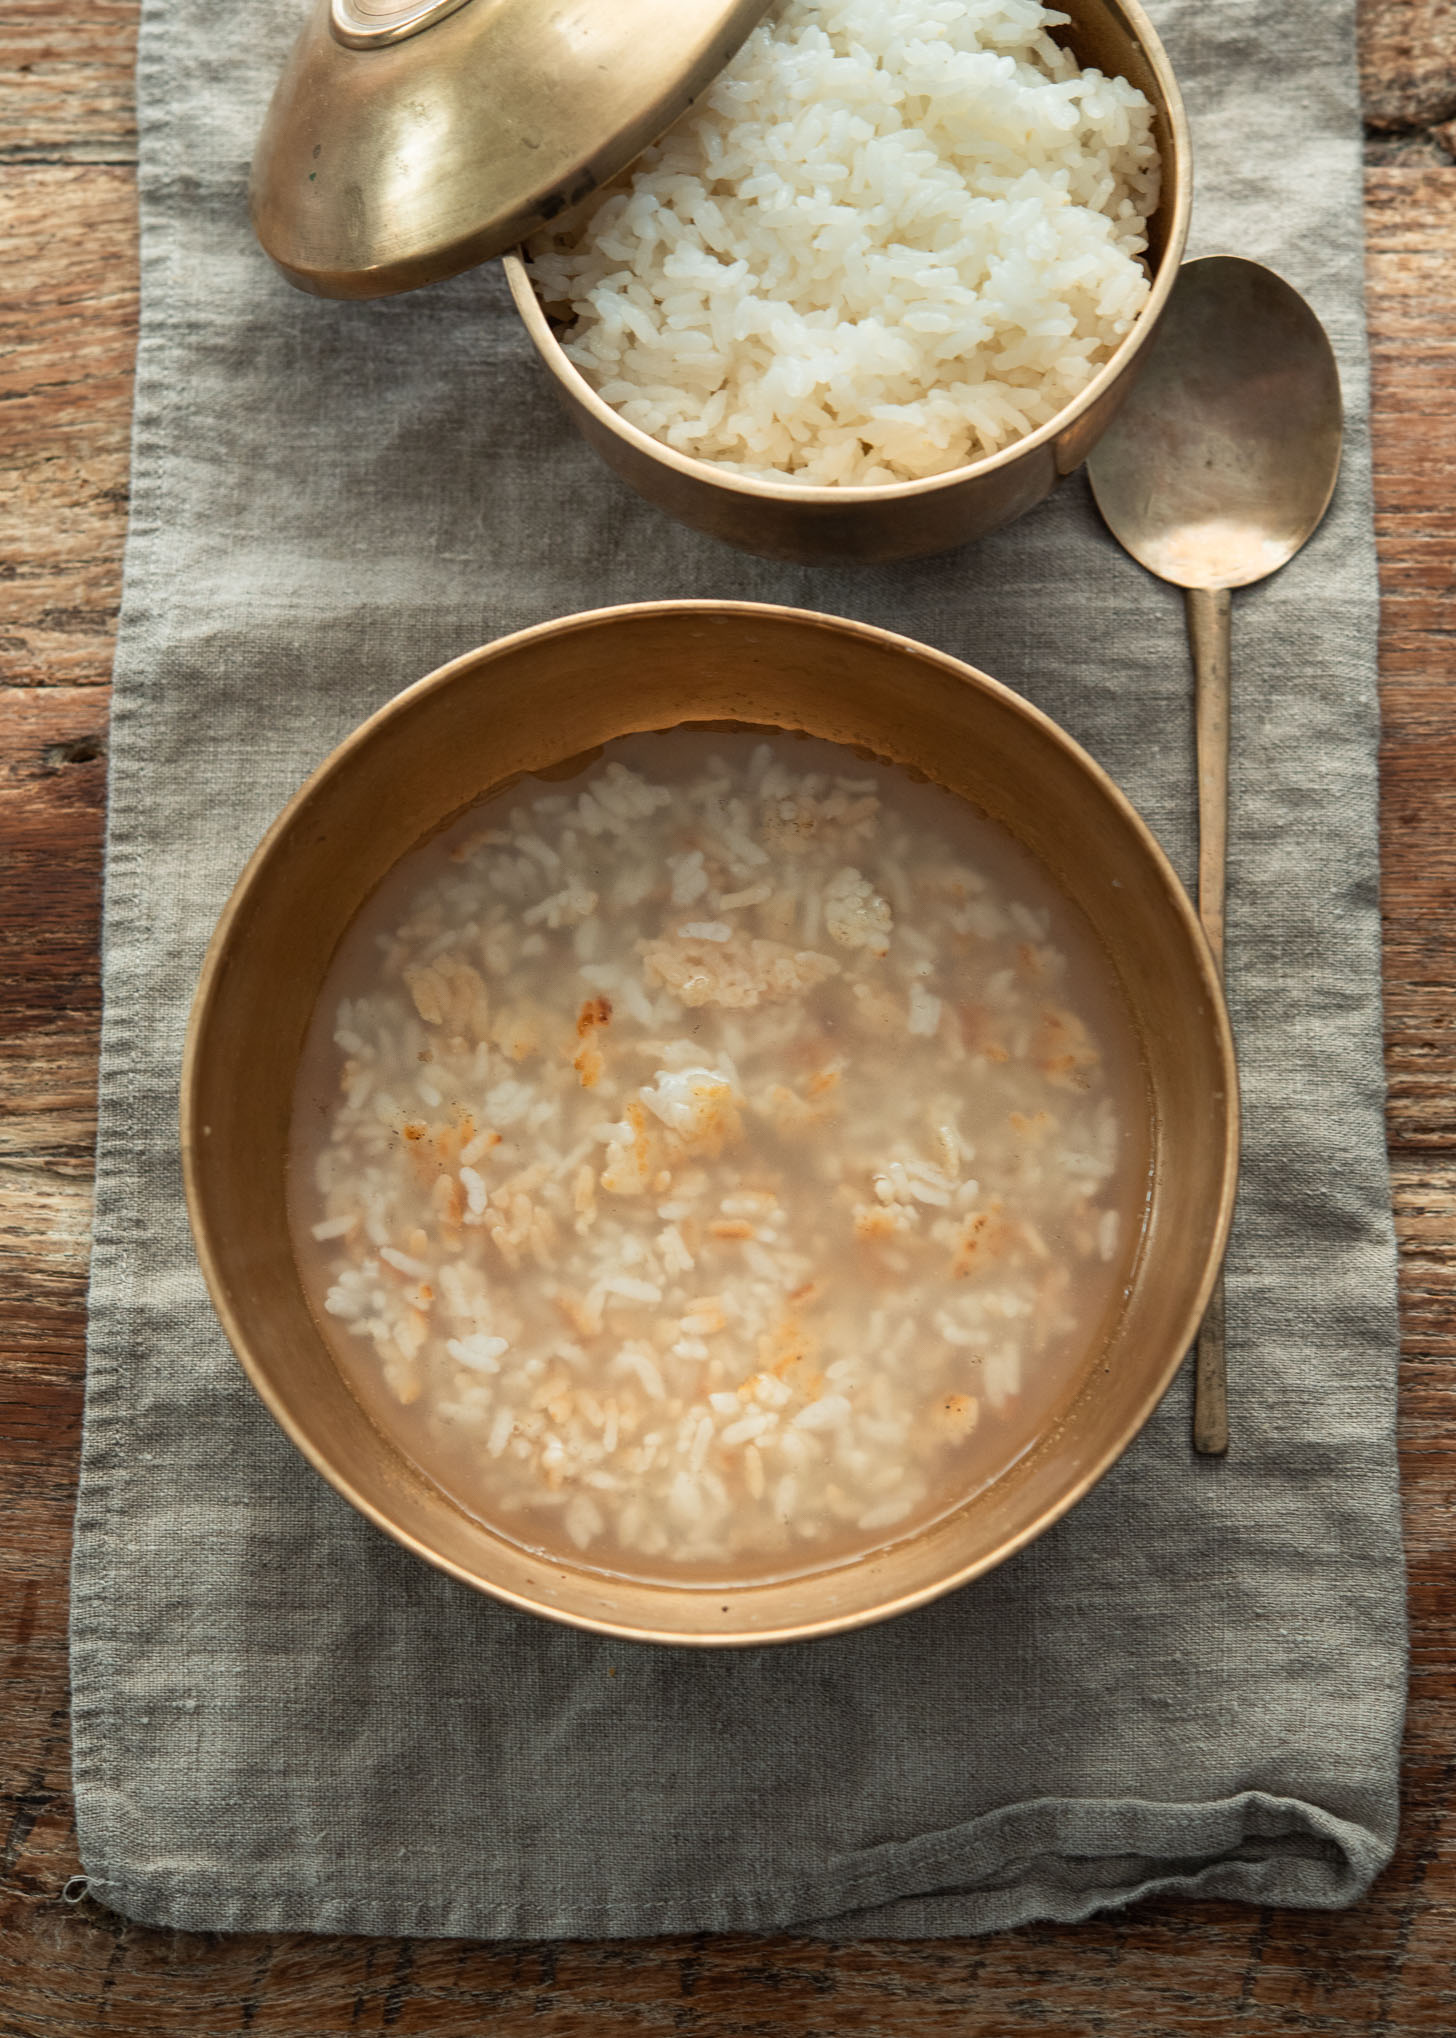
Try Sungnyung (Nurungji Tea / Light Porridge)
Sungnyung is the warm, toasty scorched-rice tea Koreans drink after a meal. My mom made it the simple way. She’d simmer the rice a bit longer, scoop it out, and pour water straight into the pot. Then she scraped up the soft golden crust and let it boil into a light, soothing tea.
I still do it this way. It’s my little end-of-meal ritual—like a palate cleanser that actually helps digestion (at least in my family!).
Air Fryer Nurungji (Easy & Foolproof)
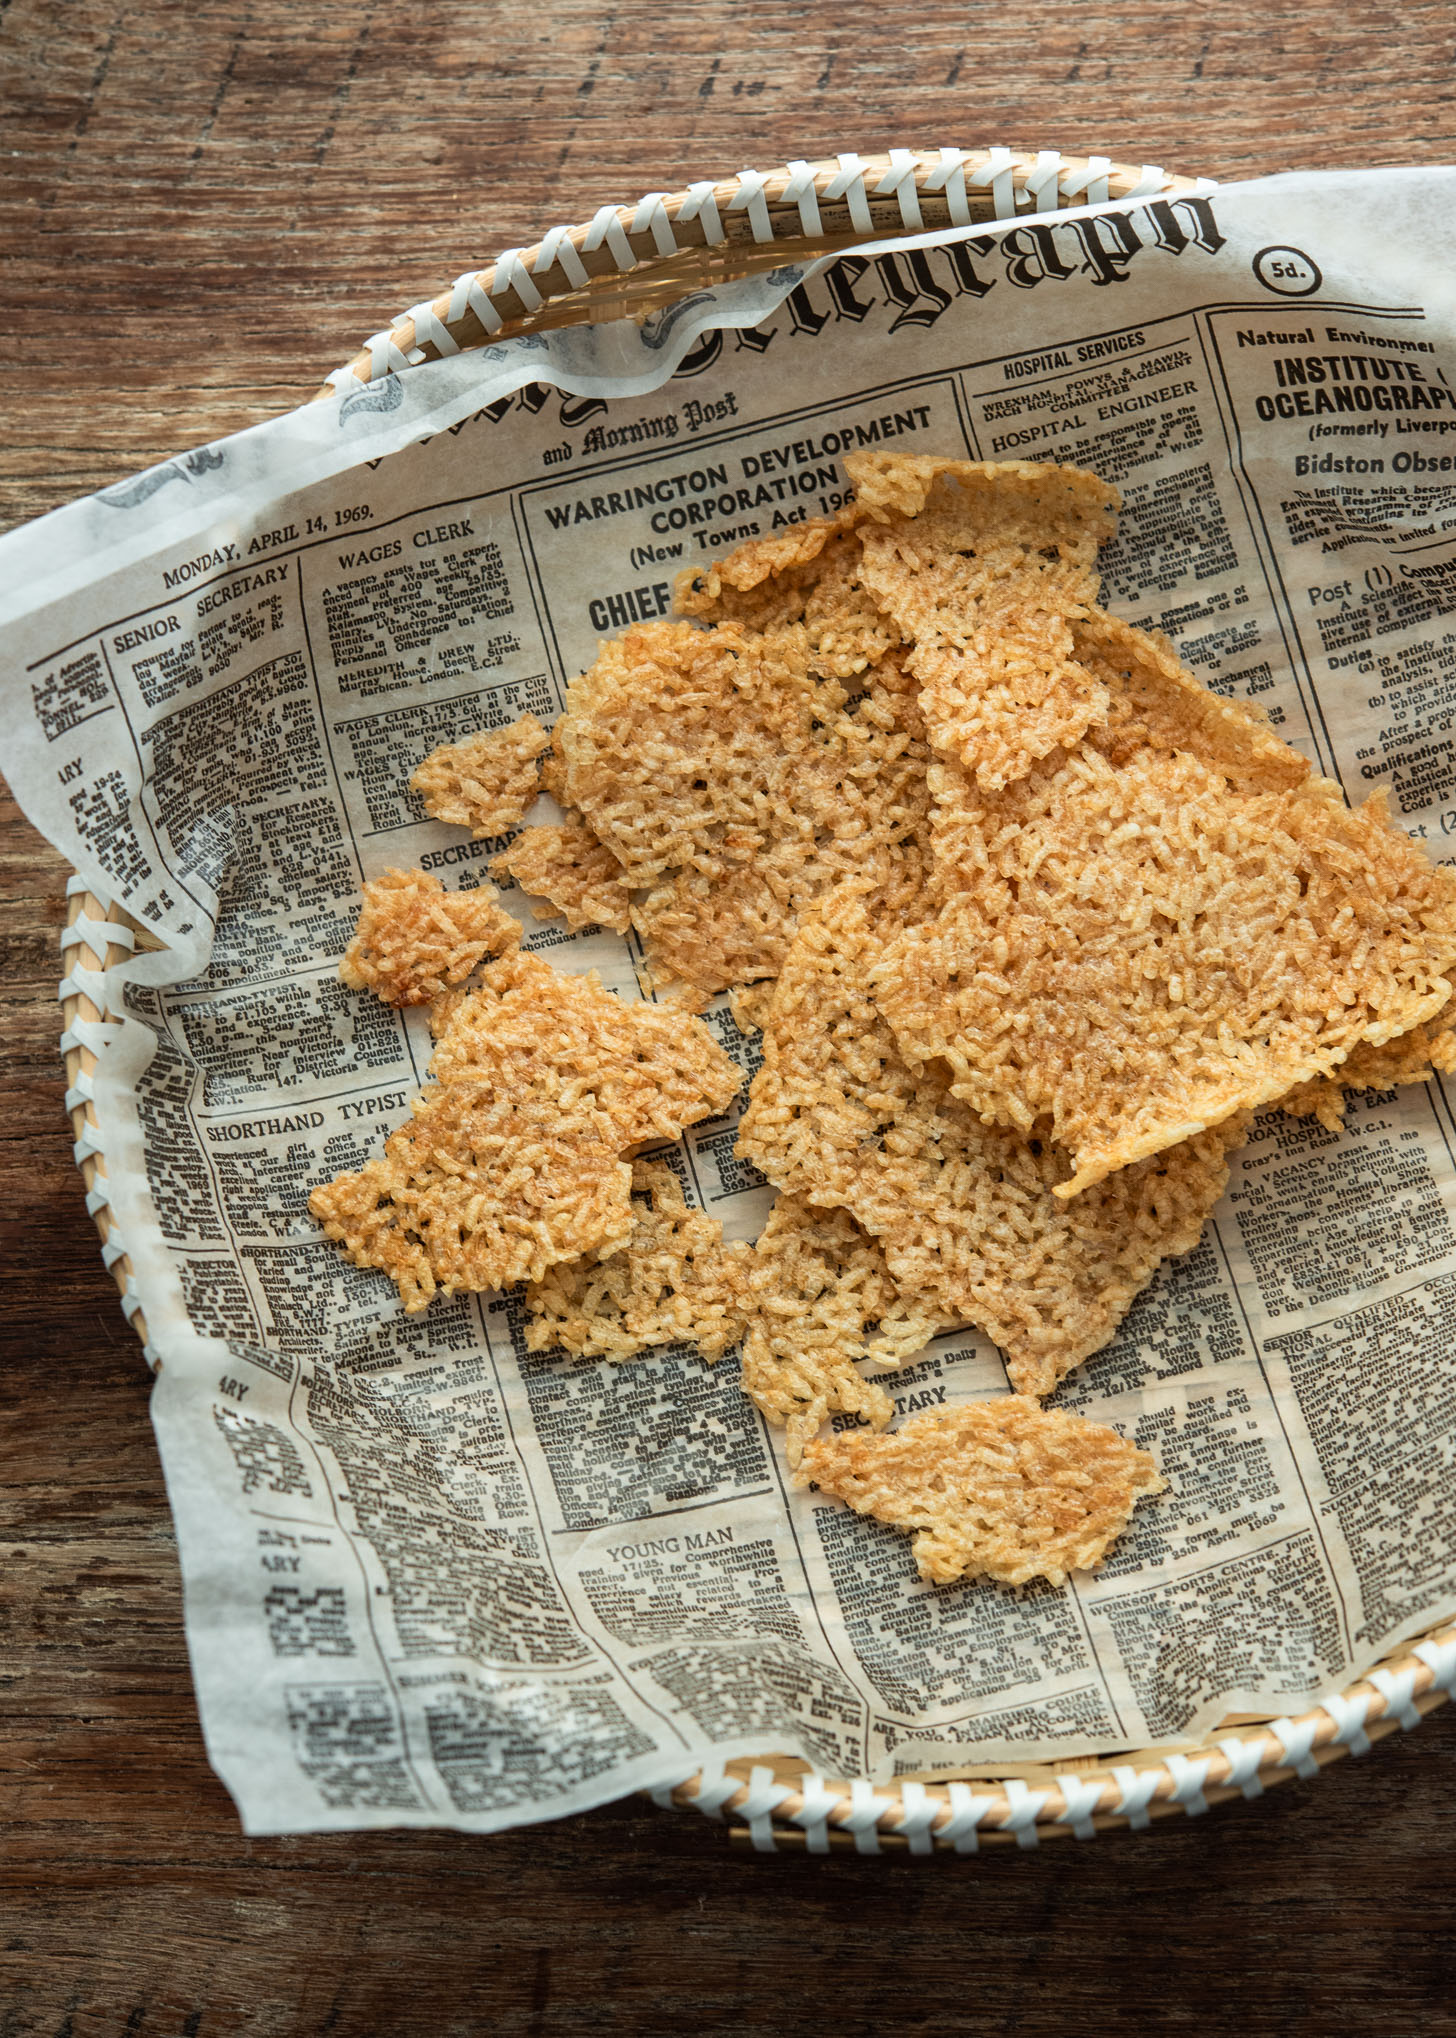
If the stovetop method feels intimidating, or you just want crispy nurungji without babysitting a pot, the air fryer is your best friend. It works especially well with leftover rice, and the result is incredibly crispy, almost snack-like nurungji chips.

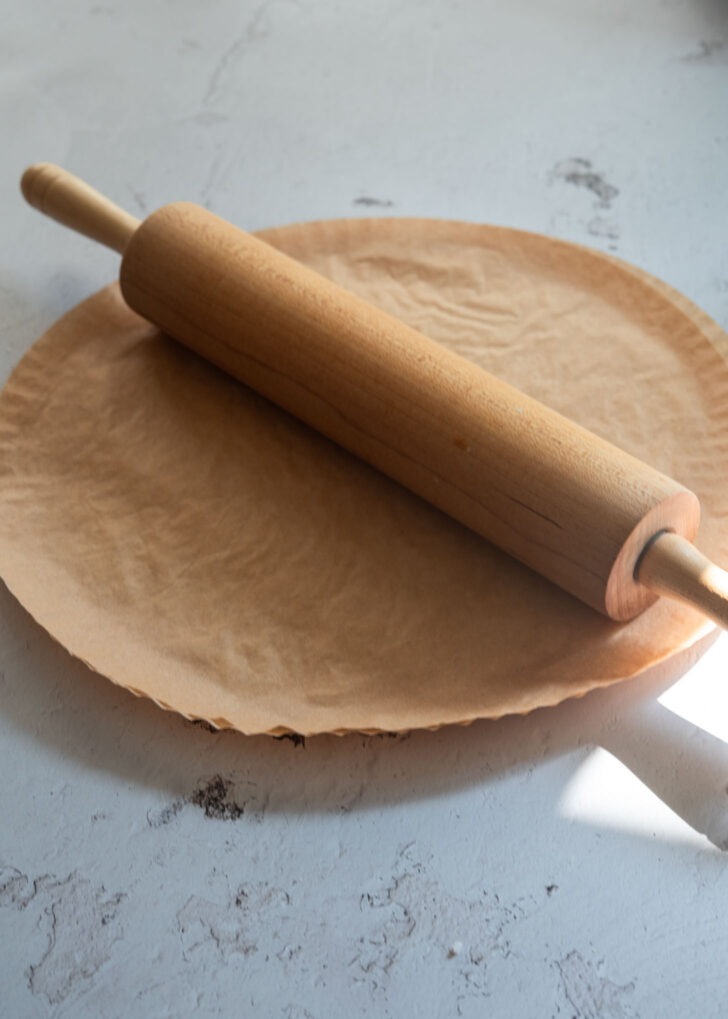
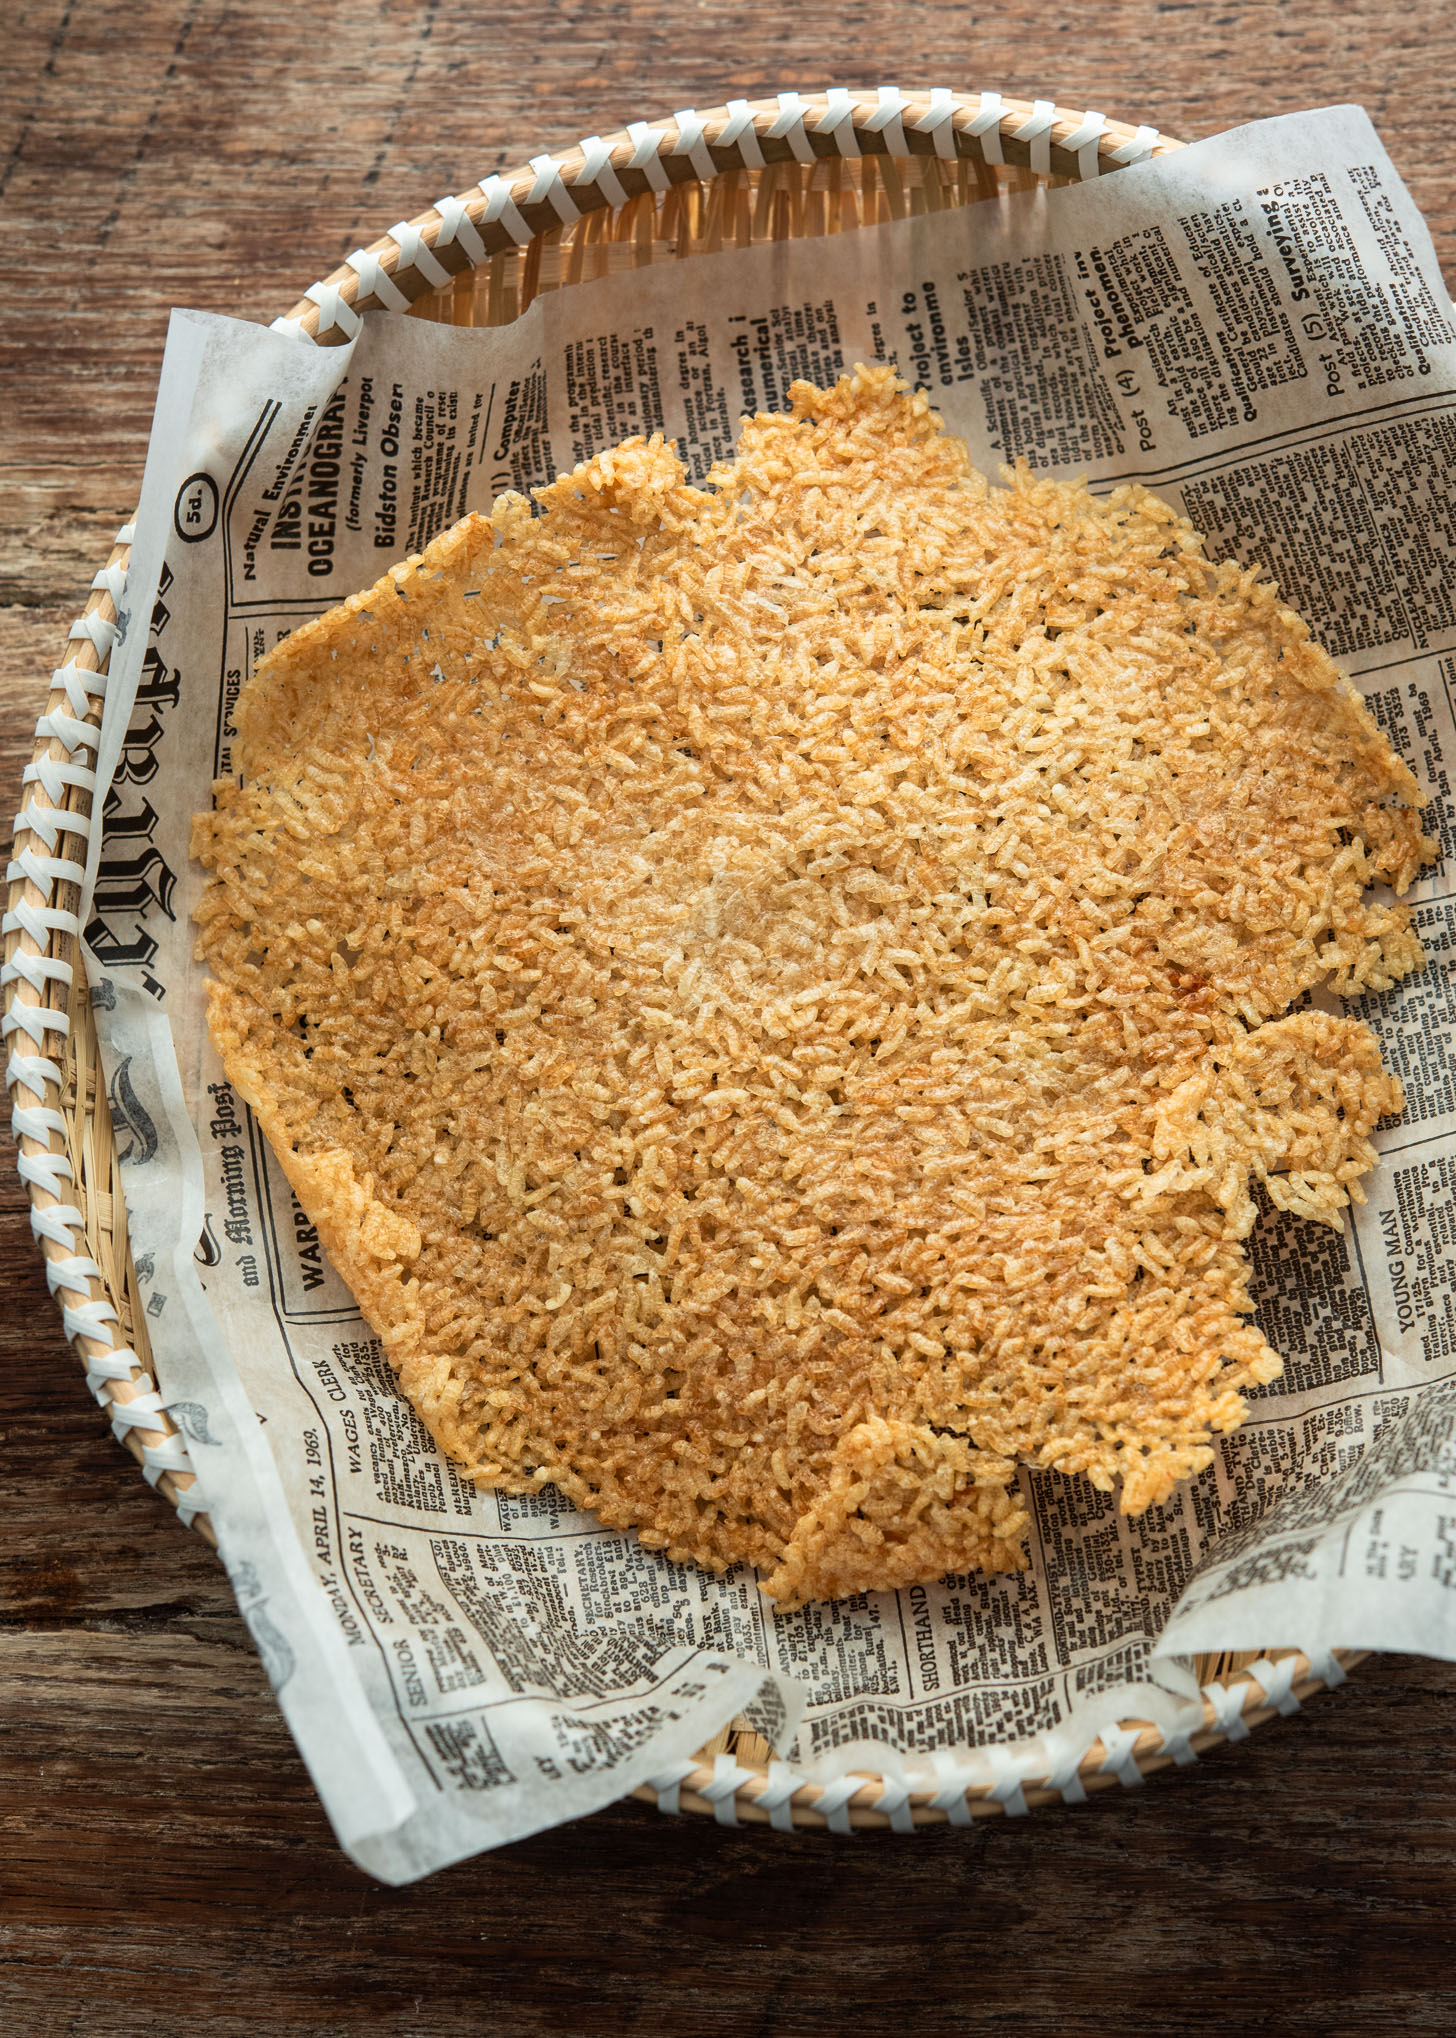
Lightly mist two pieces of parchment paper with water (this prevents sticking). Put ½–1 cup of rice in the center of one sheet, cover with the second sheet, and use a rolling pin to flatten it into an even, thin layer.

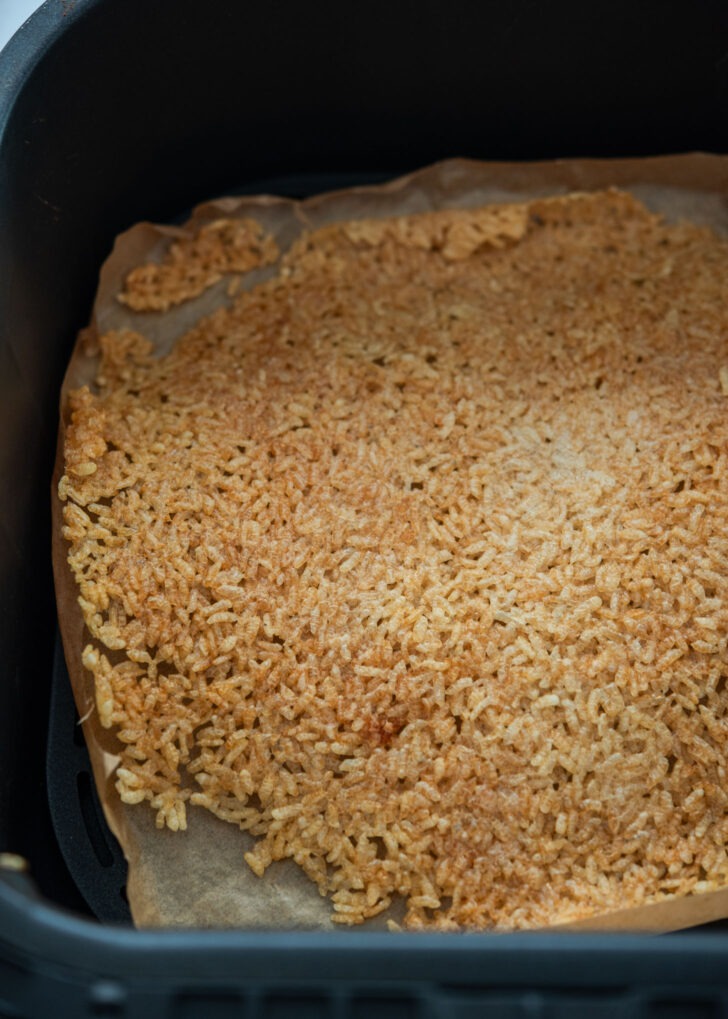
Air fry at 360°F (180°C) for 20 minutes, and there’s no need to flip. The bottom gets just as golden as the top. When it cools, it breaks into crisp pieces you can snack on, dip, or crumble over soup.
A big bonus? Air-fryer nurungji stores beautifully. Unlike the traditional version, which softens quickly—these stay crunchy for days in an airtight bag.
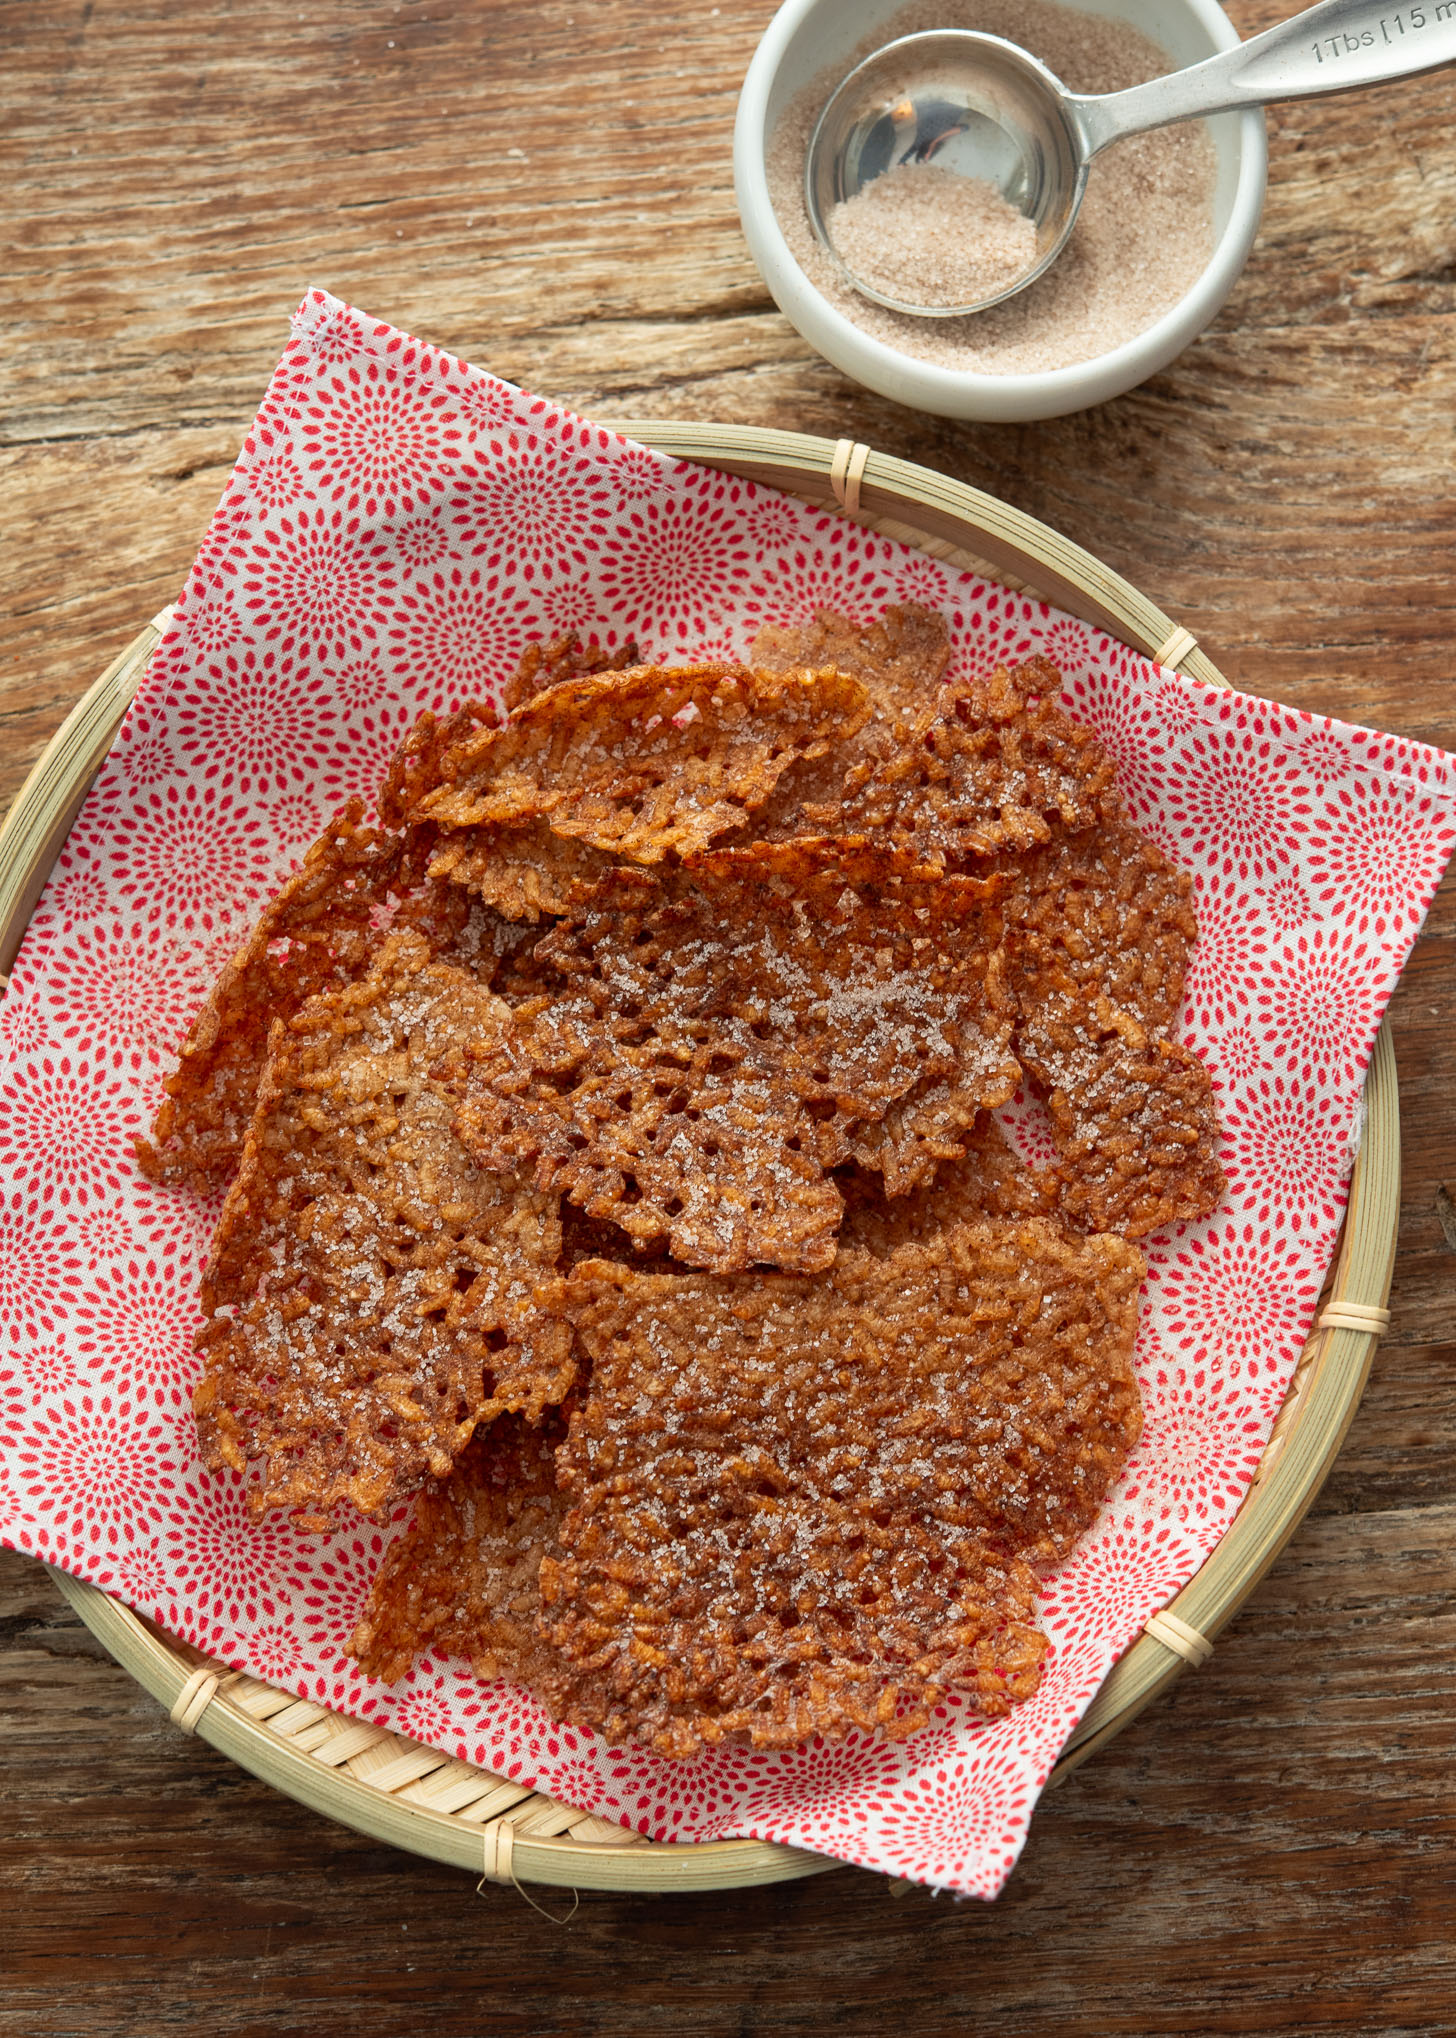
Make Sweet Nurungji Chips (So Good!)
For a fun twist, mix the rice with a little sugar, cinnamon, and a splash of vanilla. Roll it thin between parchment sheets and air fry for about 20 minutes. You’ll get sweet, crispy nurungji crackers—totally natural and surprisingly addictive.
My Favorite Ways to Enjoy Nurungji
Crispy Snack Pieces: Break the nurungji into big shards and eat it like crackers. Sometimes simple really is the best.
If you love that toasty rice flavor (I absolutely do), you’ll also appreciate the crispy little bits you get at the bottom of my bacon kimchi fried rice or when you finish off a pan of dakgalbi fried rice. Koreans never skip scraping those up. It’s basically our built-in treat at the end of cooking.
Nurungji in Samgyetang: Toward the end of simmering Samgyetang (ginseng chicken soup), toss in a few nurungji pieces. They soften into the broth, turn a little chewy, and add this deep roasted-rice flavor that makes the whole bowl extra comforting. I’ve been seeing more people do this in Korea lately, and I have to say—it’s a delicious upgrade.
Crumble Into Porridge or Juk: Crumble a bit of nurungji over warm porridge. The toasted aroma melts right in and gives the bowl a little texture boost.
Old-School Sweet Snack: Kids used to sprinkle a tiny bit of sugar on warm nurungji for a quick sweet bite. Totally simple, very nostalgic, and still delicious.
Love this recipe? Rate it and share your experience in the comments below! On Instagram? Tag me to showcase your creation. For more delicious recipes, subscribe to our newsletter!

Nurungji (Korean Scorched Rice) – Stovetop & Air Fryer
Ingredients
For Stovetop Nurungji
- 2 cups cooked short-grain Korean rice, warm or freshly cooked
For Sungnyung (Optional)
- water, enough to cover the bottom layer of scorched rice
For Air Fryer Nurungji
- ½–1 cup cooked short-grain Korean rice
- Light water mist or cooking spray, to prevent sticking
Equipment
- Heavy-bottomed pot (cast iron or stone pot)
- Air fryer
Instructions
Traditional Stovetop Method
- Cook the rice on the stovetop as usual. Reduce the heat to low and simmer for about 10 minutes longer. Scoop out most of the rice, leaving a thin layer on the bottom of the pot.
- Return the pot to medium-low heat without the lid. Cook for 10 minutes, or until the bottom forms a firm, golden crust. loosen the edges with a spatula or butter knife and lift out the nurungji. Cool slightly before serving or using in other dishes.
Sungnyung (Nurungji Tea / Optional)
- After removing the rice, pour water into the pot with the softened scorched rice. Bring to a boil, scraping the bottom as it simmers. Cook until the water turns lightly cloudy and aromatic. Serve hot as tea or a light porridge.
Air Fryer Method
- Lightly mist two pieces of parchment paper with water. Place ½–1 cup cooked rice between the sheets. Roll the rice into a thin, even layer.
- Transfer to the air fryer and cook at 360°F (180°C) for 20 minutes, or until crisp and golden. Cool until firm, then break into pieces for snacking or adding to soups.