Bran Bread Recipe (No-Knead Method)
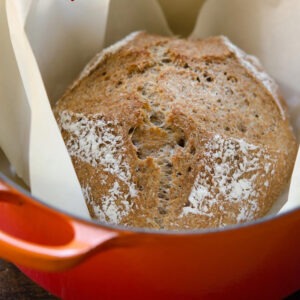
This bran bread recipe, created with the no-knead method and baked in a Dutch oven, results in a hearty and artisan-style loaf with minimal effort.
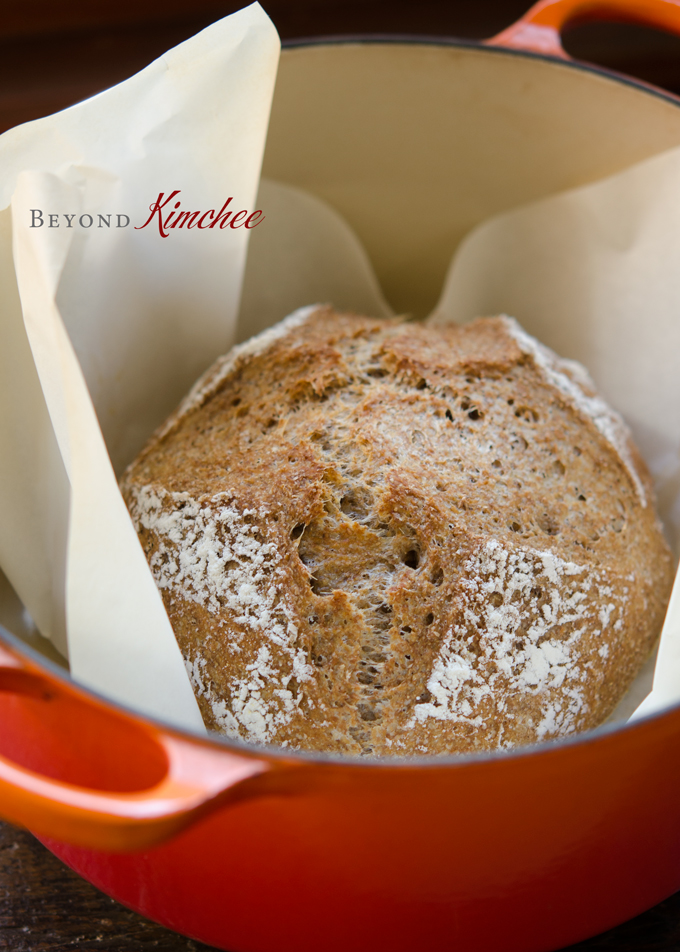
Baking breads is one of my favorite things to do in the kitchen – I just love all kinds of bread! As much as I adore freshly cooked rice, there’s something about the smell and taste of freshly baked bread right out of the oven that’s just unbeatable.
Discovering the no-knead technique for making crusty bread was a game-changer for me. Making delicious and beautiful loaves of bran bread with minimal effort is now a breeze, and I no longer have to worry about sore arms from kneading dough.
Benefits of Bran bread
Bran bread is a type of bread made from whole wheat flour and wheat bran, which is the outer layer of the wheat kernel. This type of bread offers several benefits that make it a great choice for those looking to improve their health and nutrition.
- High in fiber, which promotes healthy digestion, helps with weight management, and keeps you feeling full.
- Rich in vitamins and minerals such as B vitamins, iron, magnesium, and zinc, which are essential for maintaining good health and bodily functions.
- Can help control blood sugar levels due to its slow digestion, making it a good choice for those with diabetes or at risk of developing diabetes.
- Delicious and versatile, making it a great addition to any diet. Can be enjoyed as toast, used as a base for sandwiches, or served alongside soups and stews for a hearty meal.
5 Reasons for No-Knead Bran Bread
The bran bread recipe, when made with the no-knead method, offers several advantages over traditional kneading methods. Some of the benefits of using the no-knead method for making this bread include:
- It’s easier and less time-consuming than traditional kneading methods.
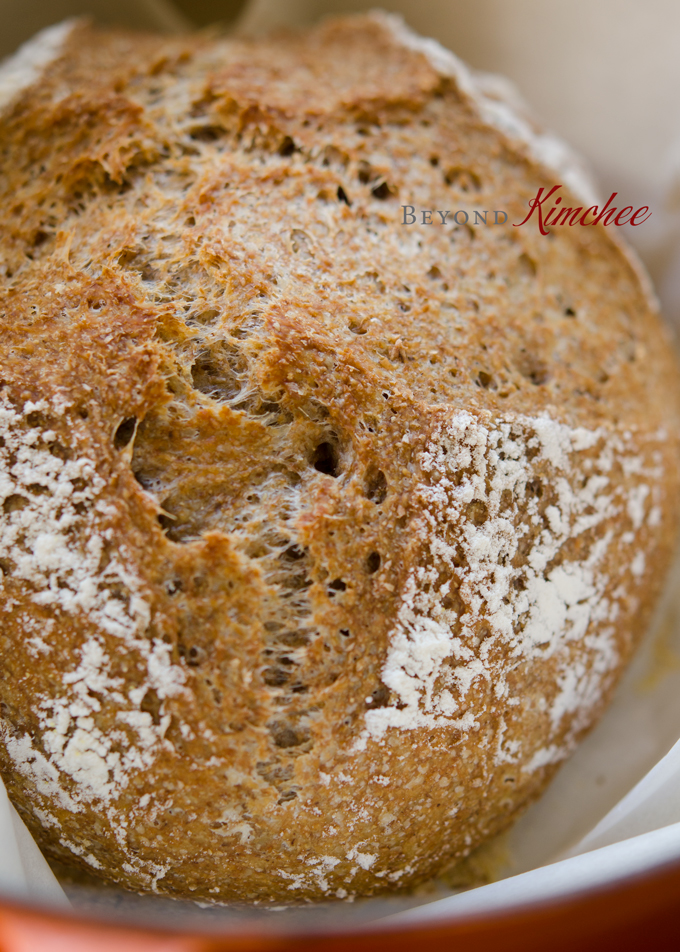
- It produces a more rustic artisanal-style bread with a crusty exterior and open crumb.
- It requires fewer specialized tools than traditional bread-making methods.
- It’s forgiving and allows for mistakes and inconsistencies in the dough.
- It’s versatile and can accommodate a wide variety of healthy ingredients.
Only 5 ingredients needed
With just 5 easy-to-find ingredients in this bran bread recipe, you can create a tasty and nutritious loaf of bread that’s perfect for breakfast, sandwiches, or to serve alongside your favorite soups and stews.
- Bread Flour: A high-protein flour that gives the bread structure and a chewy texture.
- Wheat Bran or Oat Bran: A nutritious addition to the bread that adds fiber, vitamins, and minerals.
- Yeast: The leavening agent that helps the bread rise and gives it a light and airy texture.
- Salt: Adds flavor and helps to regulate the fermentation process.
- Water: The liquid that hydrates the flour and activates the yeast.
With these simple ingredients and a few basic kitchen tools, you’ll be on your way to making delicious and nutritious bran bread in no time!
How to make bran bread with no-knead method
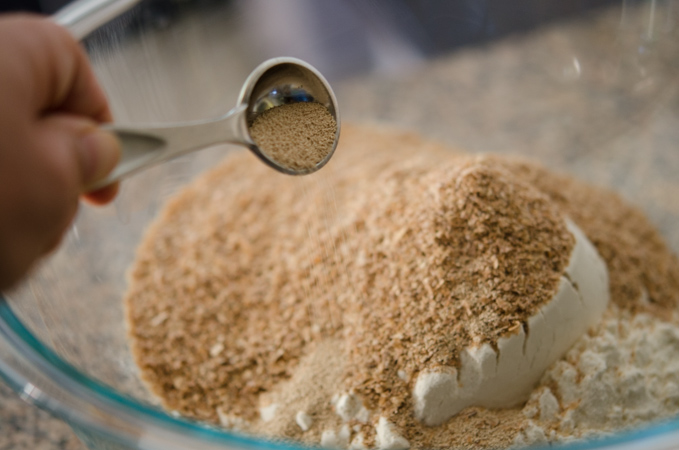
In a large mixing bowl, combine the bread flour, wheat bran or oat bran, salt, instant yeast, and water.
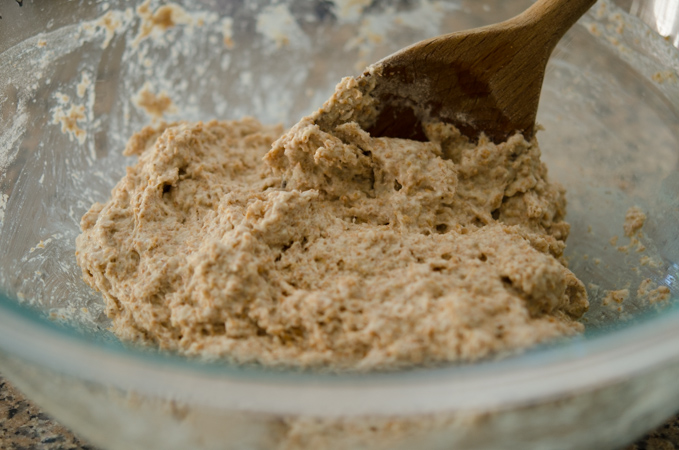
Mix the ingredients with a wooden spoon until evenly distributed.
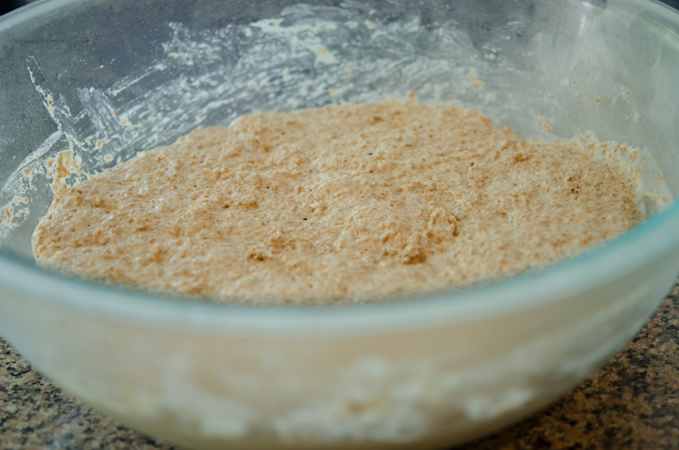
Let the dough sit at room temperature for 2 hours, or until you see some foaming on the surface, which indicates that the yeast is active.
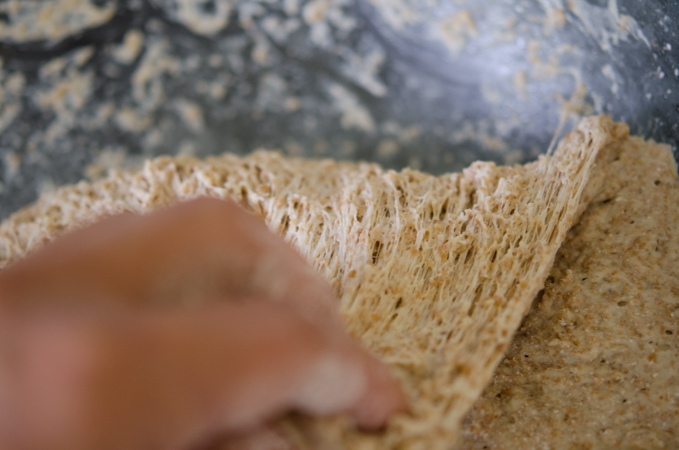
Cover the mixing bowl with a lid and transfer it to the refrigerator. Allow the dough to rest in the refrigerator for 24-48 hours. During this time, the dough will rise and develop a spiderweb-like texture on the surface.
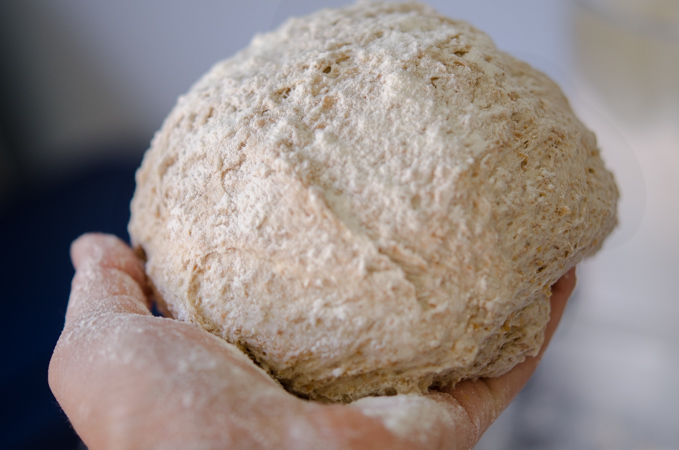
When you’re ready to bake, preheat your oven to 450°F and place a dutch oven inside to heat up as well. Be careful when removing the hot pot from the oven.
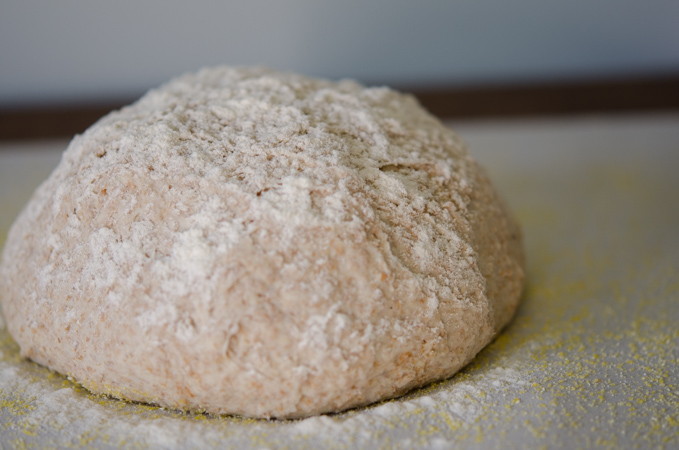
While the oven and pot are preheating, dust your hands with flour and shape the risen dough into a ball. Try to handle the dough as little as possible.
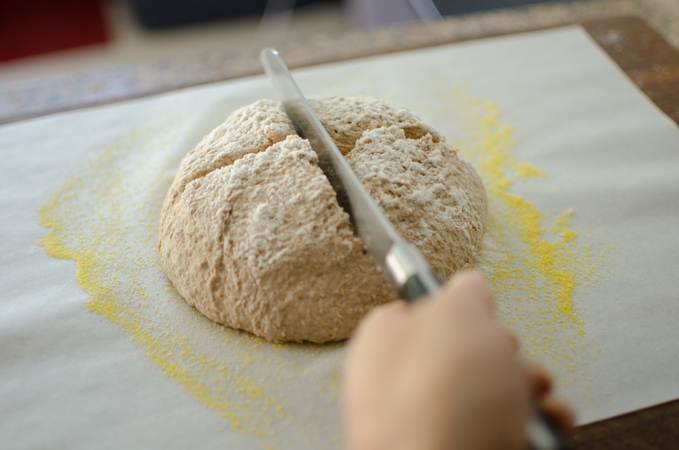
Line the dutch oven with parchment paper and sprinkle it with either cornmeal or flour. Transfer the dough ball to the dutch oven and make some slits on the surface.
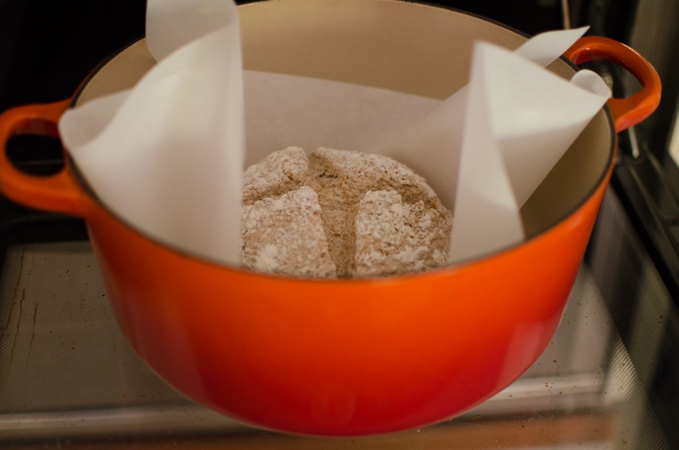
Cover the dutch oven with its lid and bake the bread in the preheated oven for 30 minutes. After 30 minutes, remove the lid and bake for an additional 10-15 minutes, or until the bread is golden brown.
Once the bread is done, carefully remove it from the oven and let it cool on a wire rack for at least 30 minutes before slicing and serving. Enjoy your delicious no-knead bran bread!
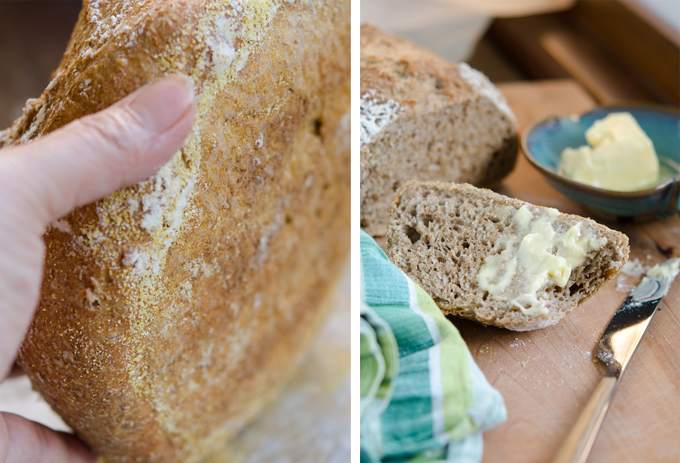
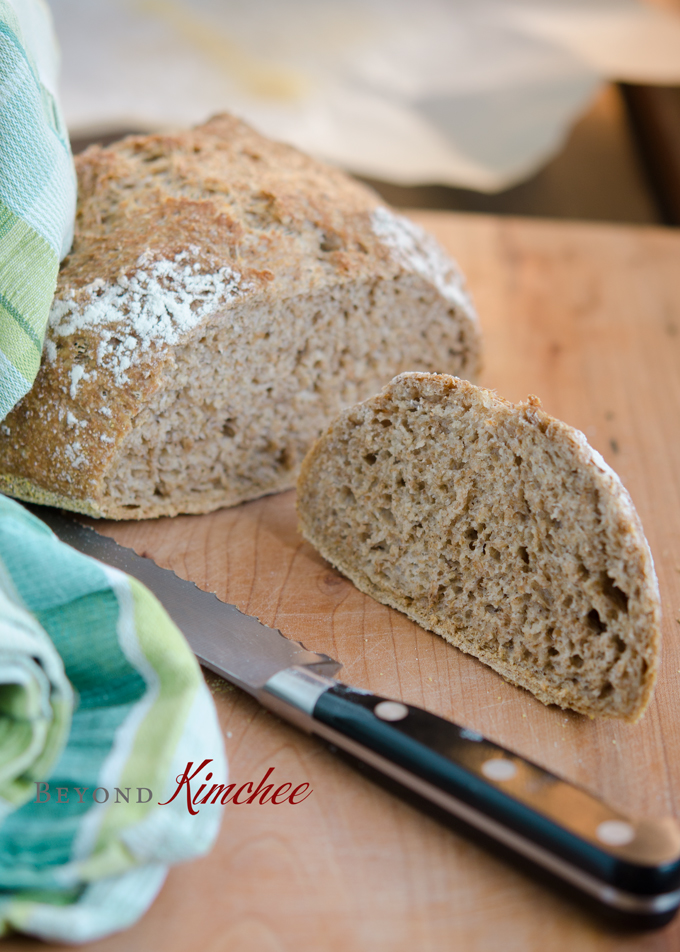
No-knead bran bread has a crisp and crunchy crust, while the crumb is dense, moist, and chewy. The wheat or oat bran adds a nutty and slightly sweet flavor to the bread.
Serving suggestions
To serve no-knead bran bread, slice it into thick pieces and toast it lightly. You can enjoy it as is, or pair it with some butter or jam for a simple breakfast or snack.
Alternatively, you can use the bread to make a hearty sandwich, or serve it as a side to a soup or salad. The bread also goes well with savory spreads like hummus or pâté.
5 Delicious Bread Recipes to Try at Home
Whether you’re a seasoned baker or just starting out, these bread recipes are sure to satisfy your cravings.
- German Potato Bread (Kartoffelbrot)
- Feathery Soft Milk Bread (Without Tangzhong)
- Traditional Finnish Cardamom Bread Recipe (Pulla)
- Wholesome Carrot Oat Bread Recipe
- Brazilian Cheese Bread (Pão de Queijo)
Bran Bread Recipe (No-Knead Method)
Ingredients
- 2 cups bread flour
- 1 cup wheat bran or oat bran
- 2 teaspoon yeast
- 1-1/2 teaspoon salt
- 1-1/2 cups + 2 tablespoons warm water
Instructions
- In a large mixing bowl, combine the bread flour, wheat bran or oat bran, salt, instant yeast, and water. Mix the ingredients with a wooden spoon until evenly distributed. Let the dough sit at room temperature for 2 hours, or until you see some foaming on the surface, which indicates that the yeast is active.
- Cover the mixing bowl with a lid and transfer it to the refrigerator. Allow the dough to rest in the refrigerator for 24-48 hours. During this time, the dough will rise and develop a spiderweb-like texture on the surface.
- When you're ready to bake, preheat your oven to 450°F and place a dutch oven inside to heat up as well. Be careful when removing the hot pot from the oven.
- While the oven and pot are preheating, dust your hands with flour and shape the risen dough into a ball. Try to handle the dough as little as possible. Line the dutch oven with parchment paper and sprinkle it with either cornmeal or flour. Transfer the dough ball to the dutch oven and make some slits on the surface.
- Cover the dutch oven with its lid and bake the bread in the preheated oven for 30 minutes. After 30 minutes, remove the lid and bake for an additional 10-15 minutes, or until the bread is golden brown.
- Once the bread is done, carefully remove it from the oven and let it cool on a wire rack for at least 30 minutes before slicing and serving. Enjoy your delicious no-knead bran bread!


I would like to know what size of dutch oven do you use? That loaf looks quite small on those pictures?
I used 5.5 qt size. It’s not a huge loaf of bread, but not too small either.
I only have active dry yeast. Will that work, or do I need instant?
You can use active dry yeast. Make sure to proof the yeast in warm water first before mixing it with the dry ingredients.
Do you think I could add a small bit of coconut sugar or maple syrup in this recipe?
If so would I need to alter much to the recipe?
You can use coconut sugar without any recipe alteration. If using maple syrup, I would reduce the liquid just a little to compensate.
Holly, Do you think I can add rice bran just the same as wheat or oat bran? Are there any inherent properties of rice bran that I should account for?
a
Hi Holly, thank you for the no-knead bread recipe!! LOVE it! I was wondering if it could be made using wholemeal flour? If so … what quantity?
Many thanks 🙂
I would say try with 2/3 of the amount of wheat bran.
I made some of this yesterday (I used a pyrex pot to bake it in, BTW, which worked fine) and heavens is it ever delicious. One of the better bread recipes I’ve run across, so far as taste is concerned. Yum, yum, yum, yum, yum, yum, yum. Just saying.
Hi Holly, I love your blog. I like Korean food and I have tried few of your recipes, the result are great.
I don’t have dutch oven, I gave it away to the needy few years ago. Can I use vision glass cook ware?
Hi Yuli
Yes, you can use glass cookware as long as it is oven safe to 450˚F. Have a fun baking!
I love homemade bread and especially the no knead kind. I’ve never made bran bread before and it sounds delicious. Does it taste much different than just whole wheat bread?
I think there is a difference in taste. I don’t taste the strong yeast smell that I usually taste in whole wheat bread. The crumb is coarser in no knead bread, too, due to the longer fermentation. I loved it.
Holly, I would like to try the no knead bread but I don’t have a dutch pot. Is there any other alternative ? Thanks for your sharing and reply in advance !
Try with a cast iron skillet. Place the skillet in the oven while preheating. Drop the dough with the parchment paper attached underneath onto the hot skillet. Also you can throw a few ice cubs on the bottom of oven, which creates steam that helps to create bread crust to be extra crisp.
Thanks for your reply. As you had stayed in Malaysia before , is not easy to get a cast iron cookware here .
Hmmm, then another way of baking crusty bread would be the pizza stone. If you don’t have a pizza stone, unglazed quarry tiles can do the trick. They have the color of terra-cotta pot. Make sure they are unglazed.