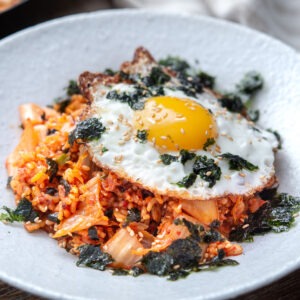
Kimchi Fried Rice (Kimchi Bokkeumbap) with Crispy Rice & Egg
This kimchi fried rice uses sour aged kimchi, cold leftover rice, and green onion oil, topped with a fried egg. A quick 20-minute Korean weeknight meal with chewy texture and deep savory flavor.
As a Korean home cook, I always have two things on hand: over-ripe kimchi and leftover rice. So naturally, kimchi fried rice (김치볶음밥, kimchi bokkeumbap) is never far from my dinner table.
I’ve made it every which way over the years—quick versions, fancy versions, pantry-cleanout versions. And yes, people are right: it’s hard to make a bad kimchi fried rice. But making a great one? That’s a different story.
Get new recipes via email:
Recently, a friend tipped me off to a small technique tweak and one quiet secret ingredient, and that’s when everything clicked. The kimchi turns deeply savory without tasting harsh, the rice stays chewy (never mushy), and the whole pan smells outrageous before the egg even hits the top. Spicy, smoky, rich, and still unmistakably kimchi fried rice.
This is the version I reach for now when I want to impress myself just a little.
Got a spoon?
What Makes This Kimchi Fried Rice Work So Well
After making kimchi fried rice more times than I can count, I’ve learned it’s not about piling on ingredients—it’s about a few small choices that quietly change everything. These are the rules I stick to every single time:
- The rice-to-kimchi ratio matters. My sweet spot is 2 parts rice to 1 part kimchi. More kimchi than that, and the rice gets overwhelmed. Less, and it just tastes like spicy fried rice with an identity crisis.
- I always start with green onion oil. I bloom sliced green onion in oil (we call it pa-gireum) for about a minute before anything else hits the pan. That tiny extra step builds a smoky, savory aroma that carries through the whole dish. It’s subtle, but you feel it.
- The kimchi gets seasoned before it touches the pan. I mix chopped kimchi with soy sauce, gochugaru, sugar, and a tiny bit of mayonnaise (yes, that’s the quiet secret). The mayo doesn’t make it creamy. It softens the sharp edge of overly fermented kimchi, rounds out the flavor, and helps everything caramelize more smoothly. Tiny amount, big payoff.
- Extra gochugaru is optional, but it does give the rice that gorgeous scarlet-red color and extra heat.
- Old rice only. Always. I use rice that’s been sitting in the fridge for a few days. Cold rice loses surface moisture, so the grains stay separate with a light, springy bite. Freshly cooked rice will almost always soften too much, unless that’s the texture you’re going for.
Once you have this base down, you can turn it into a heartier meal with just about any protein you like—minced pork, bacon, canned tuna, even leftover chicken. But I always perfect the rice and kimchi first. When I’m in the mood for something smokier and richer, I reach out for my bacon kimchi fried rice.
Why Kimchi Fried Rice Turns Mushy (And How to Fix It)
If your kimchi fried rice ever turns soft or heavy, it usually comes down to a few small missteps in the pan.
- Too much liquid will steam the rice instead of frying it. Use the kimchi itself and only a light touch of juice.
- Not enough direct heat prevents the rice from drying out and picking up that lightly toasted texture.
- Stirring too often keeps the rice from ever settling and crisping slightly on the bottom.
These small details make the difference between soft rice and that lightly chewy, glossy finish.
How to Make Kimchi Fried Rice (Step-by-Step)
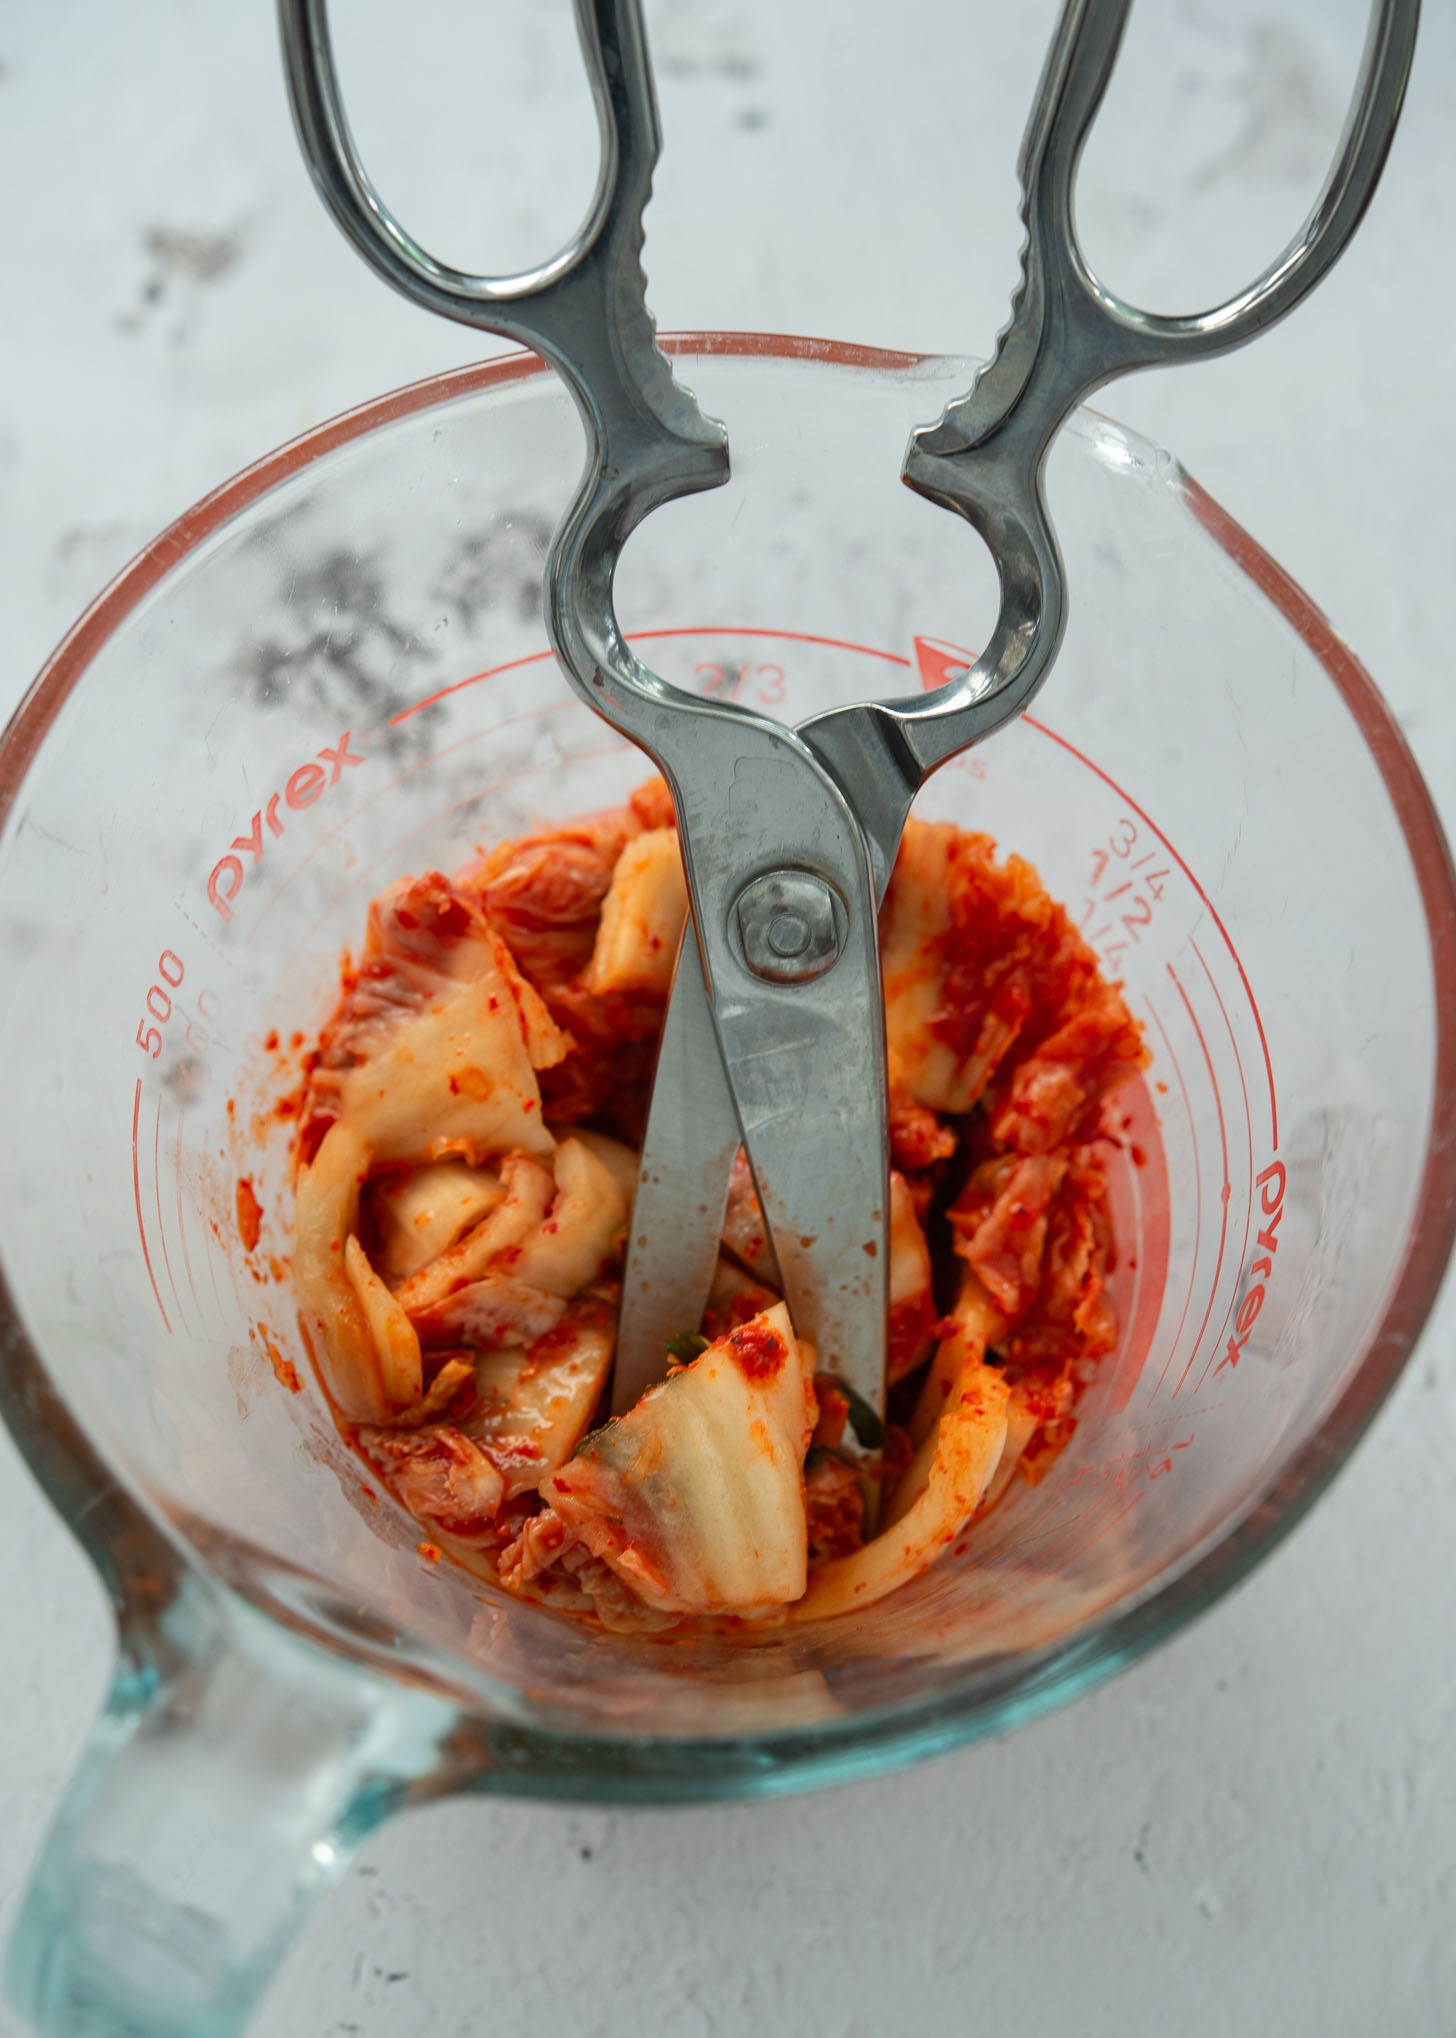
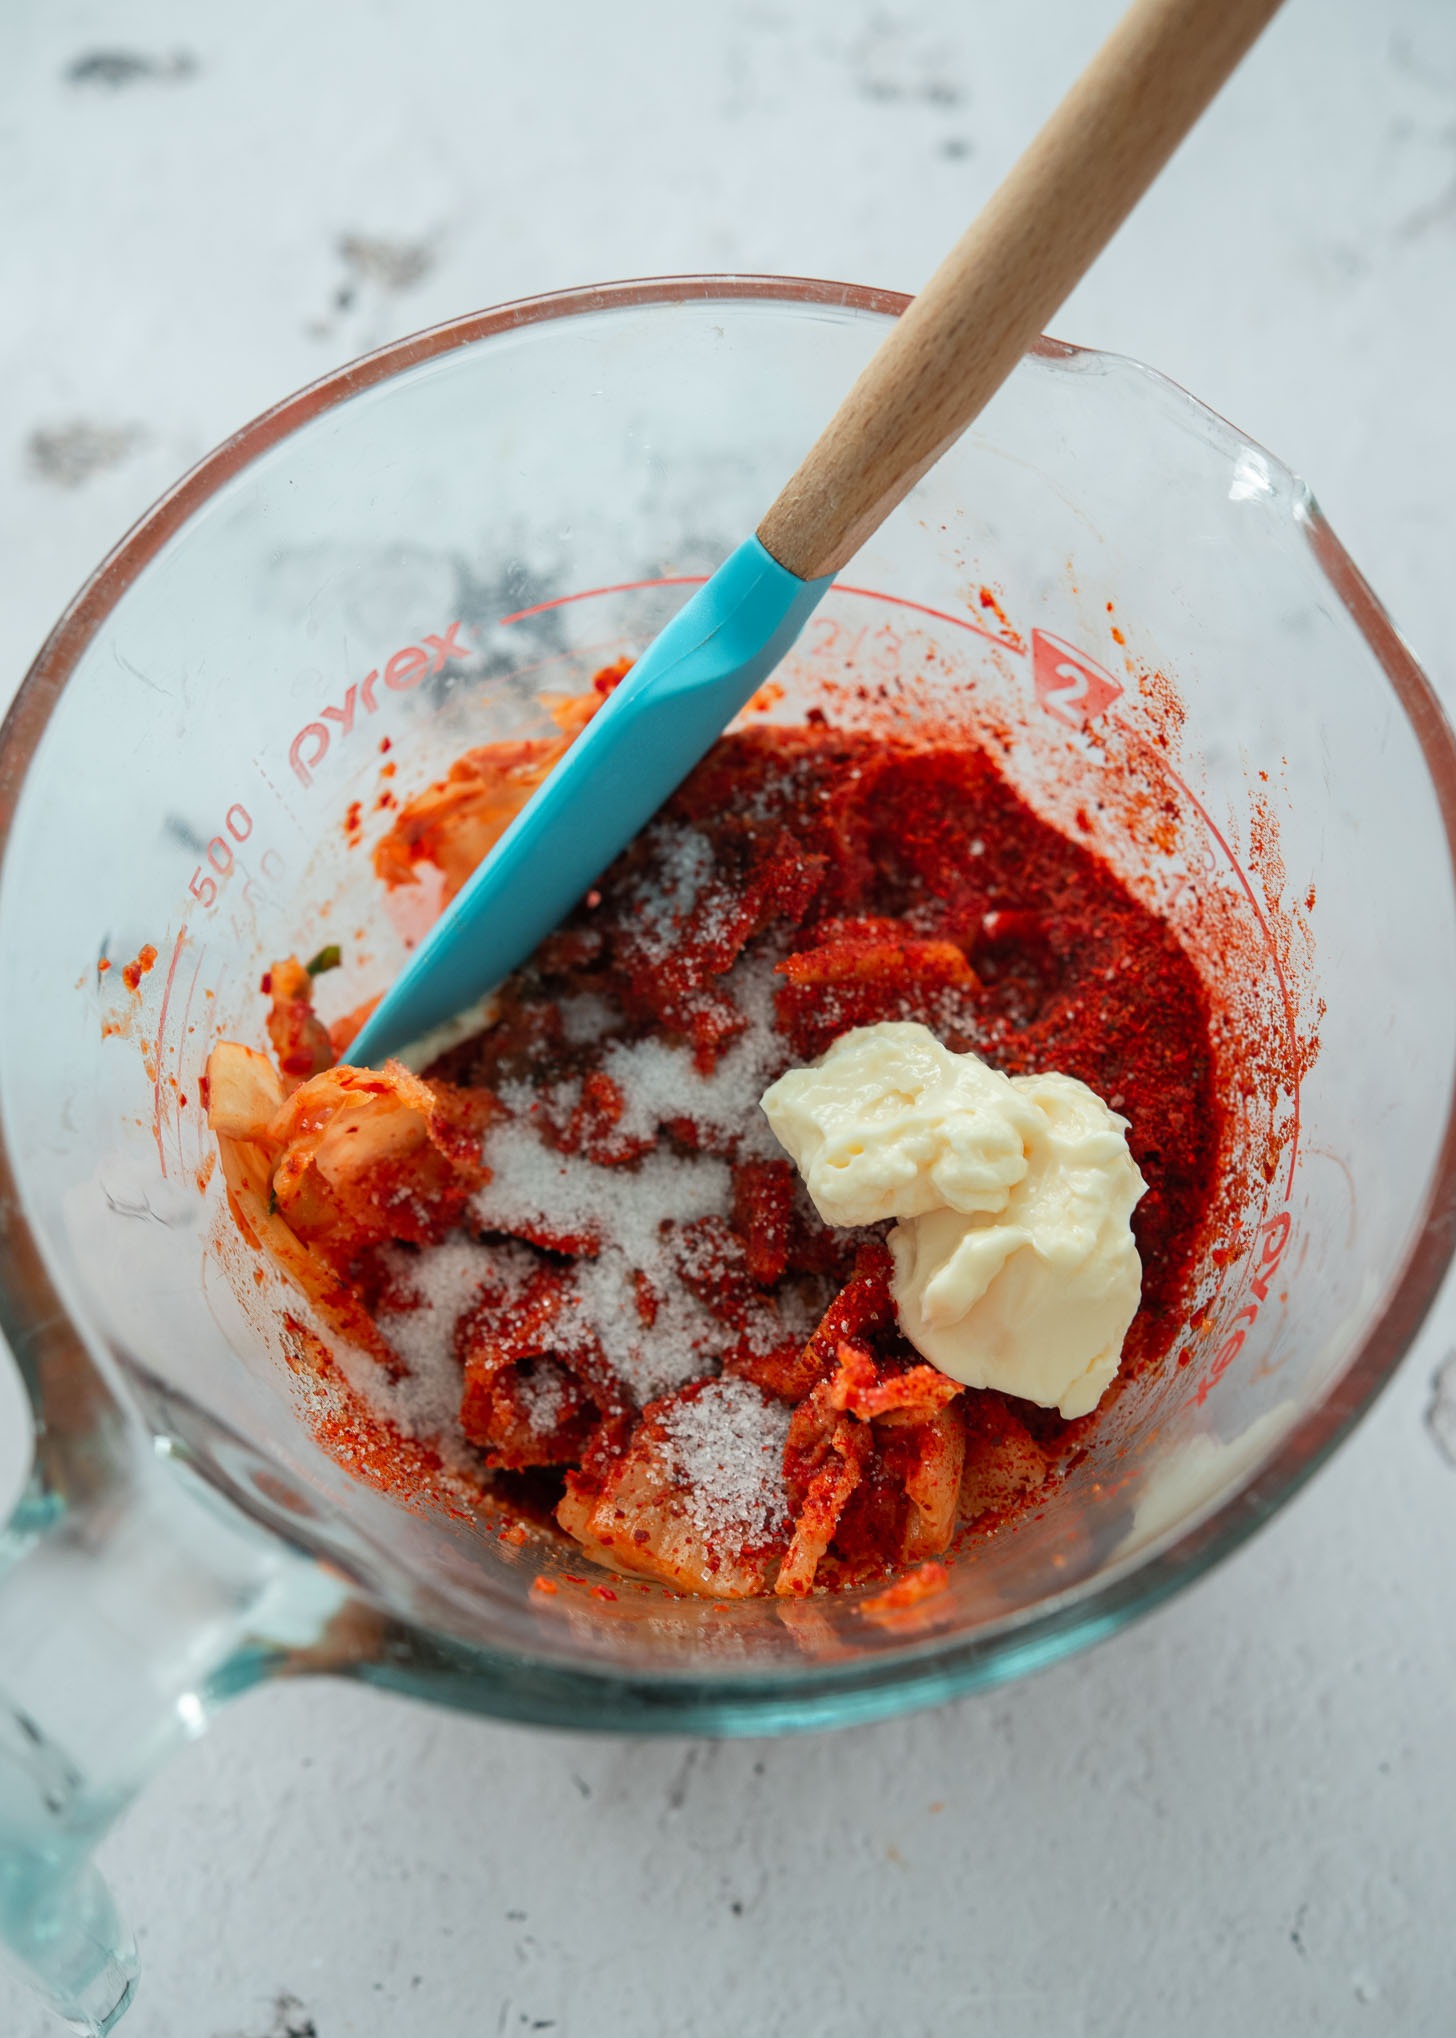
Prep the kimchi. Chop the kimchi into small, bite-size pieces. I usually do this right in the measuring cup with kitchen scissors. It’s quick, contained, and saves my cutting board from kimchi stains. Then I mix the kimchi with soy sauce, gochugaru, sugar, and that tiny bit of mayonnaise so it’s seasoned and balanced before it ever hits the heat.
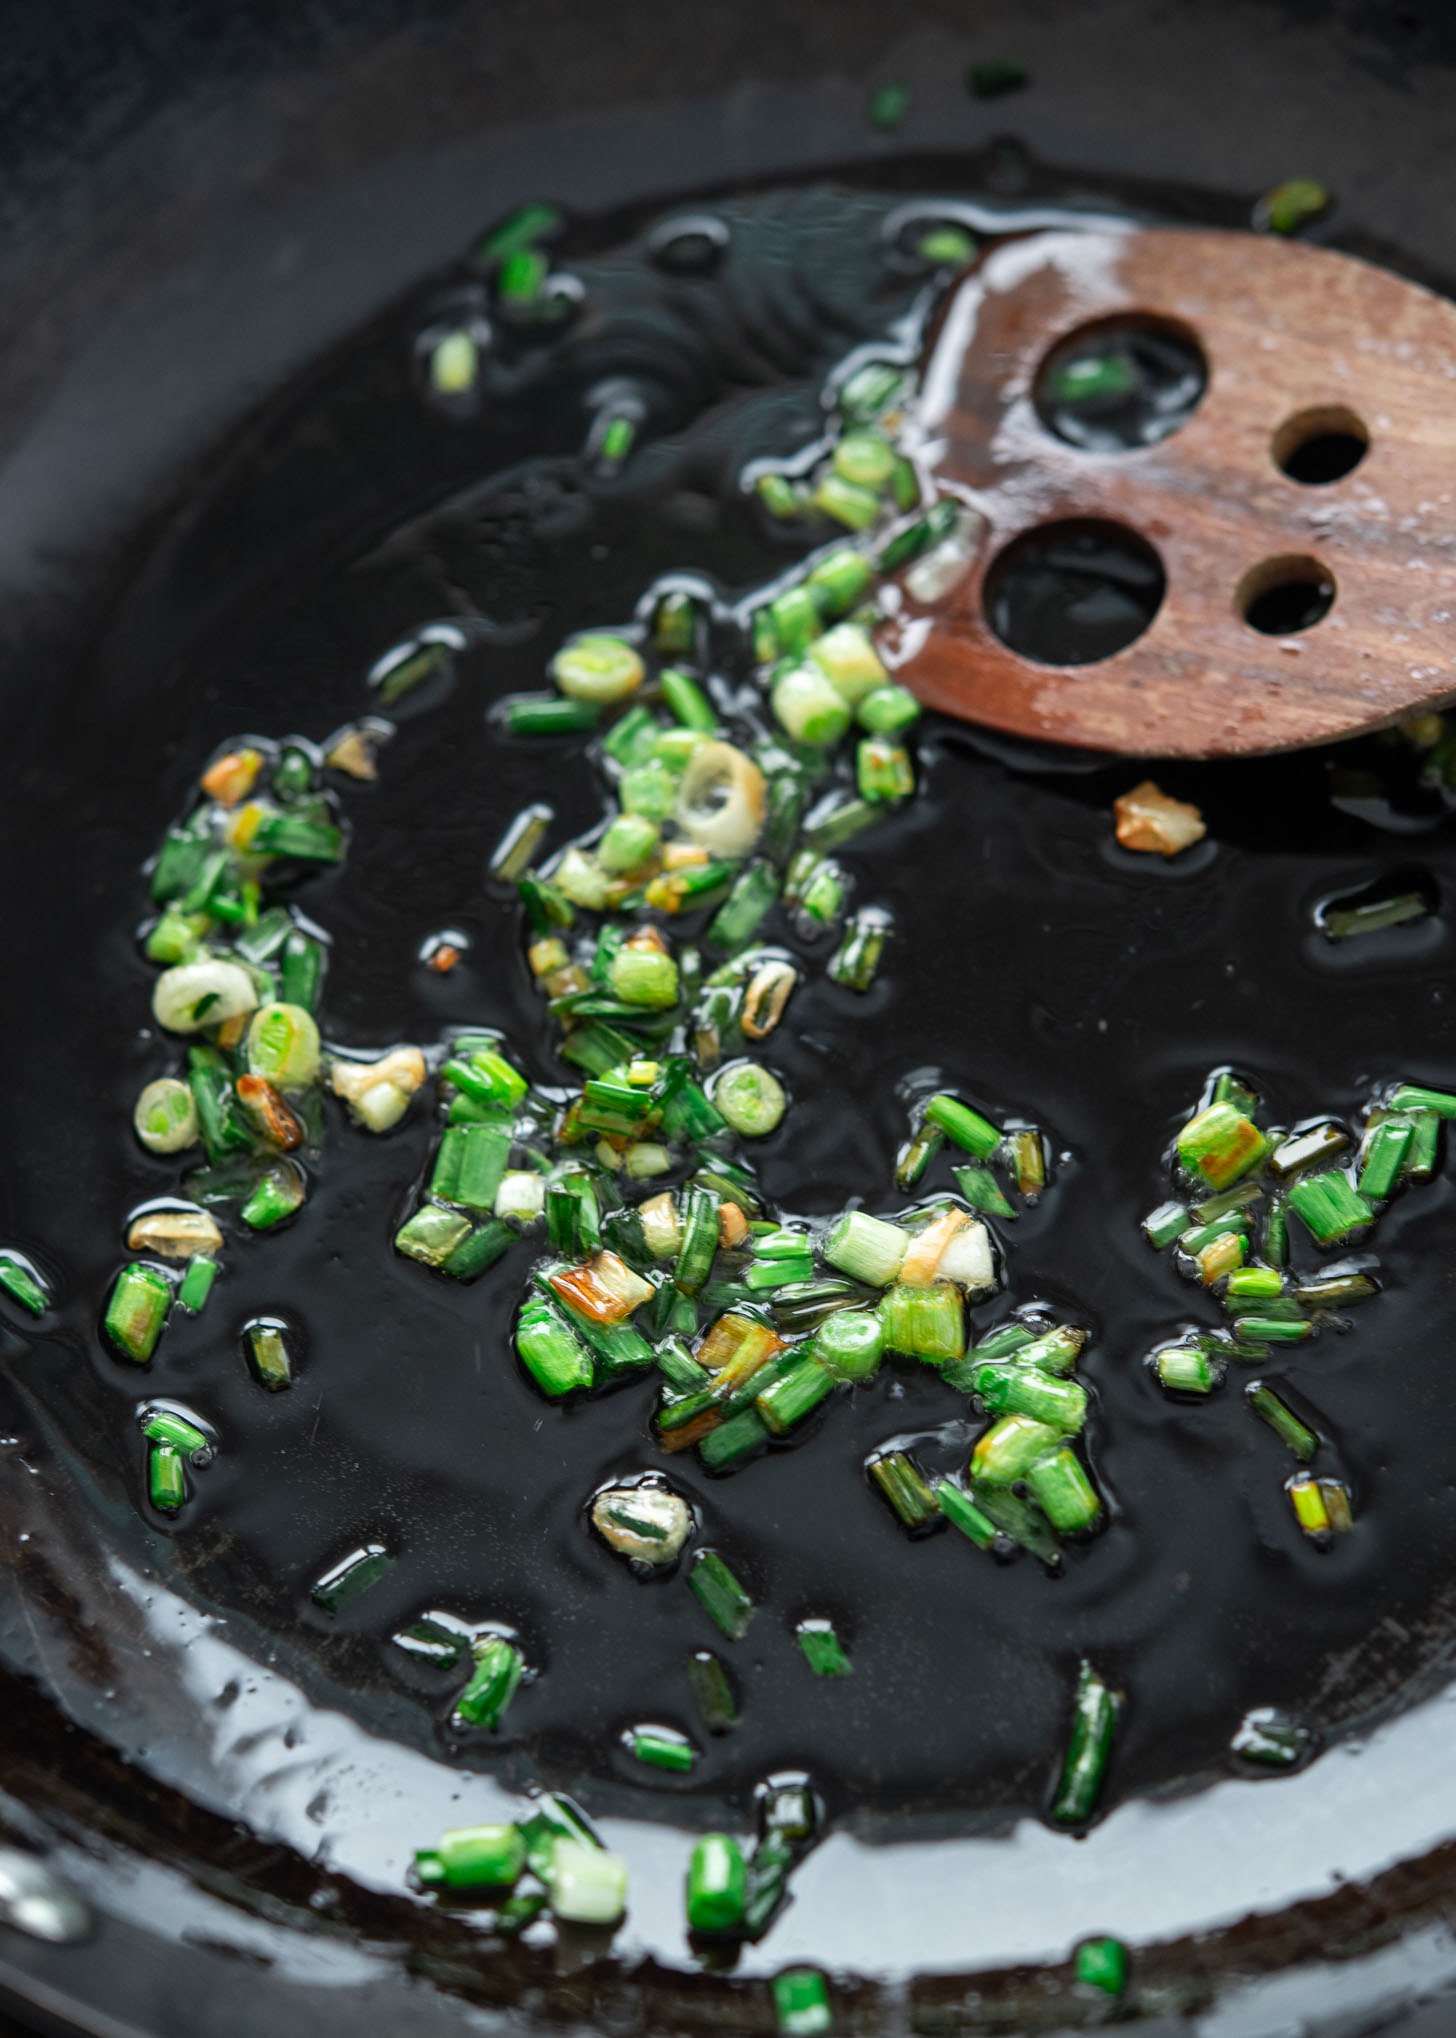
Make the green onion oil. In a hot oiled pan, add green onion and let it sizzle for about a minute, just until the edges turn lightly golden and the oil smells savory and smoky.
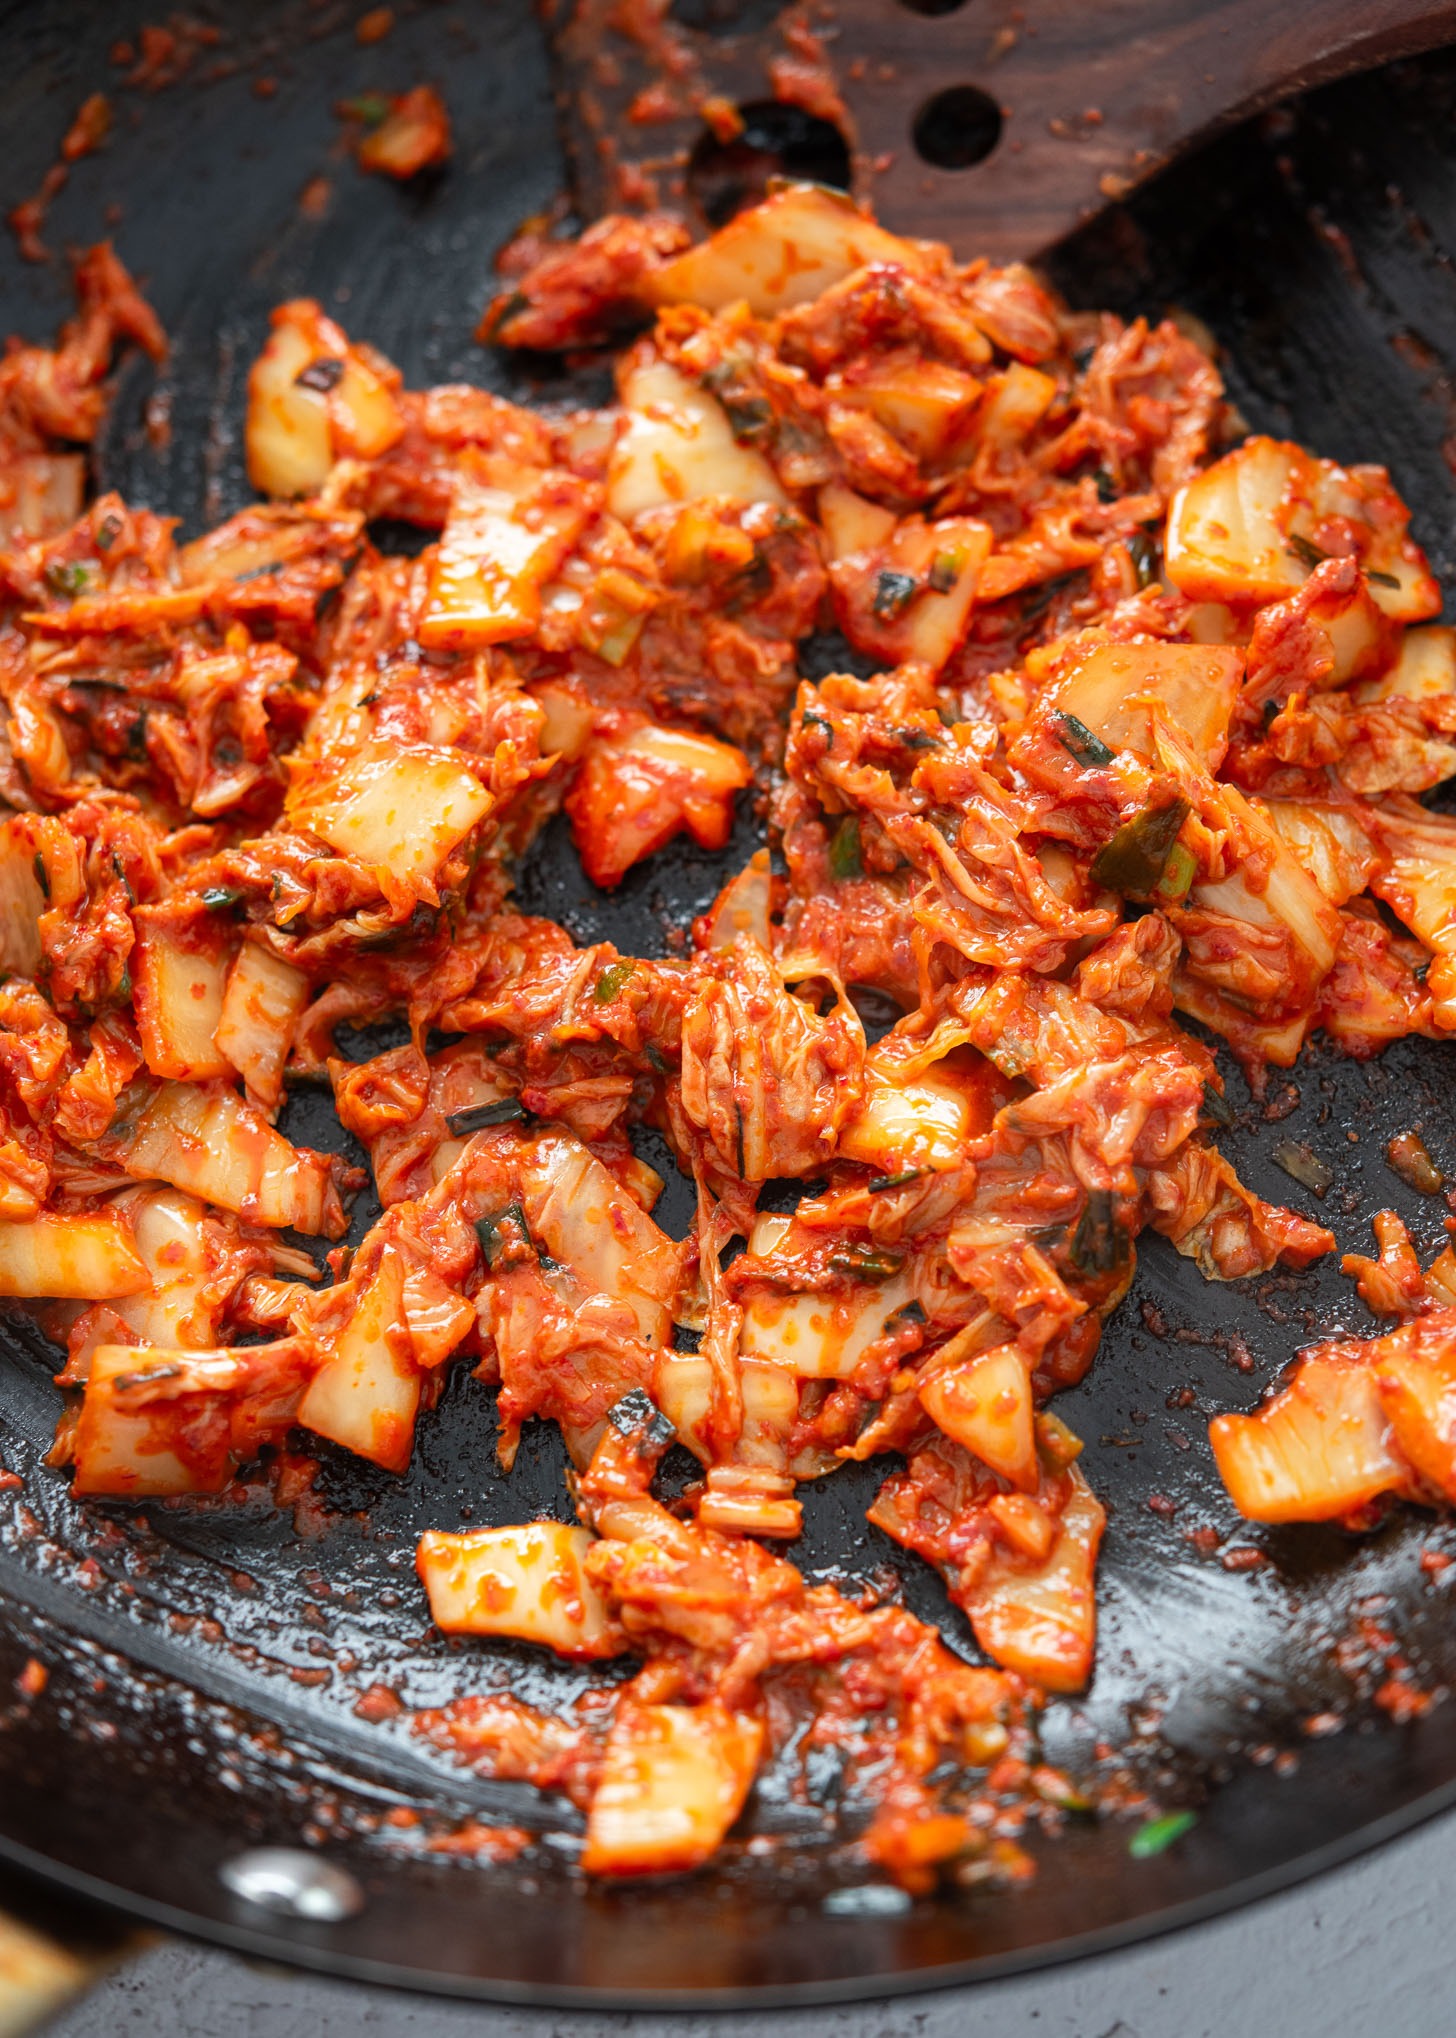
Stir-fry the kimchi. In goes the seasoned kimchi. This is where most people rush—but don’t. Let it really stir-fry for a solid 3 to 4 minutes until the moisture cooks off and the flavor deepens. You’ll notice the kimchi darken slightly and the pan look drier—that’s when the flavor has fully developed.

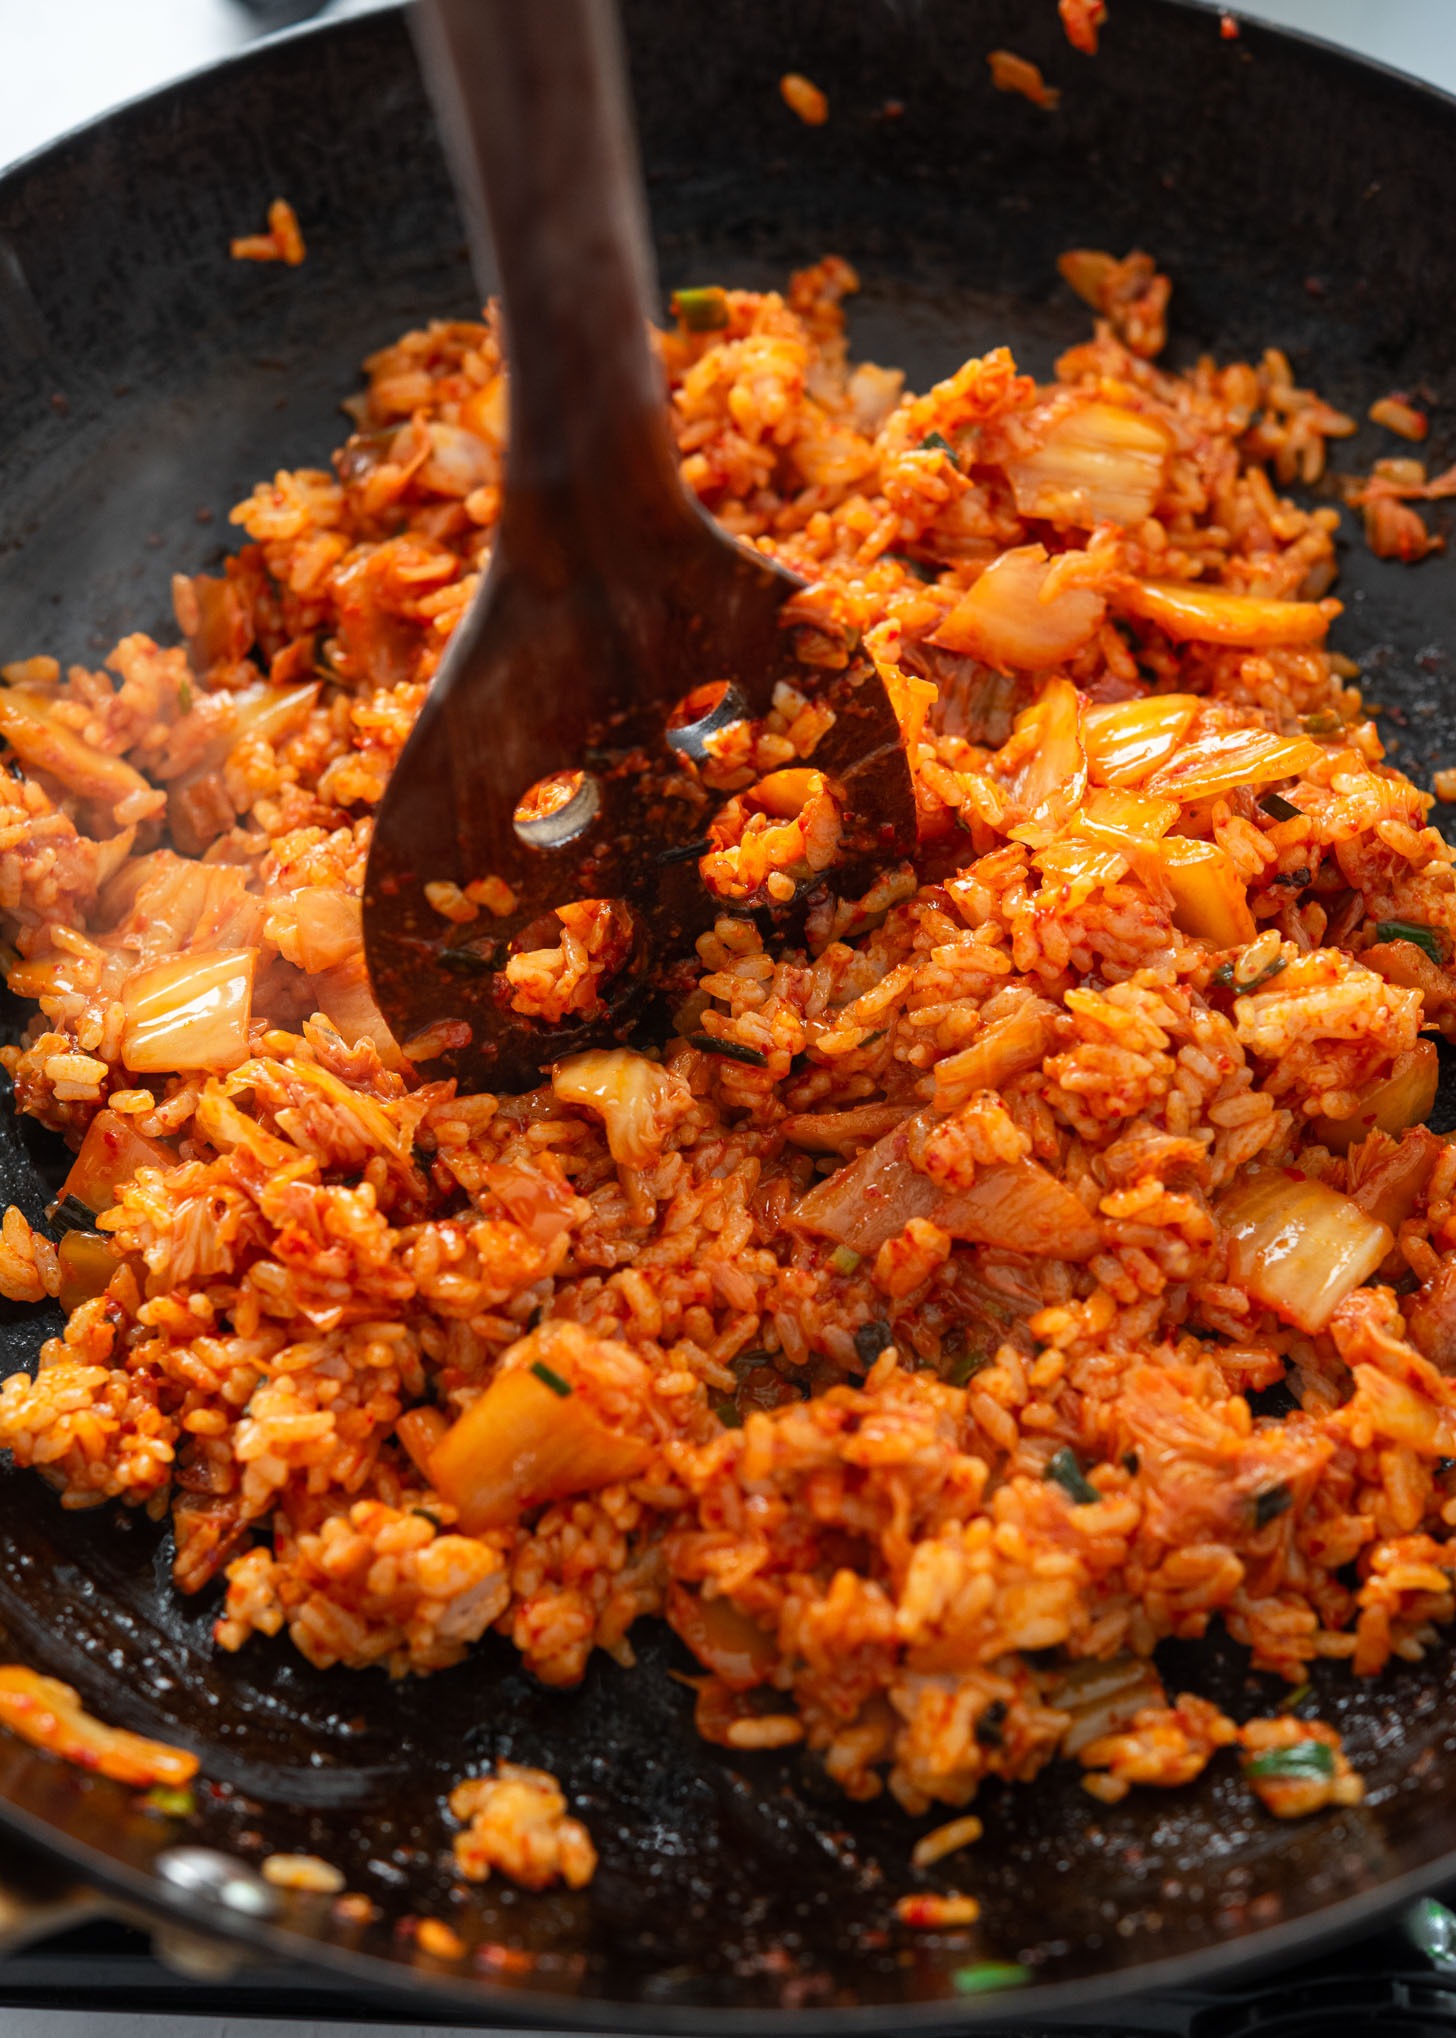
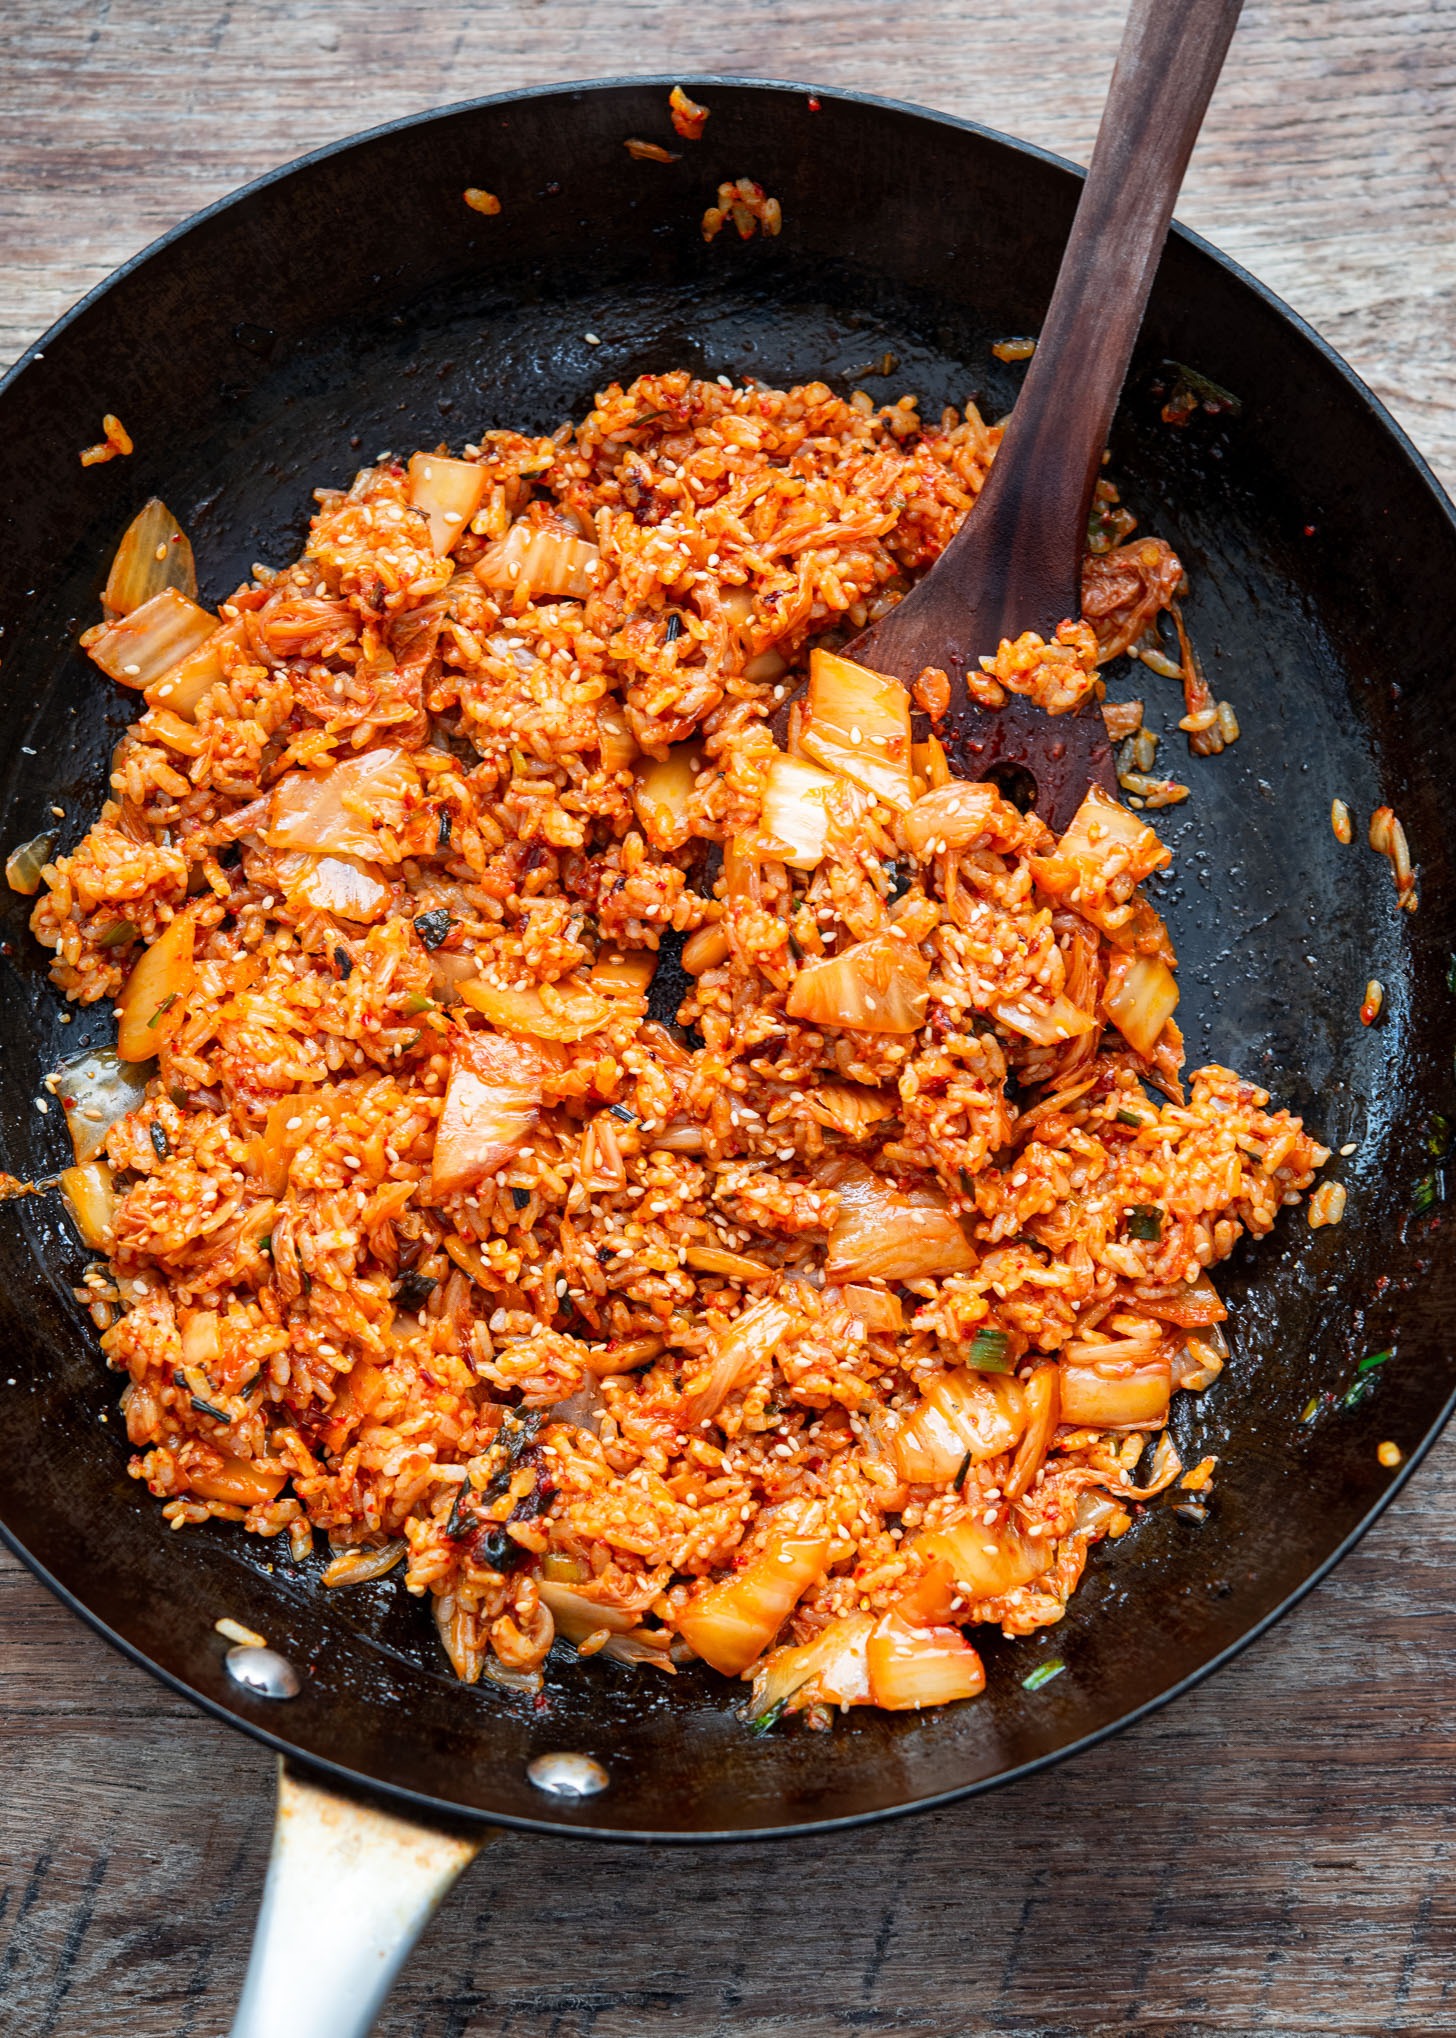
Add the rice. Once the kimchi is ready, add the cold rice and gently stir everything together, breaking up clumps with the edge of the spatula instead of smashing it flat. This keeps the grains separate and chewy.
Hyegyoung’s Tip: Let the rice sit undisturbed for 20–30 seconds at the end. That brief contact with the pan gives you those lightly crisp edges.
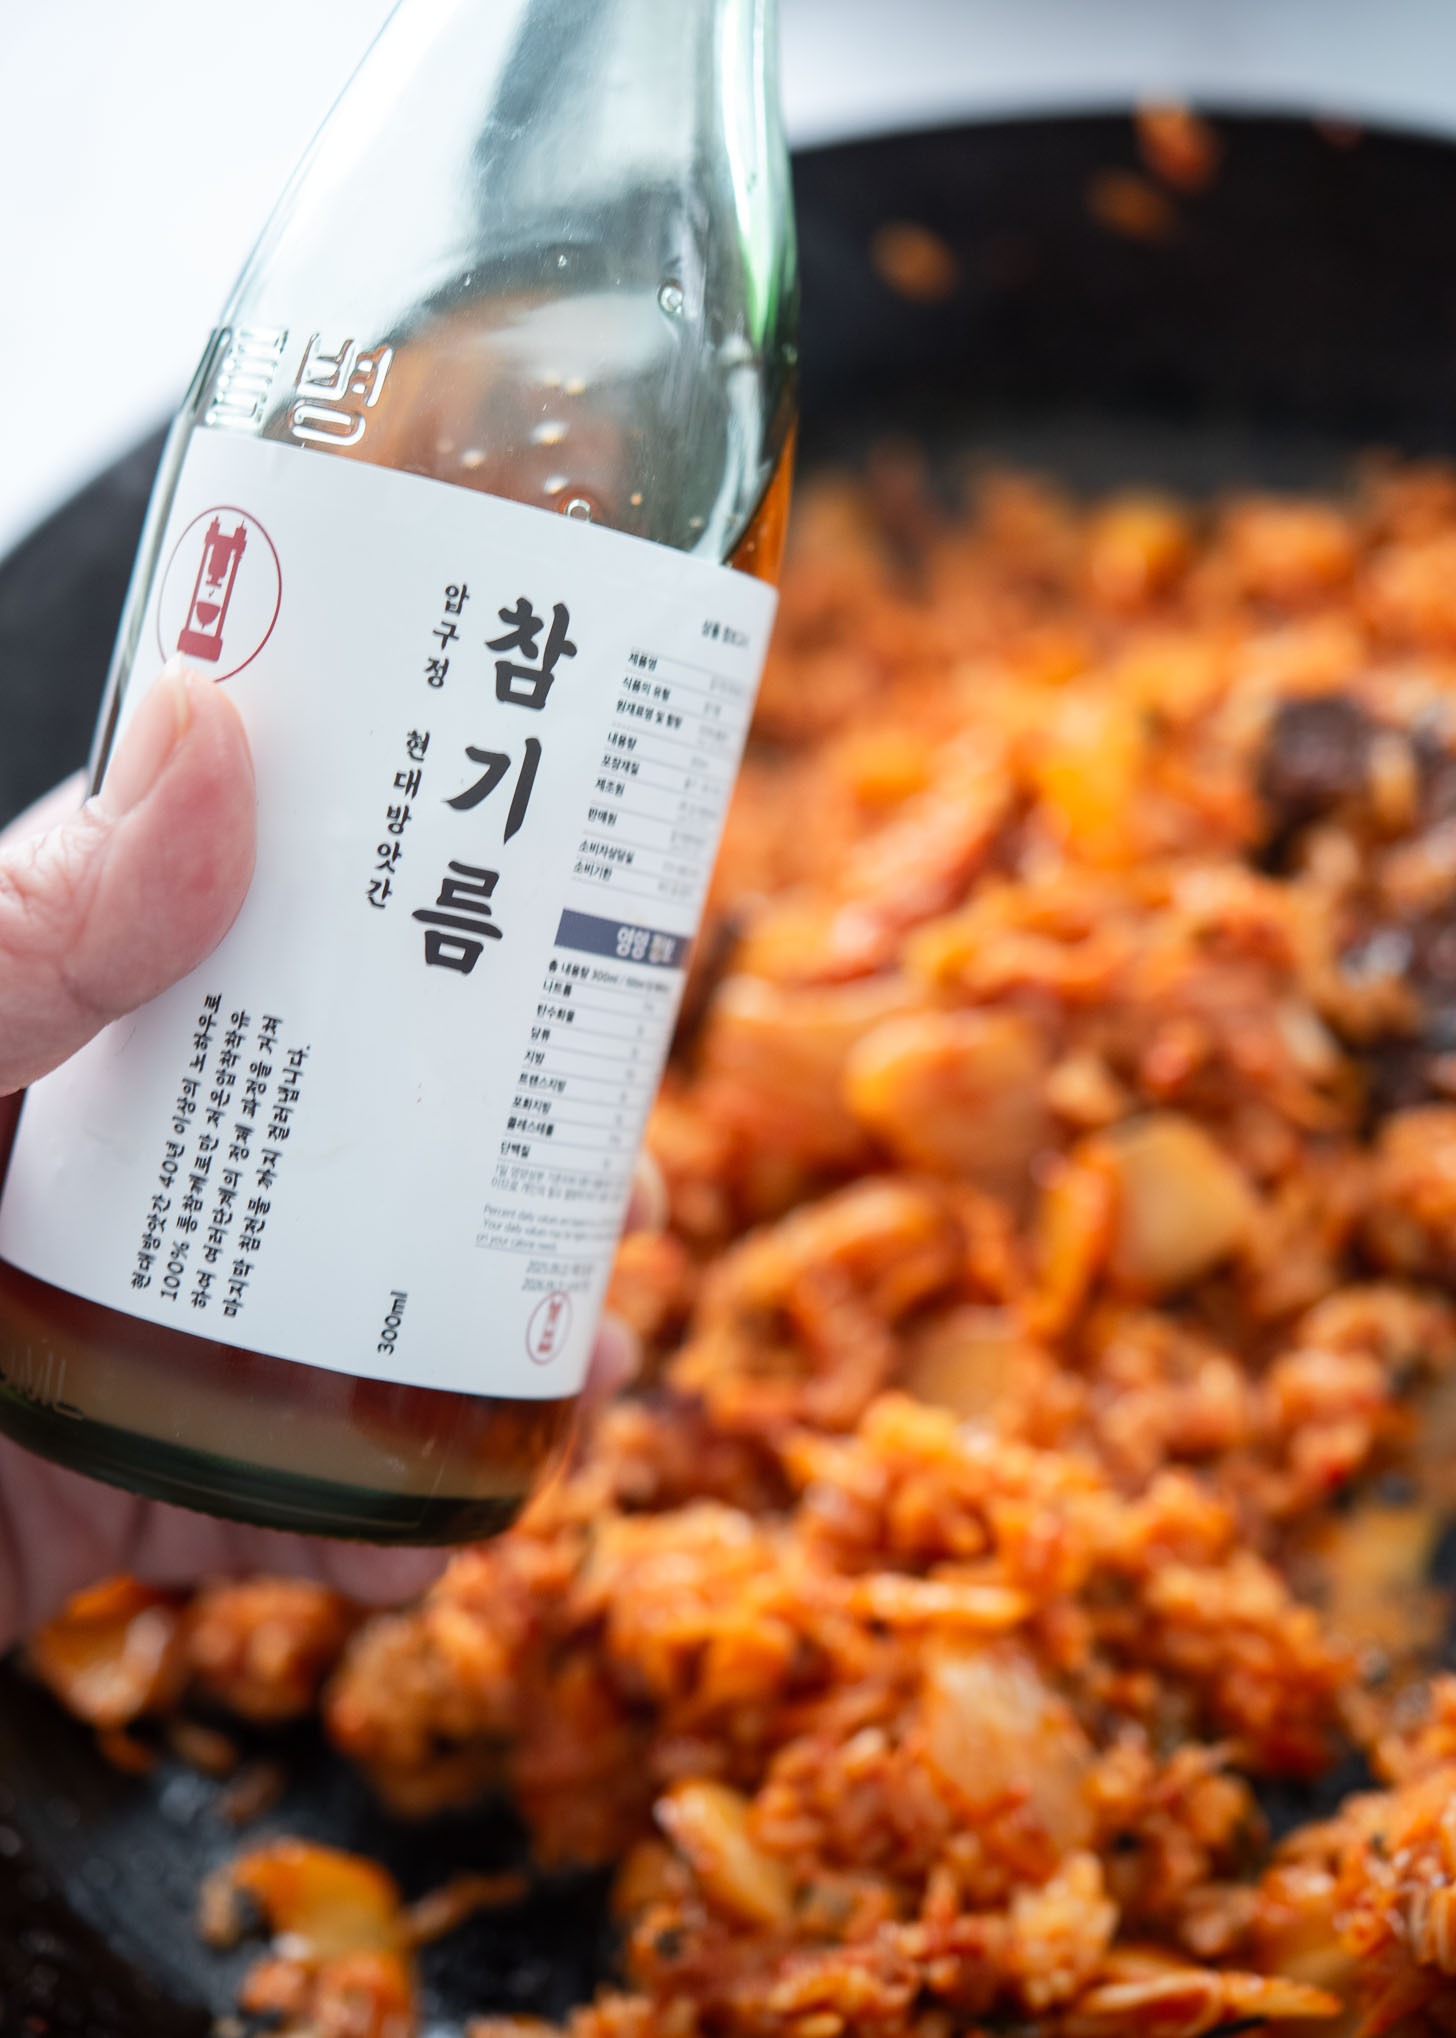
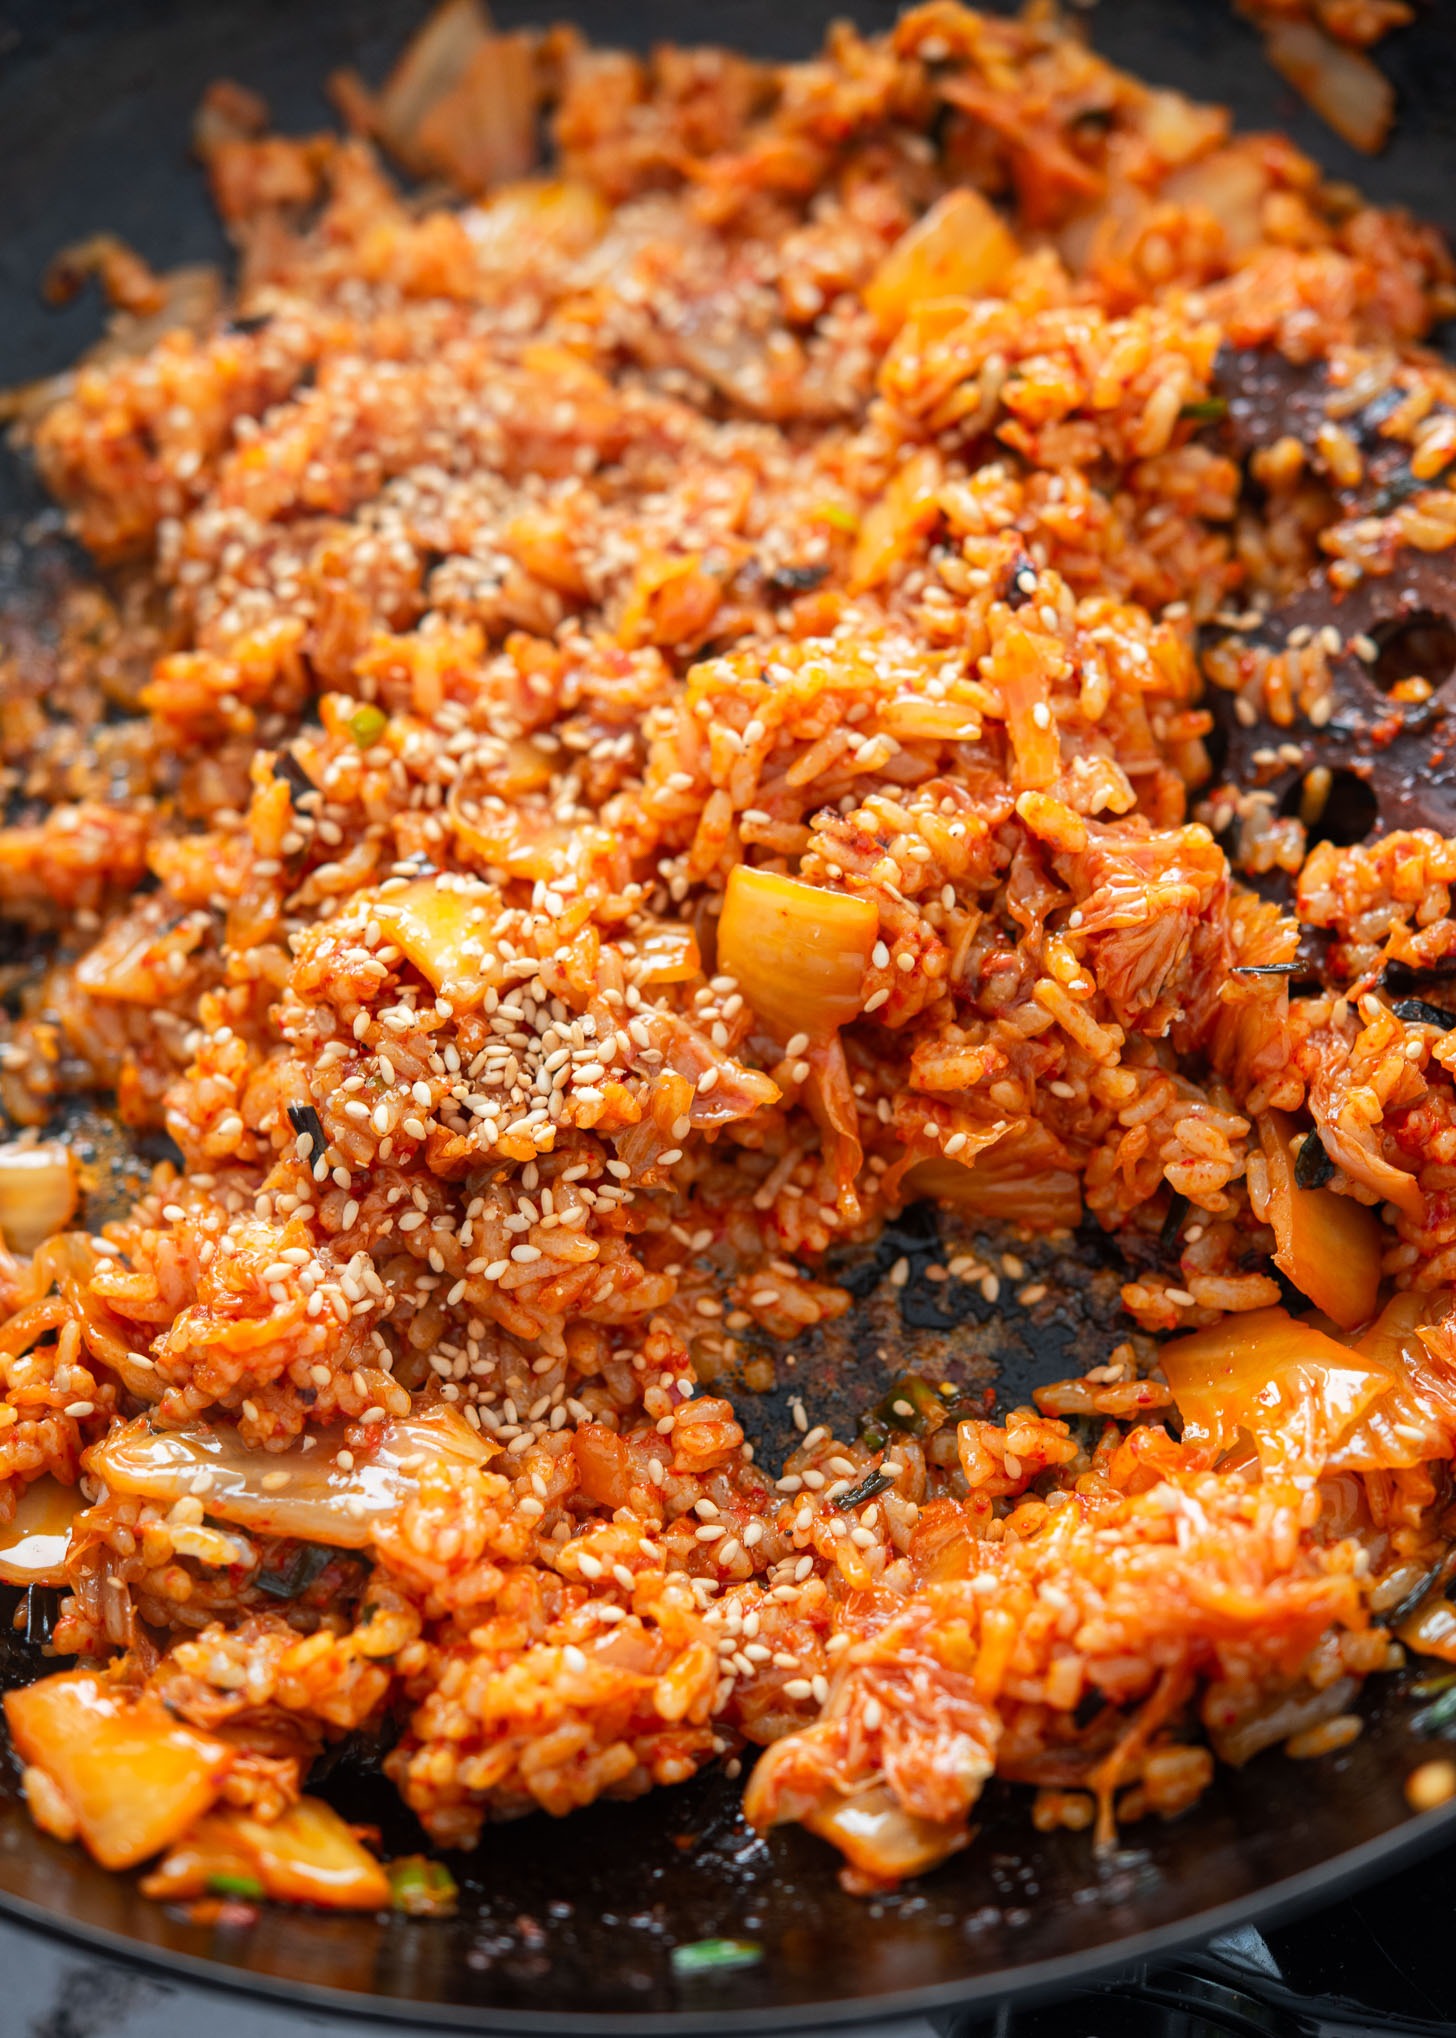
Finish the rice. At the very end, take the pan off the heat and finish with sesame oil and sesame seeds. The aroma at this stage is everything—nutty, savory, spicy—and yes, this is usually when I sneak the first bite straight from the pan.

How Koreans Finish Kimchi Bokkeumbap at the Table
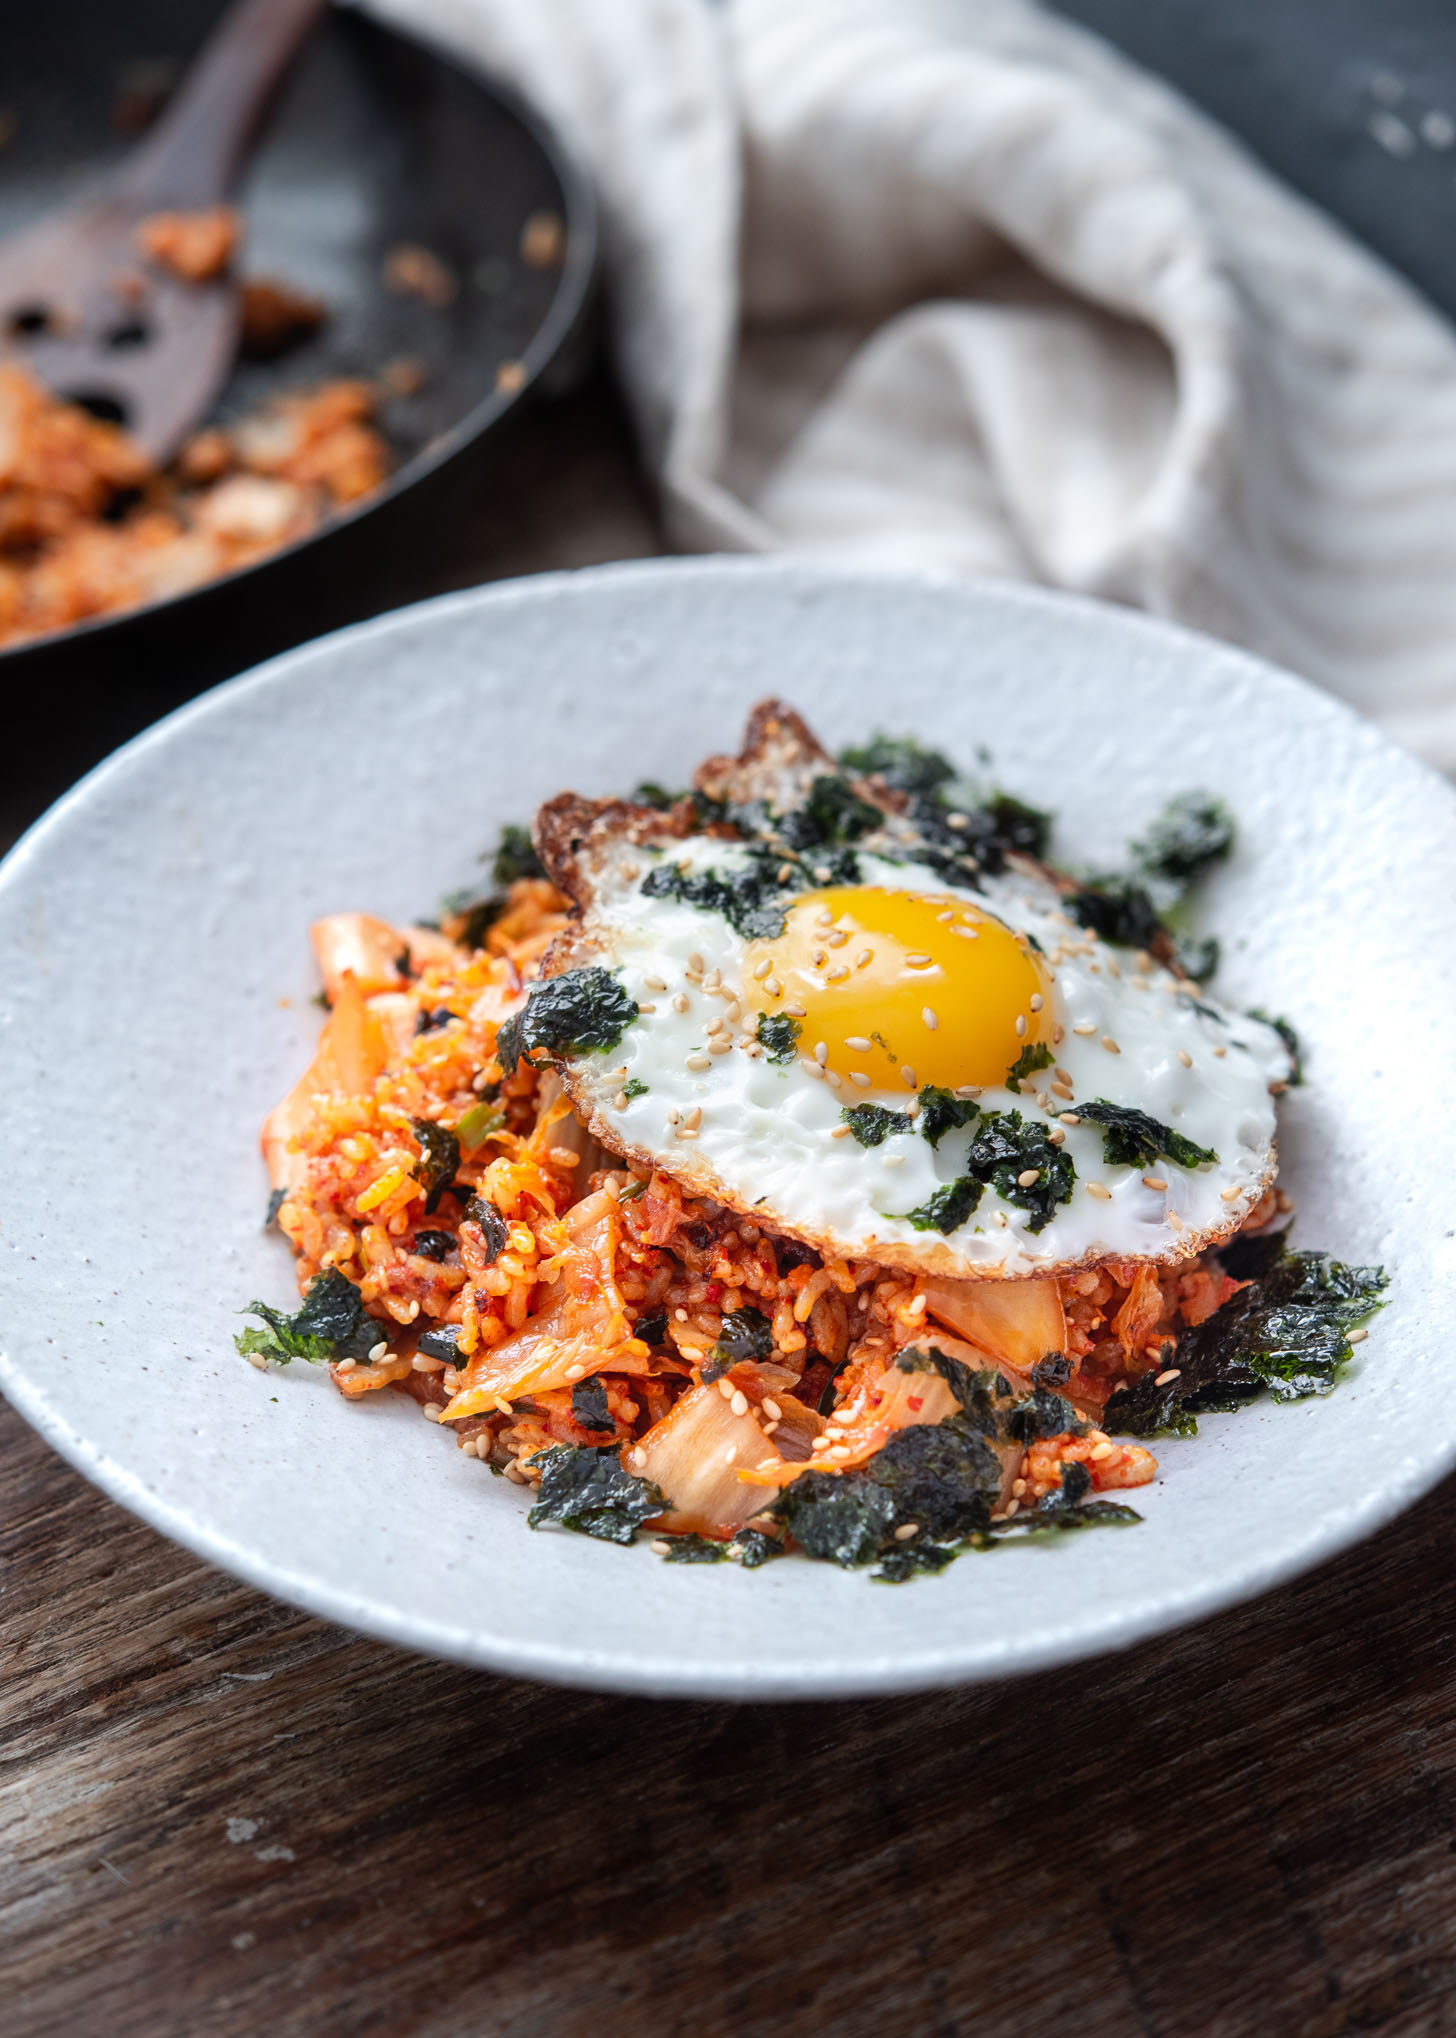
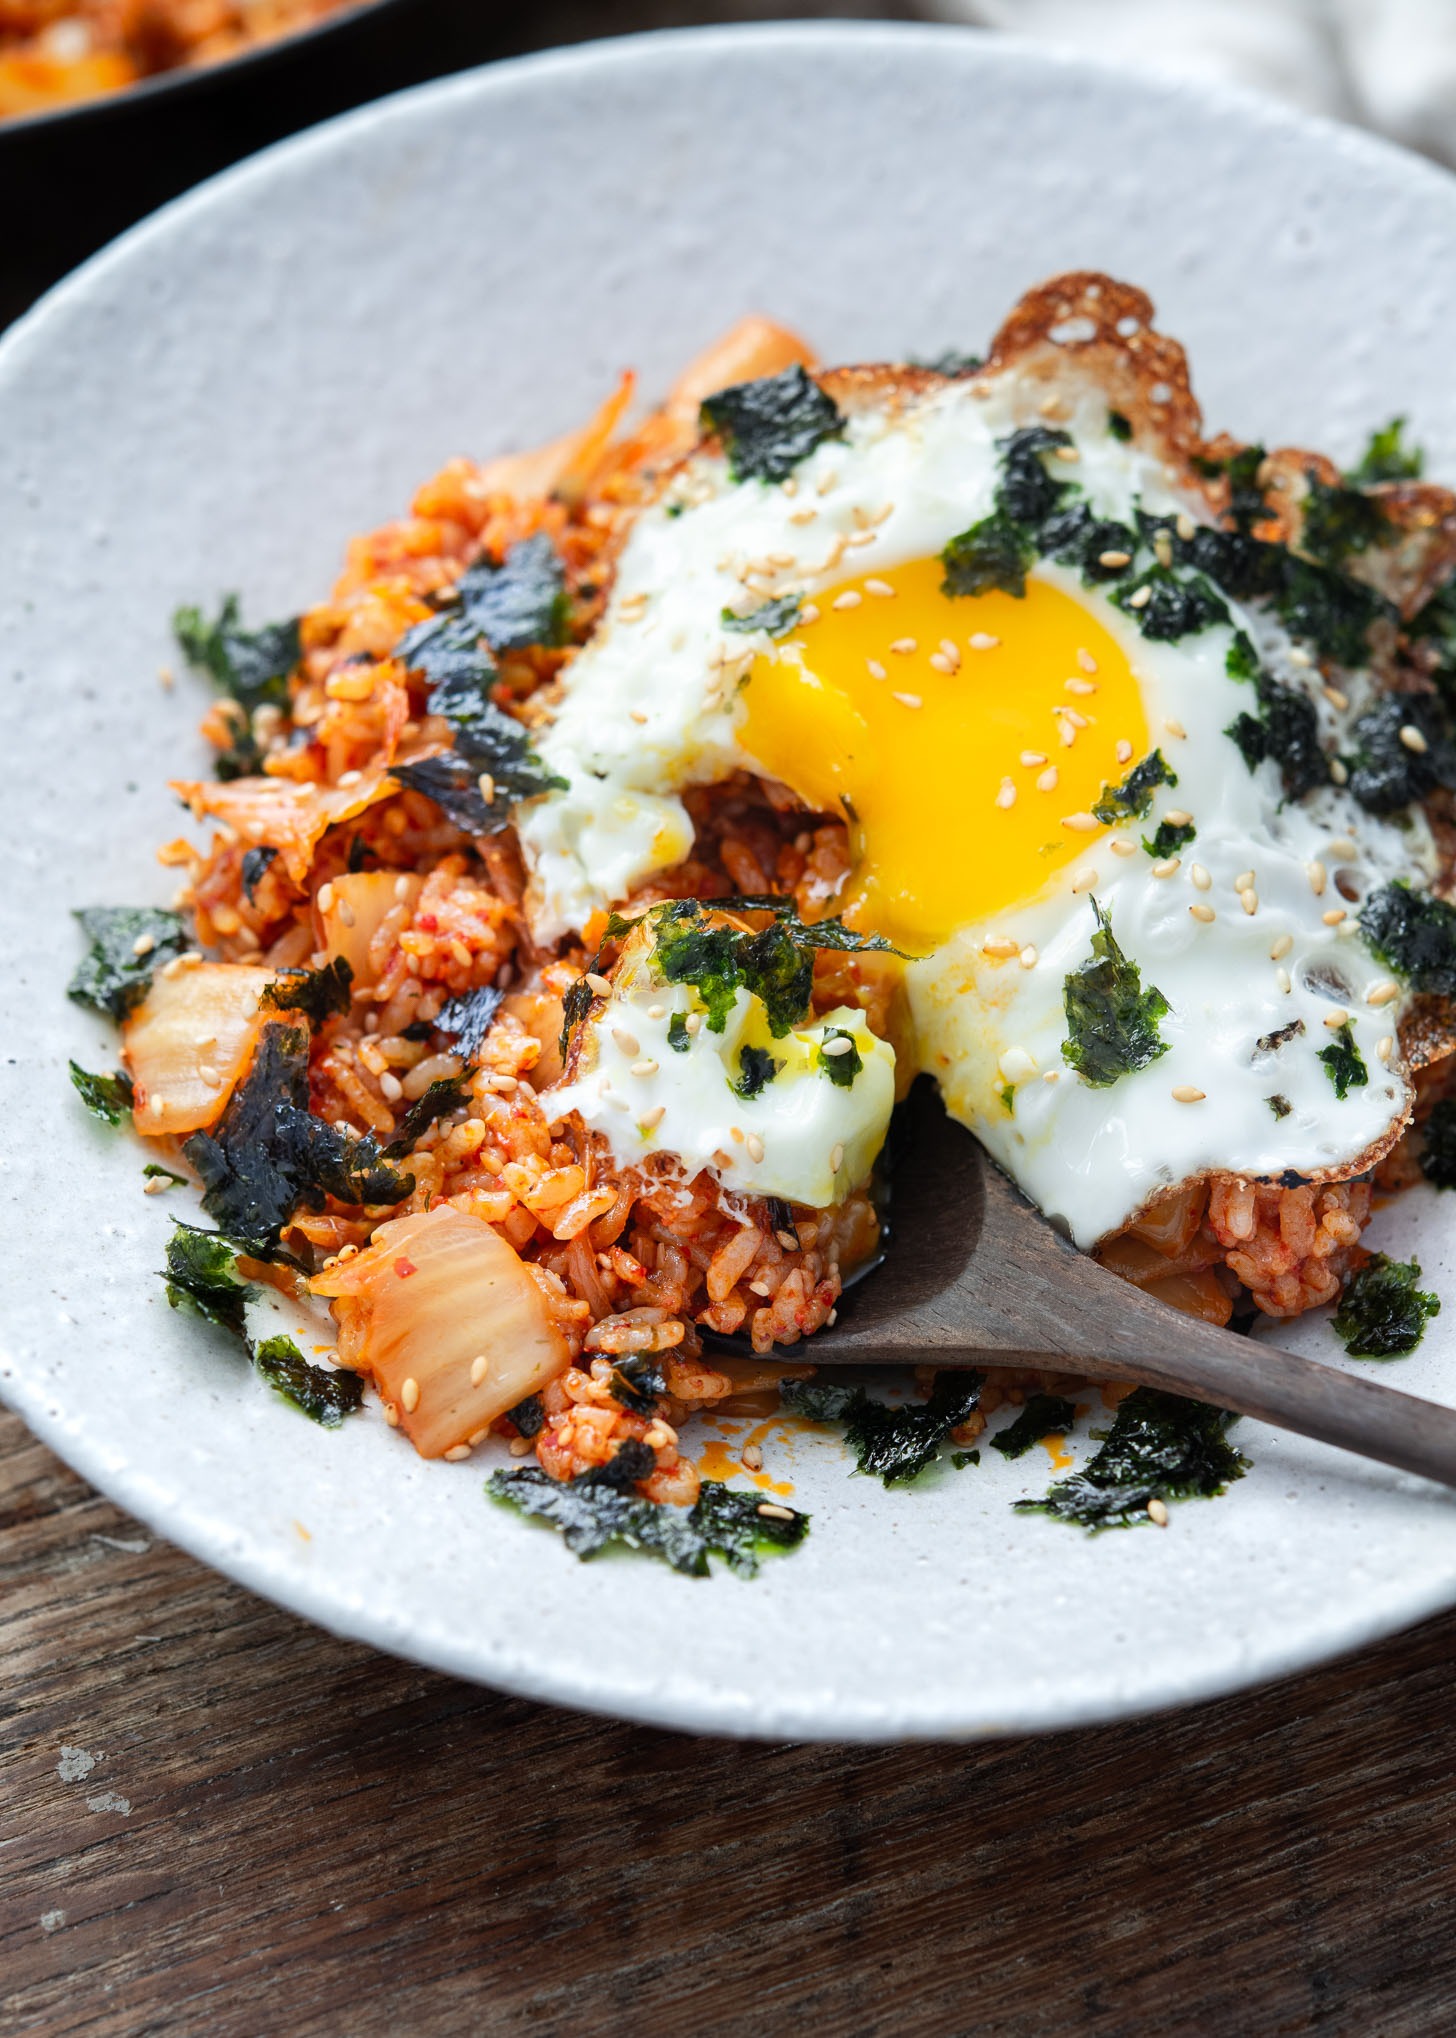
Kimchi fried rice is almost never served naked in Korea. It’s meant to be topped—and the golden rule is a sunny-side-up fried egg right on top. When the yolk breaks and runs into the rice… that’s the moment.
If you happen to have roasted seaweed snacks on hand, crumble a little over the top and sprinkle it on. It adds a toasty, salty crunch that pairs ridiculously well with kimchi. I use the same seaweed finish in my cheesy kimchi fried rice as well. Simple toppings, big payoff. That’s the Korean way.
If your fridge is still packed with extra-sour kimchi, kimchi pancake is another favorite way to use it up—crispy, tangy, and perfect alongside this fried rice.
And if rice is your comfort food language like it is mine, you’ll find plenty more ideas in my Korean rice collection as well.
Love this recipe? Rate it and share your experience in the comments below! On Instagram? Tag me to showcase your creation. For more delicious recipes, subscribe to our newsletter!
Kimchi Fried Rice (Kimchi Bokkeumbap) with Egg
Recipe Video
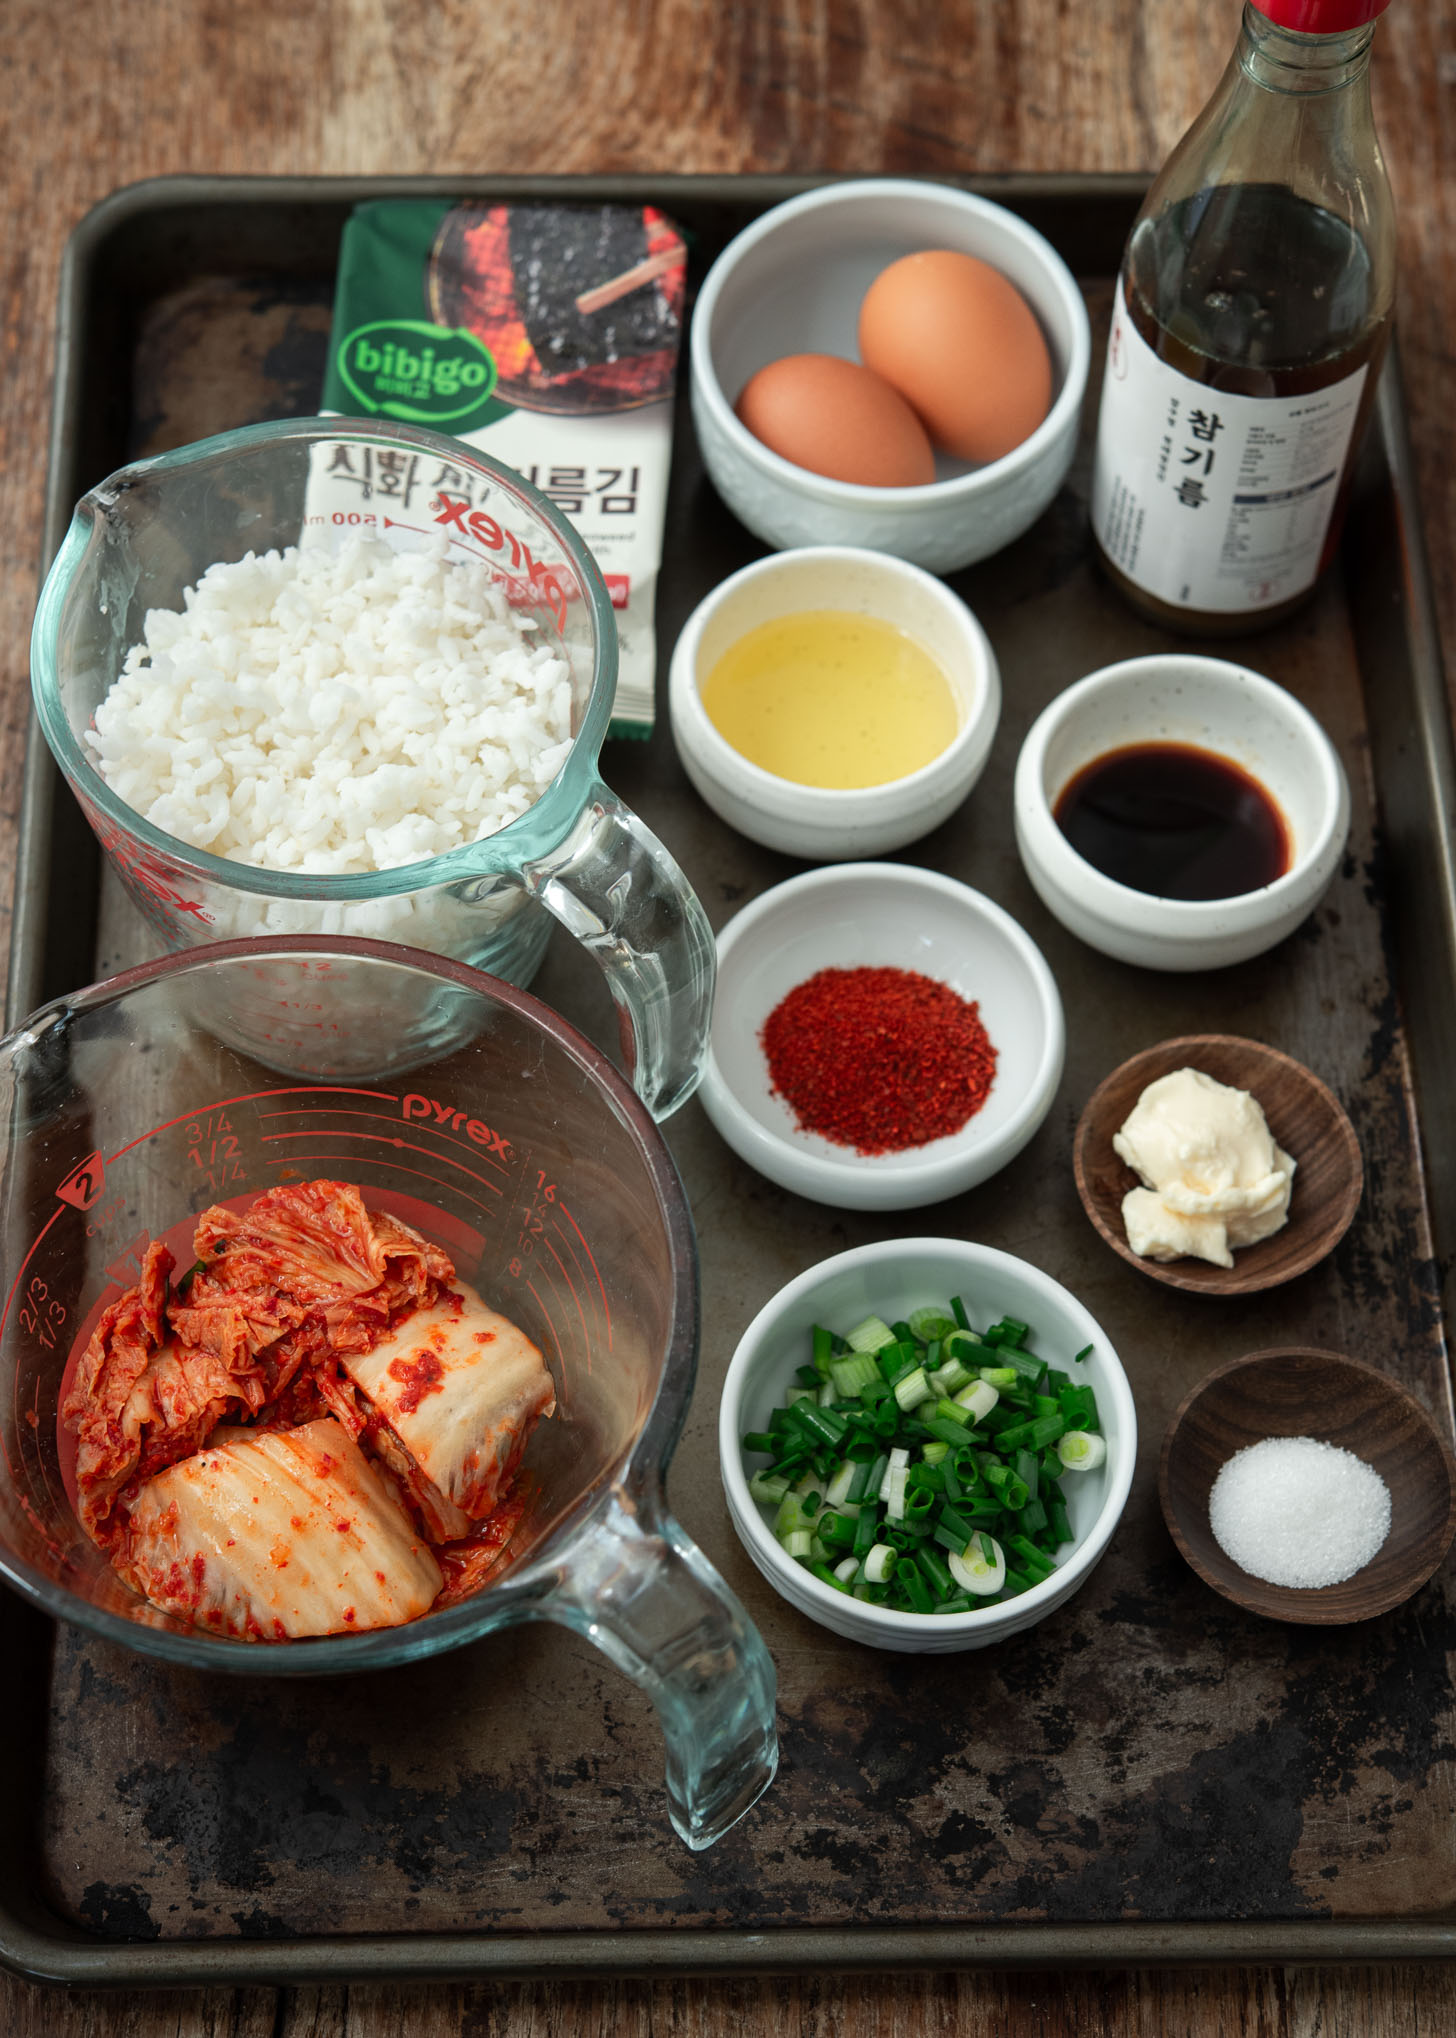
Ingredients
- 2 cup (300 g) day-old rice, cold
- 1 cup (150 g) sour kimchi, chopped
- 1 tbsp (15 ml) soy sauce
- 1 tbsp (5 g) Korean chili flakes (gochugaru), optional
- 1 tsp (4 g) sugar
- 2 tsp (10 g) mayonnaise
- 2 tbsp (30 ml) oil
- 2 green onion, chopped
- 1 tbsp (15 ml) sesame oil
- 1 tbsp (9 g) toasted sesame seeds
Optional Toppings
- 2 eggs, fried to sunny side up
- 1 packet (5 g roasted seaweed snacks (gim)
Instructions
- In a bowl, mix chopped kimchi with soy sauce, gochugaru (if using), sugar, and mayonnaise. Set aside.
- Heat oil in a large skillet over medium-high heat. Add chopped green onion and cook for about 1 minute, until lightly golden and fragrant.
- Add the seasoned kimchi to the skillet. Cook for 3–4 minutes, stirring often, until the moisture cooks off and the kimchi softens.
- Add cold rice to the skillet. Gently break up clumps with the edge of a spatula and stir-fry until well combined and heated through. Let the rice sit undisturbed for 20–30 seconds to lightly crisp before the final stir. Remove from heat. Drizzle with sesame oil and sprinkle with toasted sesame seeds. Toss to combine.
- Top with fried eggs and crumbled roasted seaweed snacks, if using. Serve hot.
So delicious. Love it👍
Glad that you loved it. Thank you!